How to Take Photos
Follow these instructions for the photos that are required for your consultation
Photo Guidelines
Instructions:
- Focus on the area requiring treatment/surgery
- Please remove all garments, low rise underwear acceptable
Procedures Include:
Tummy Tuck
Thigh Lift
Back Lift
Buttock Augmentation
Liposuction
1
2
3
4
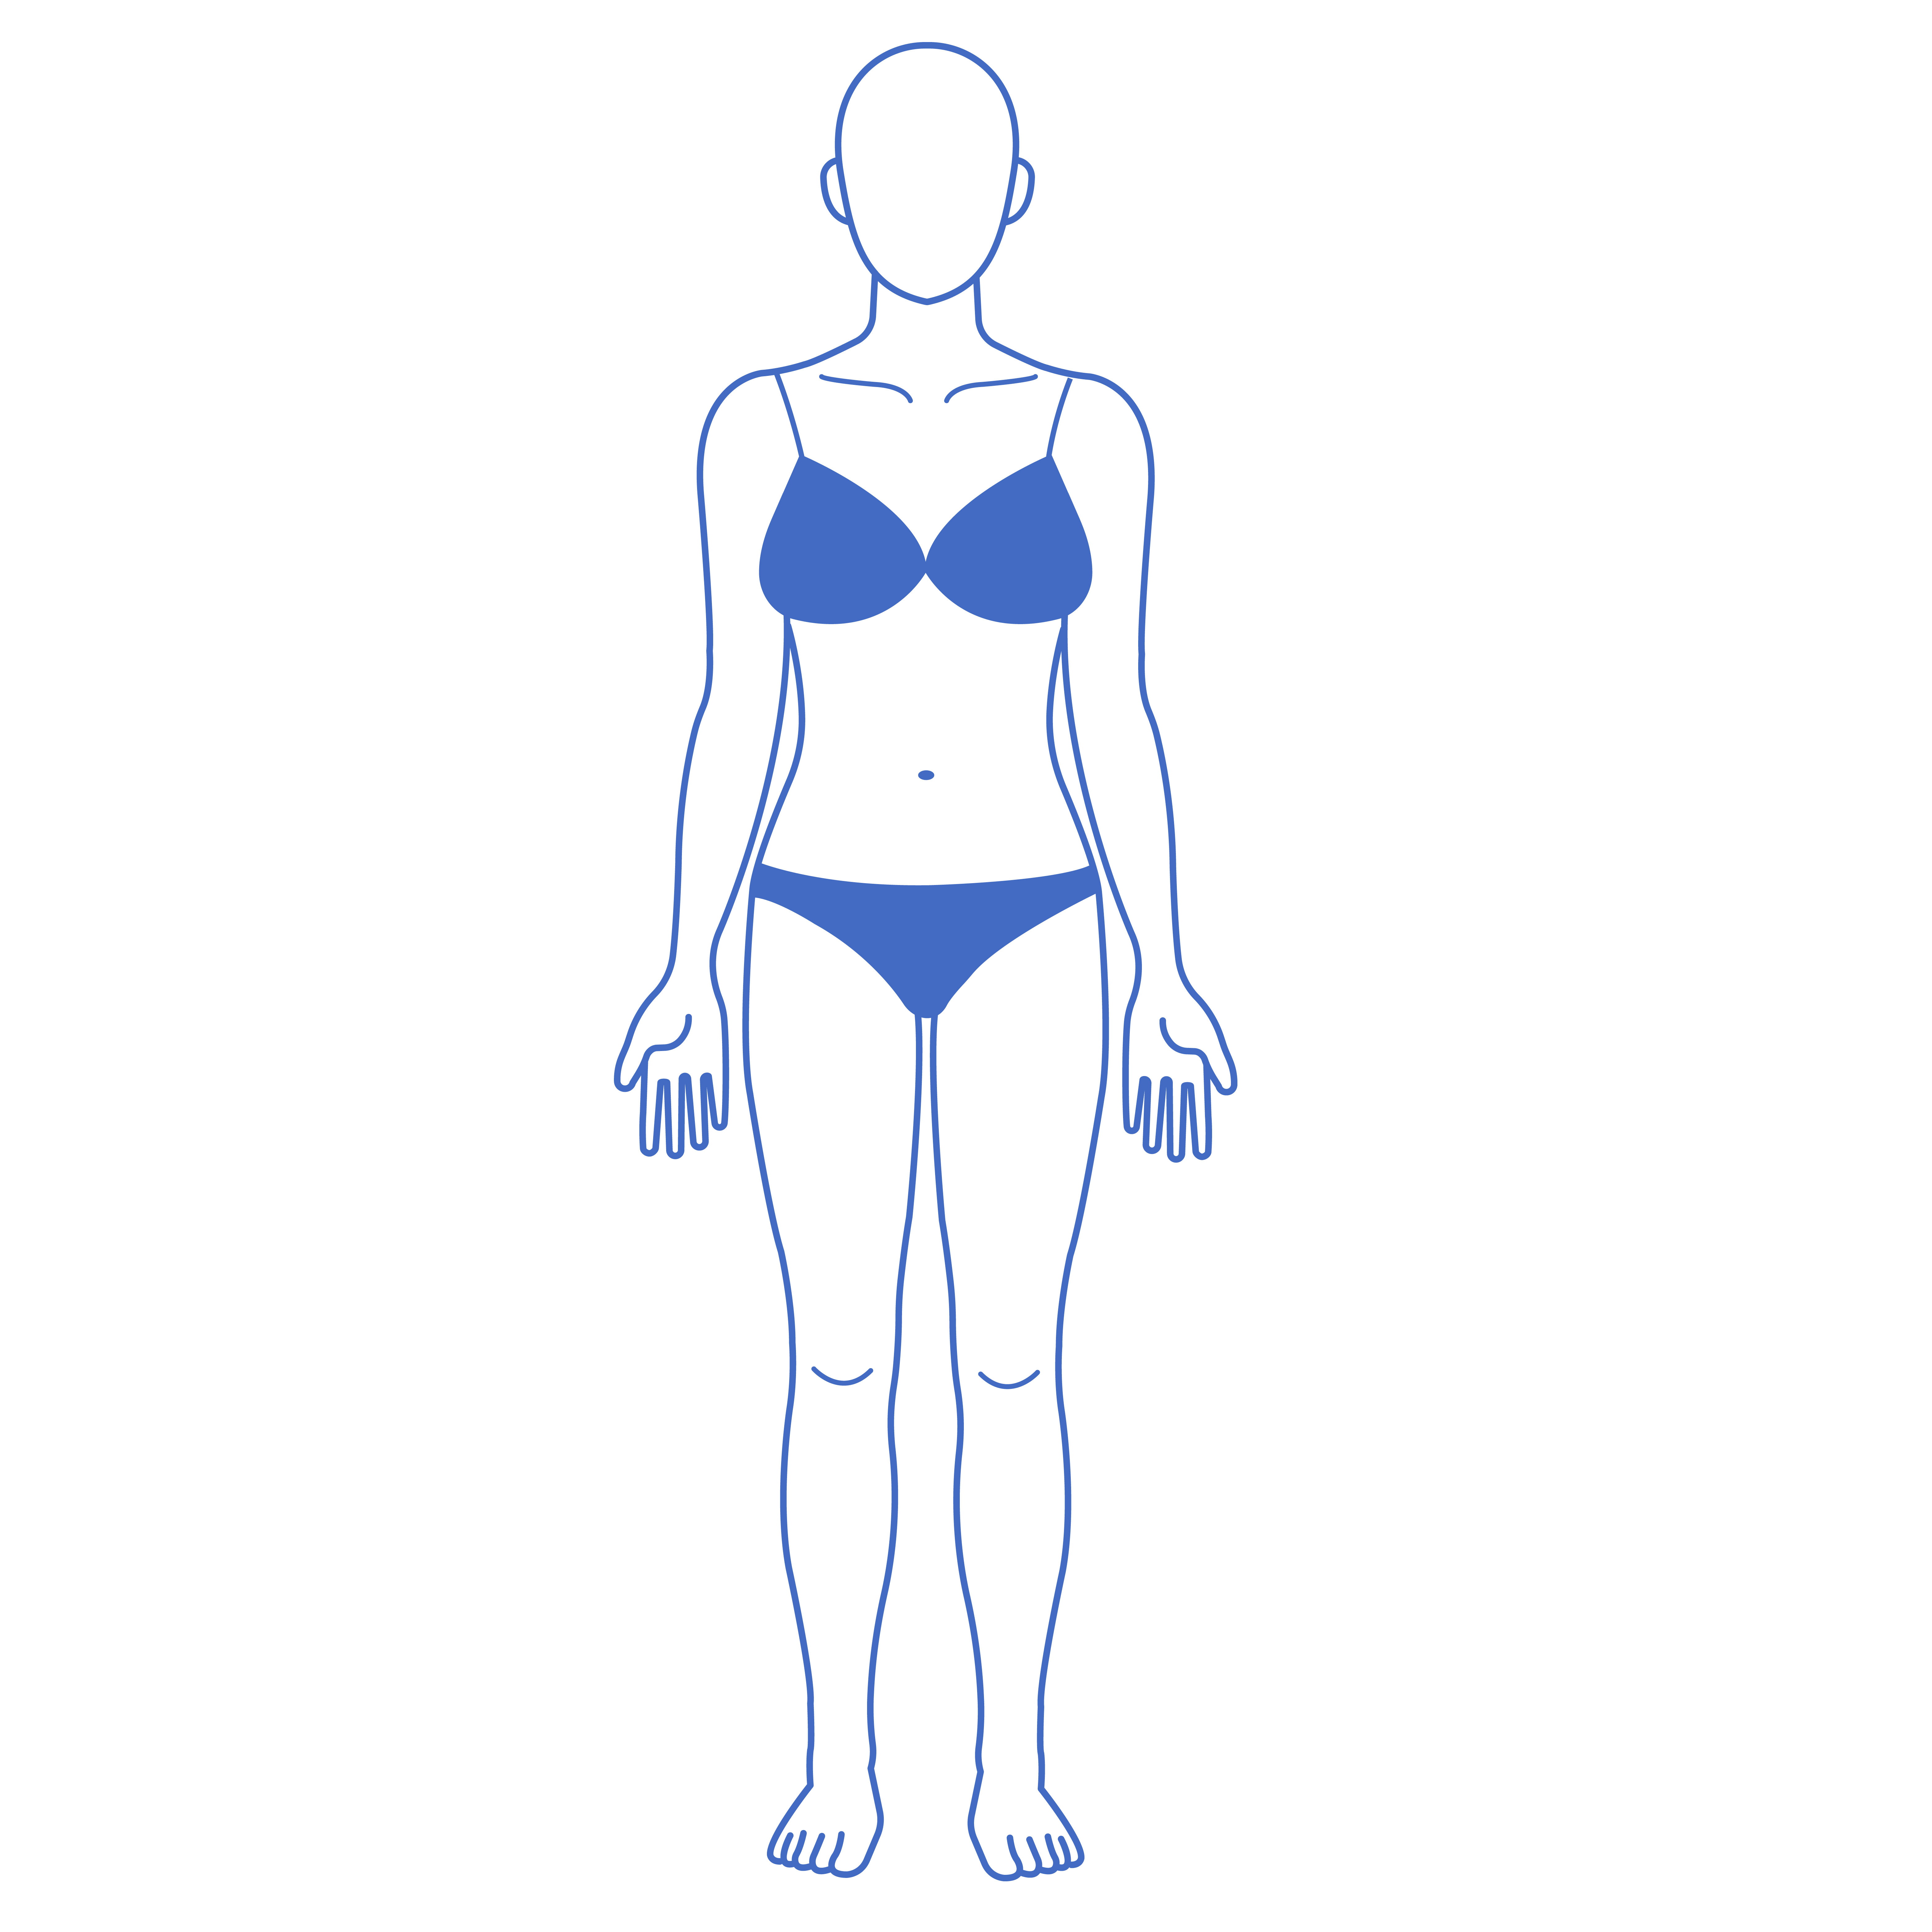
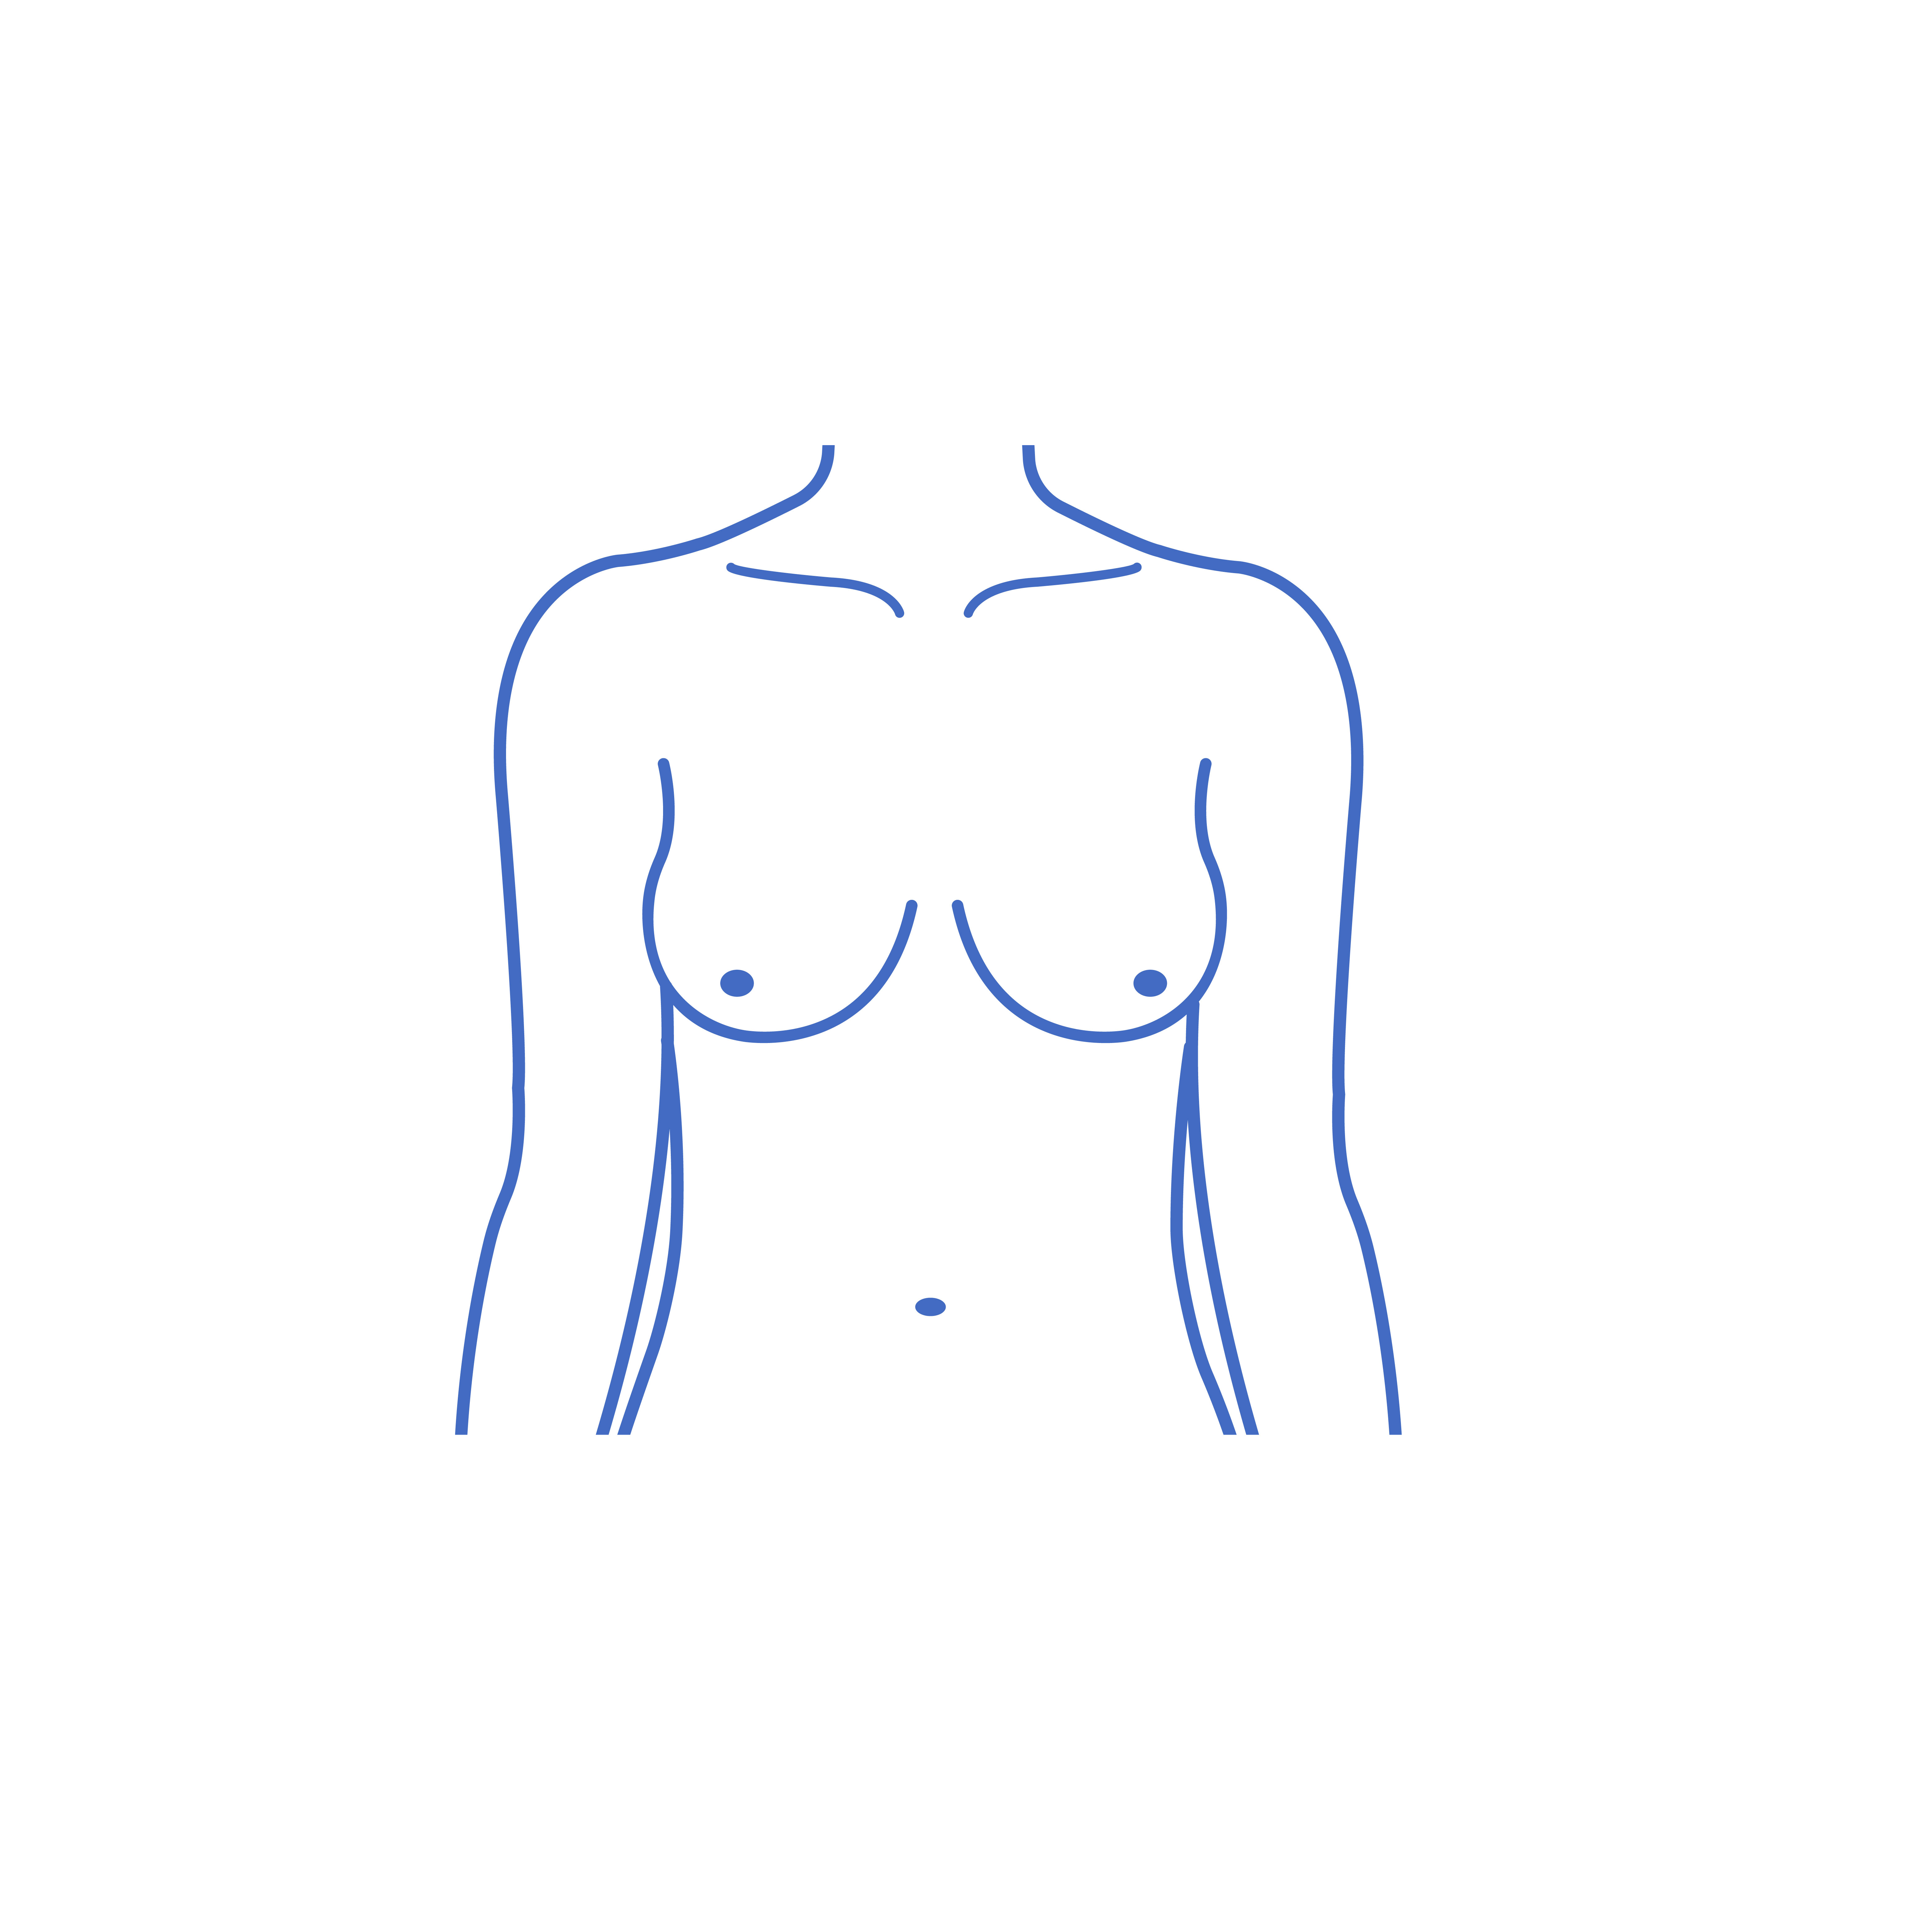
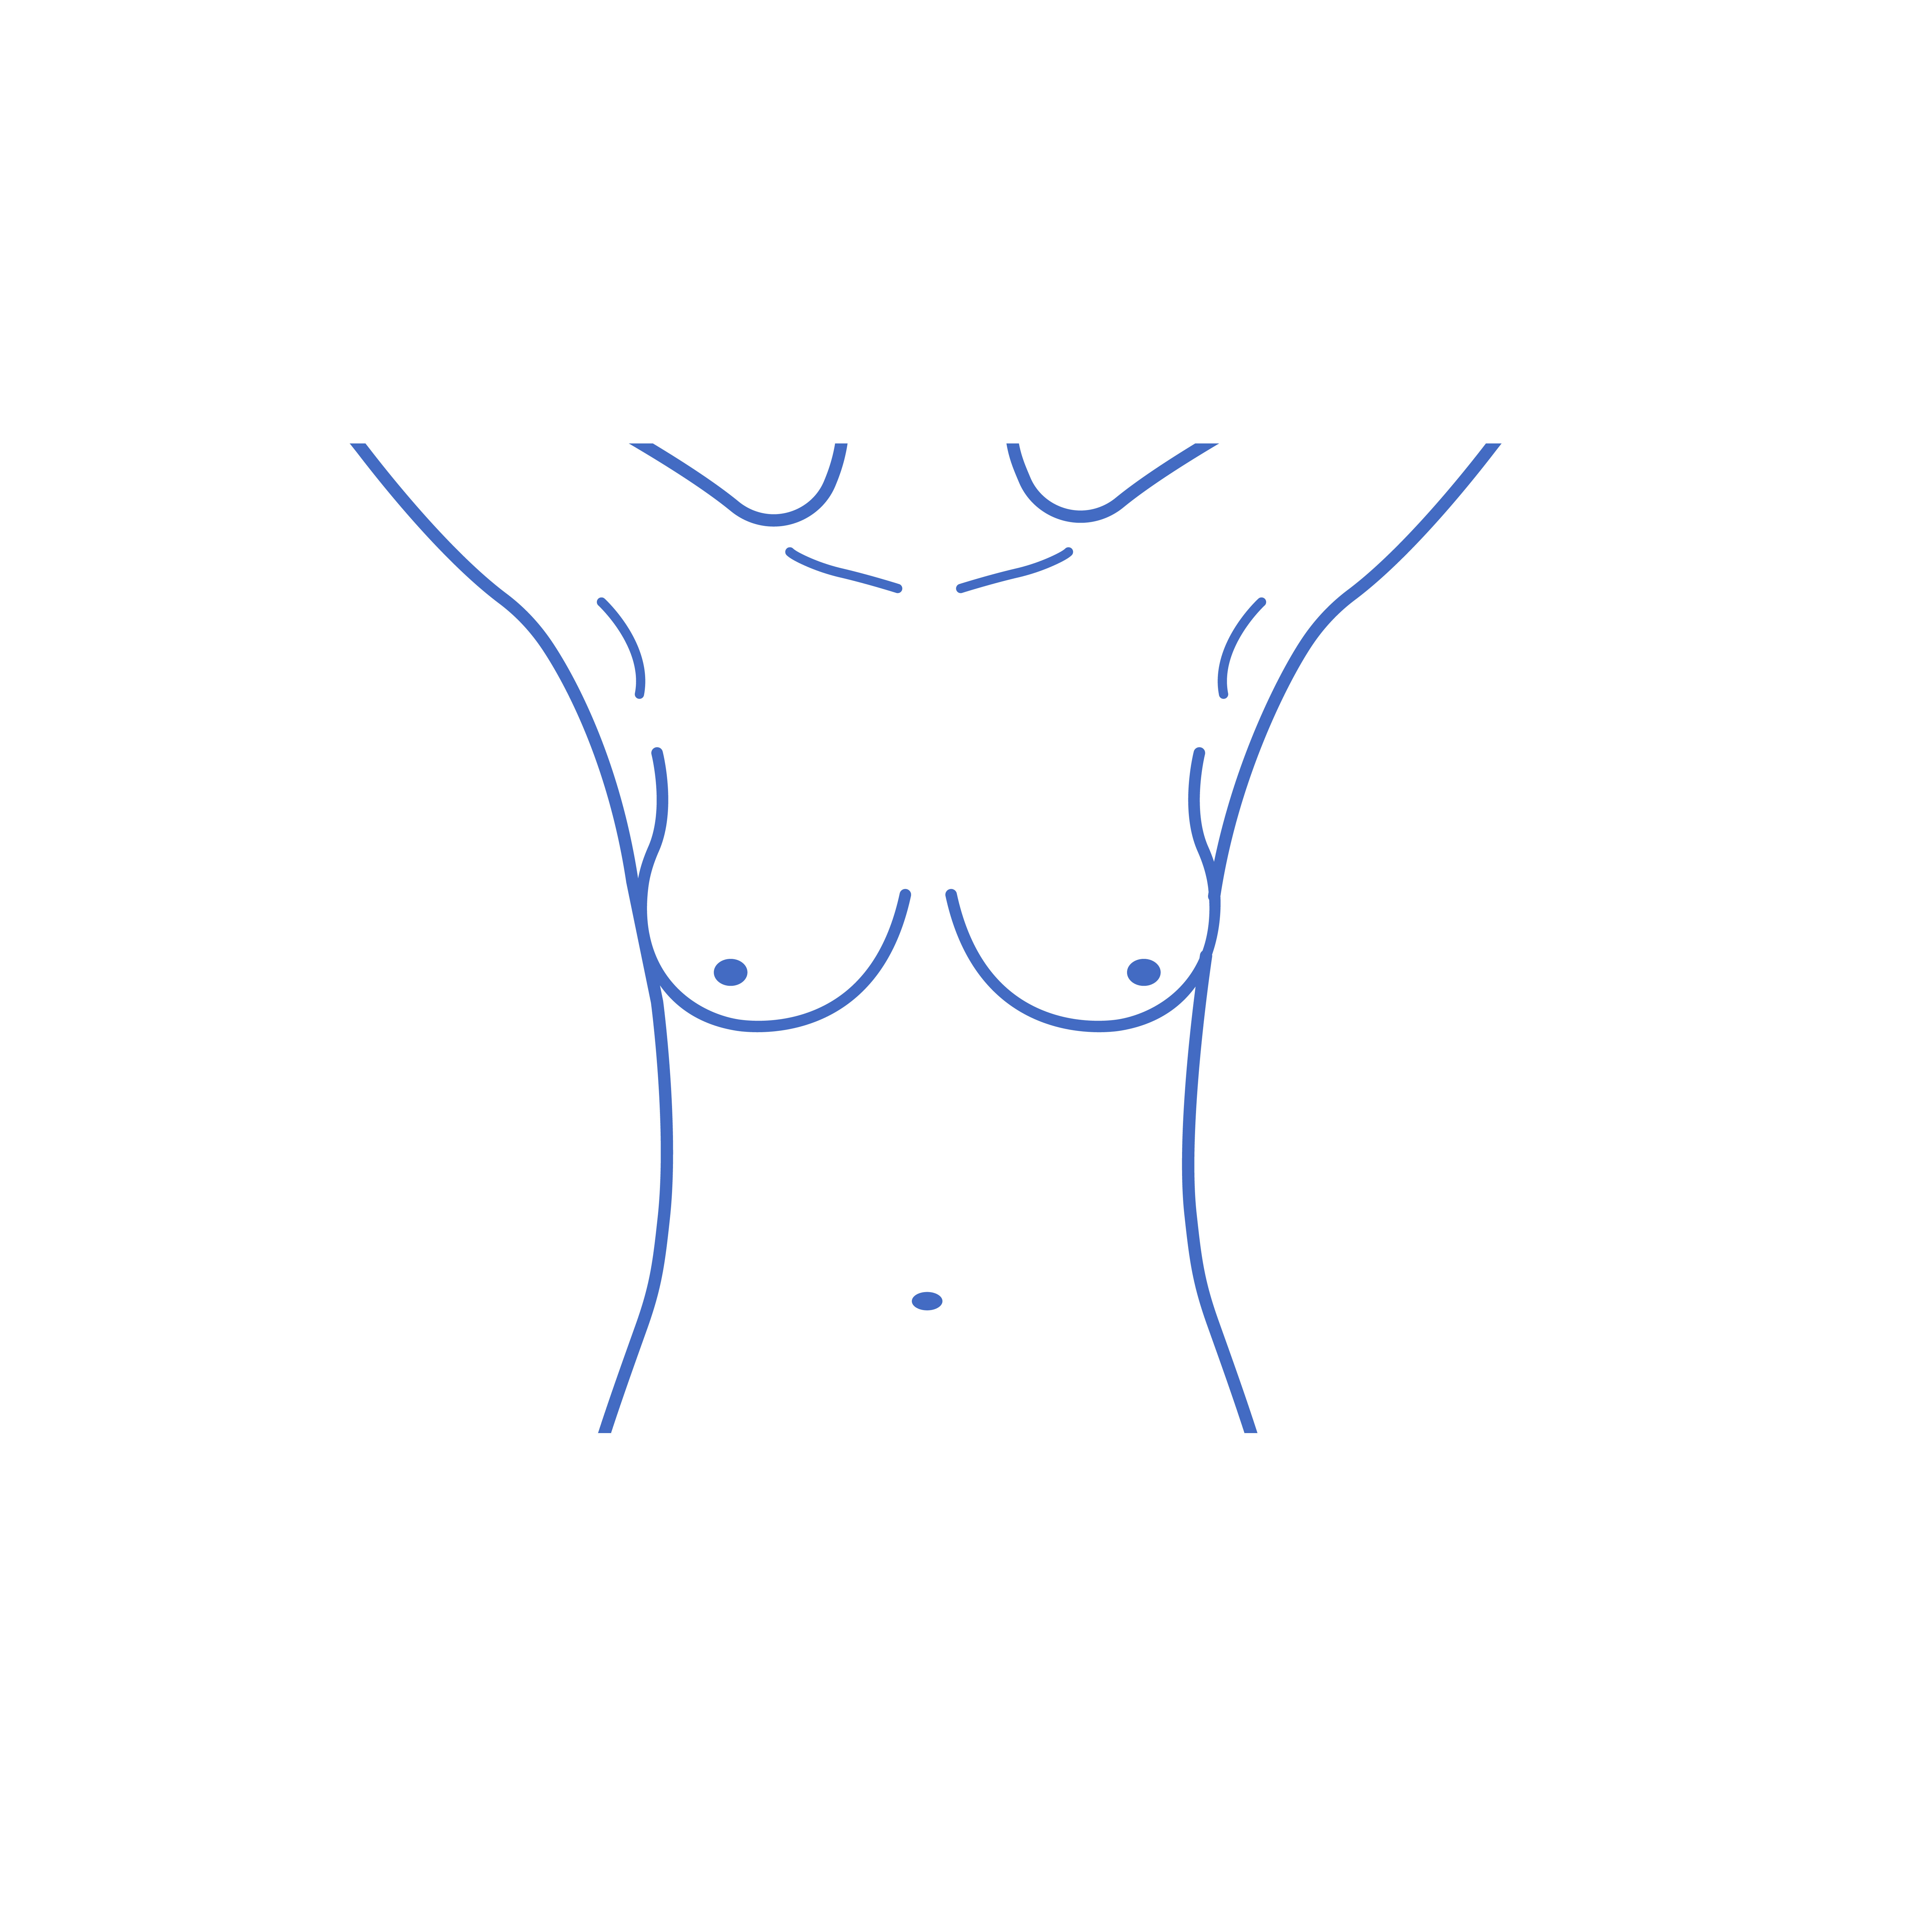
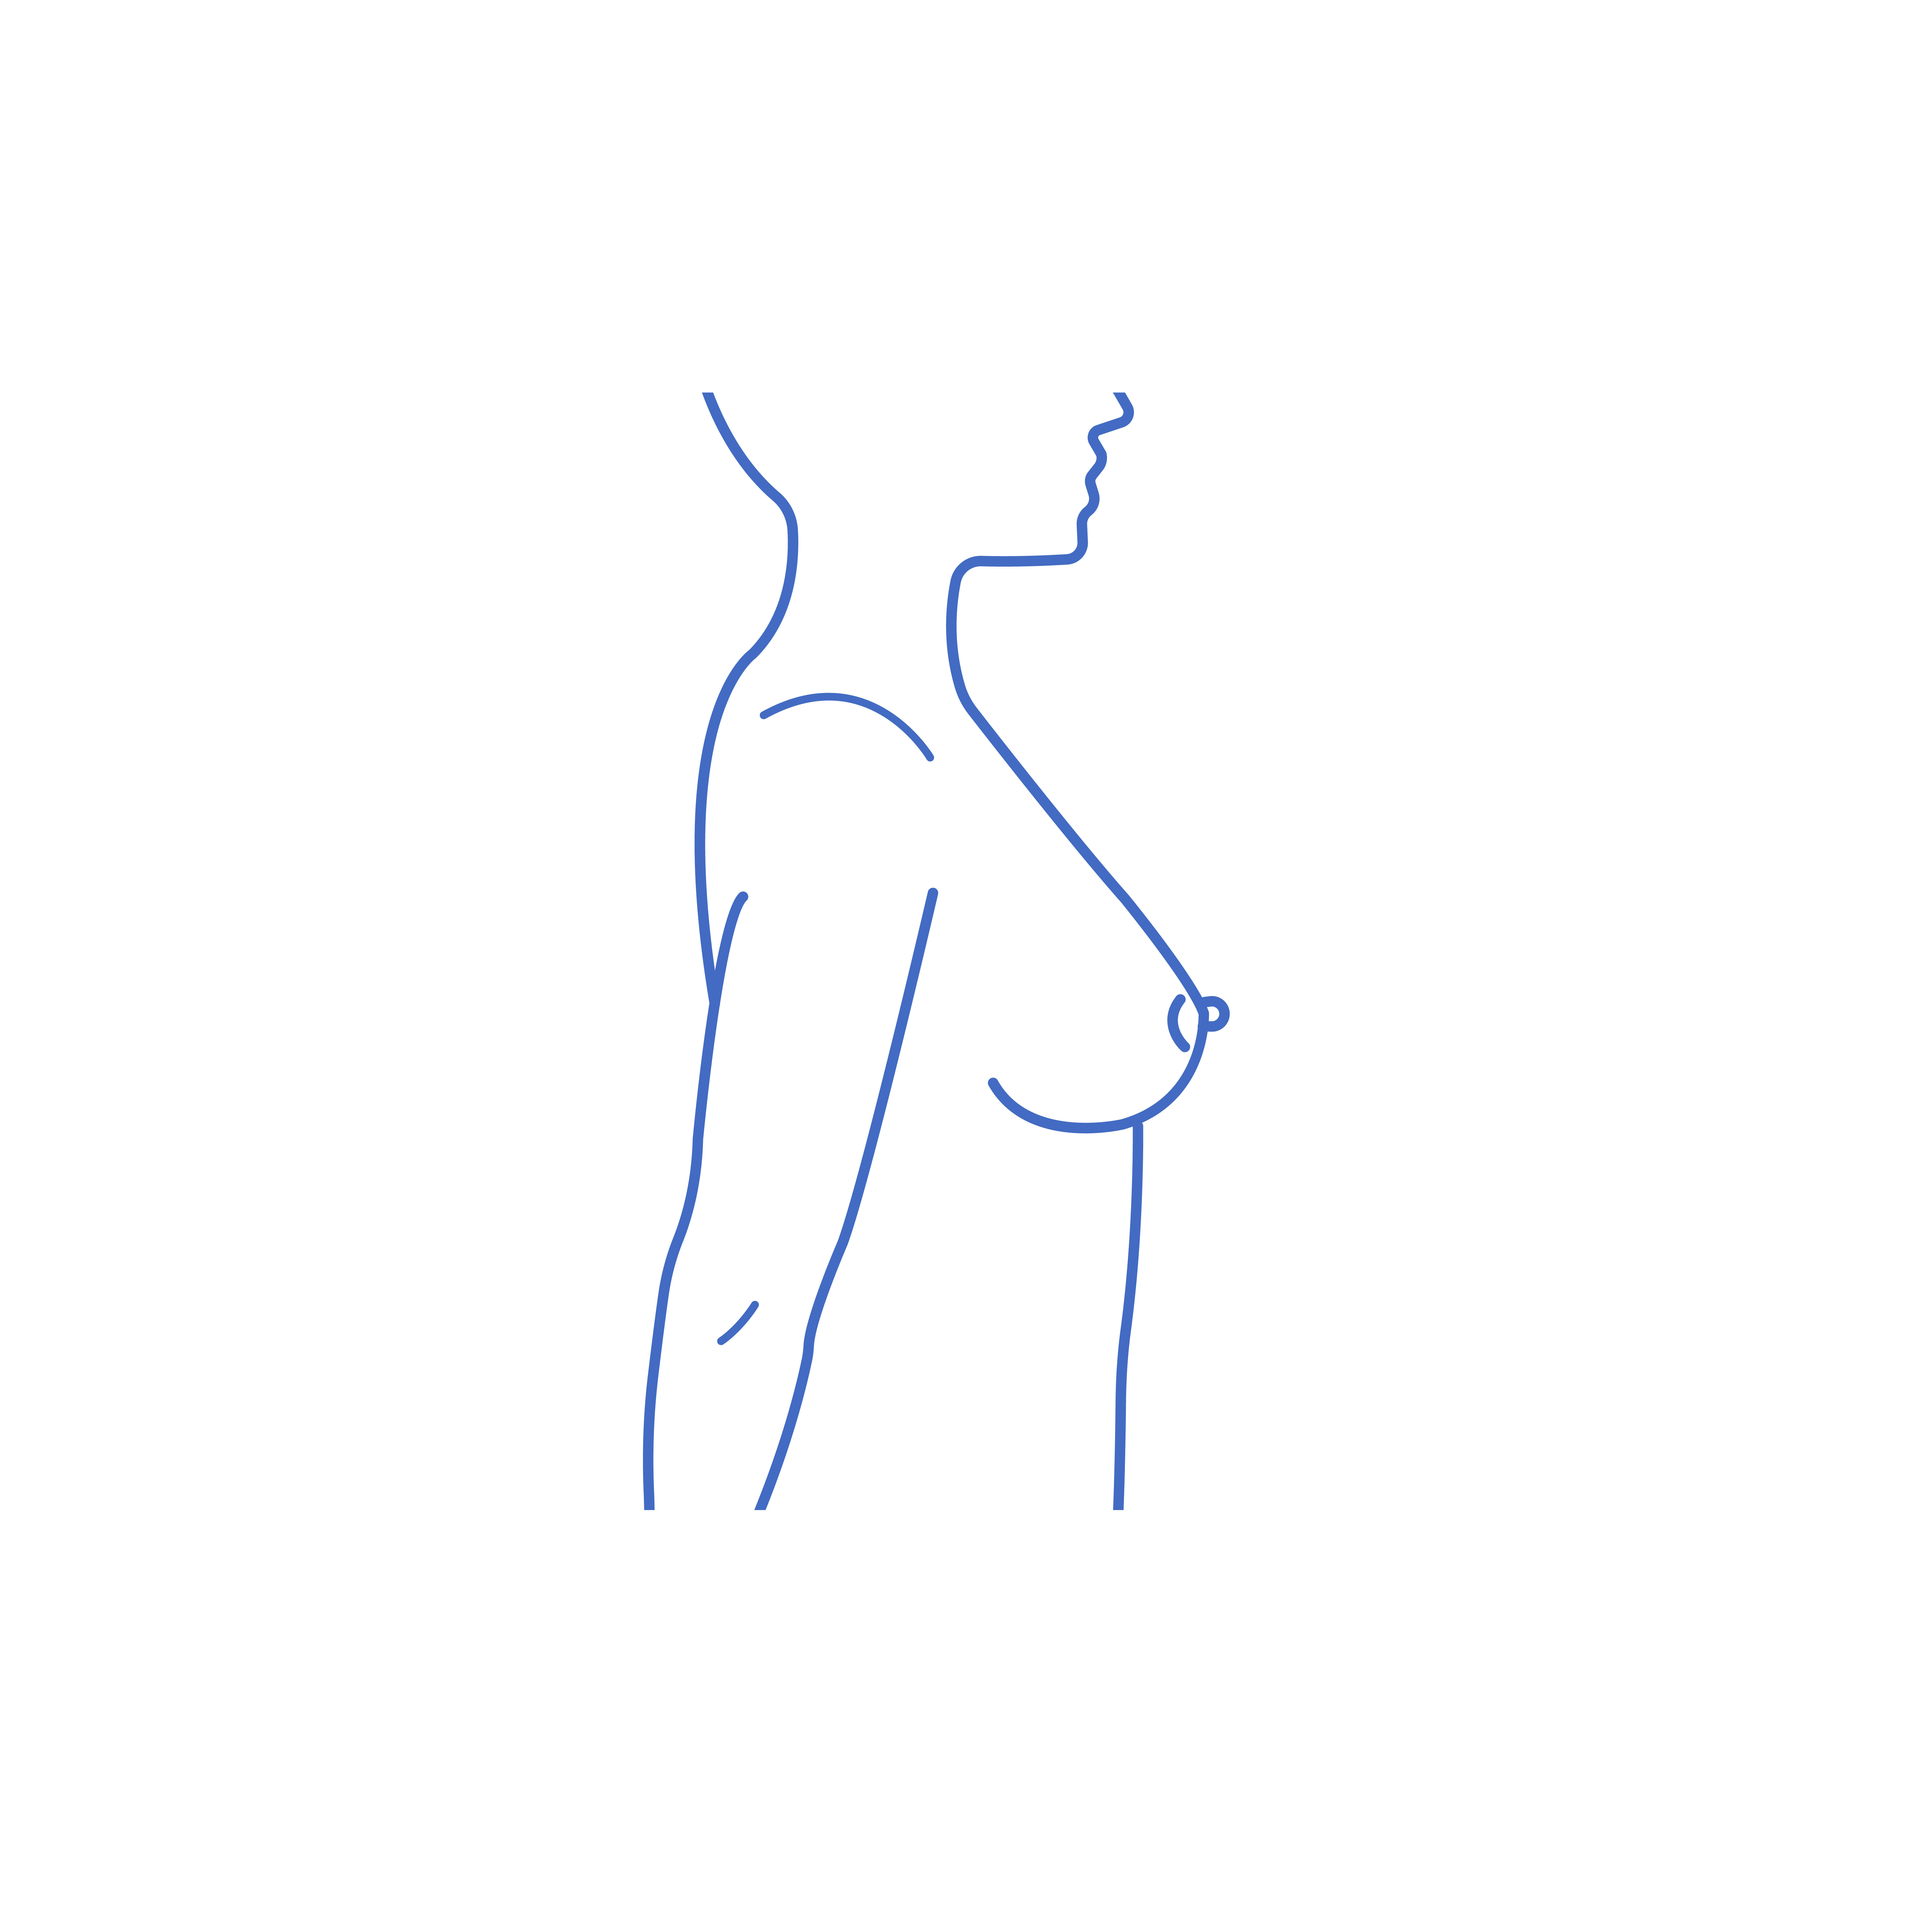
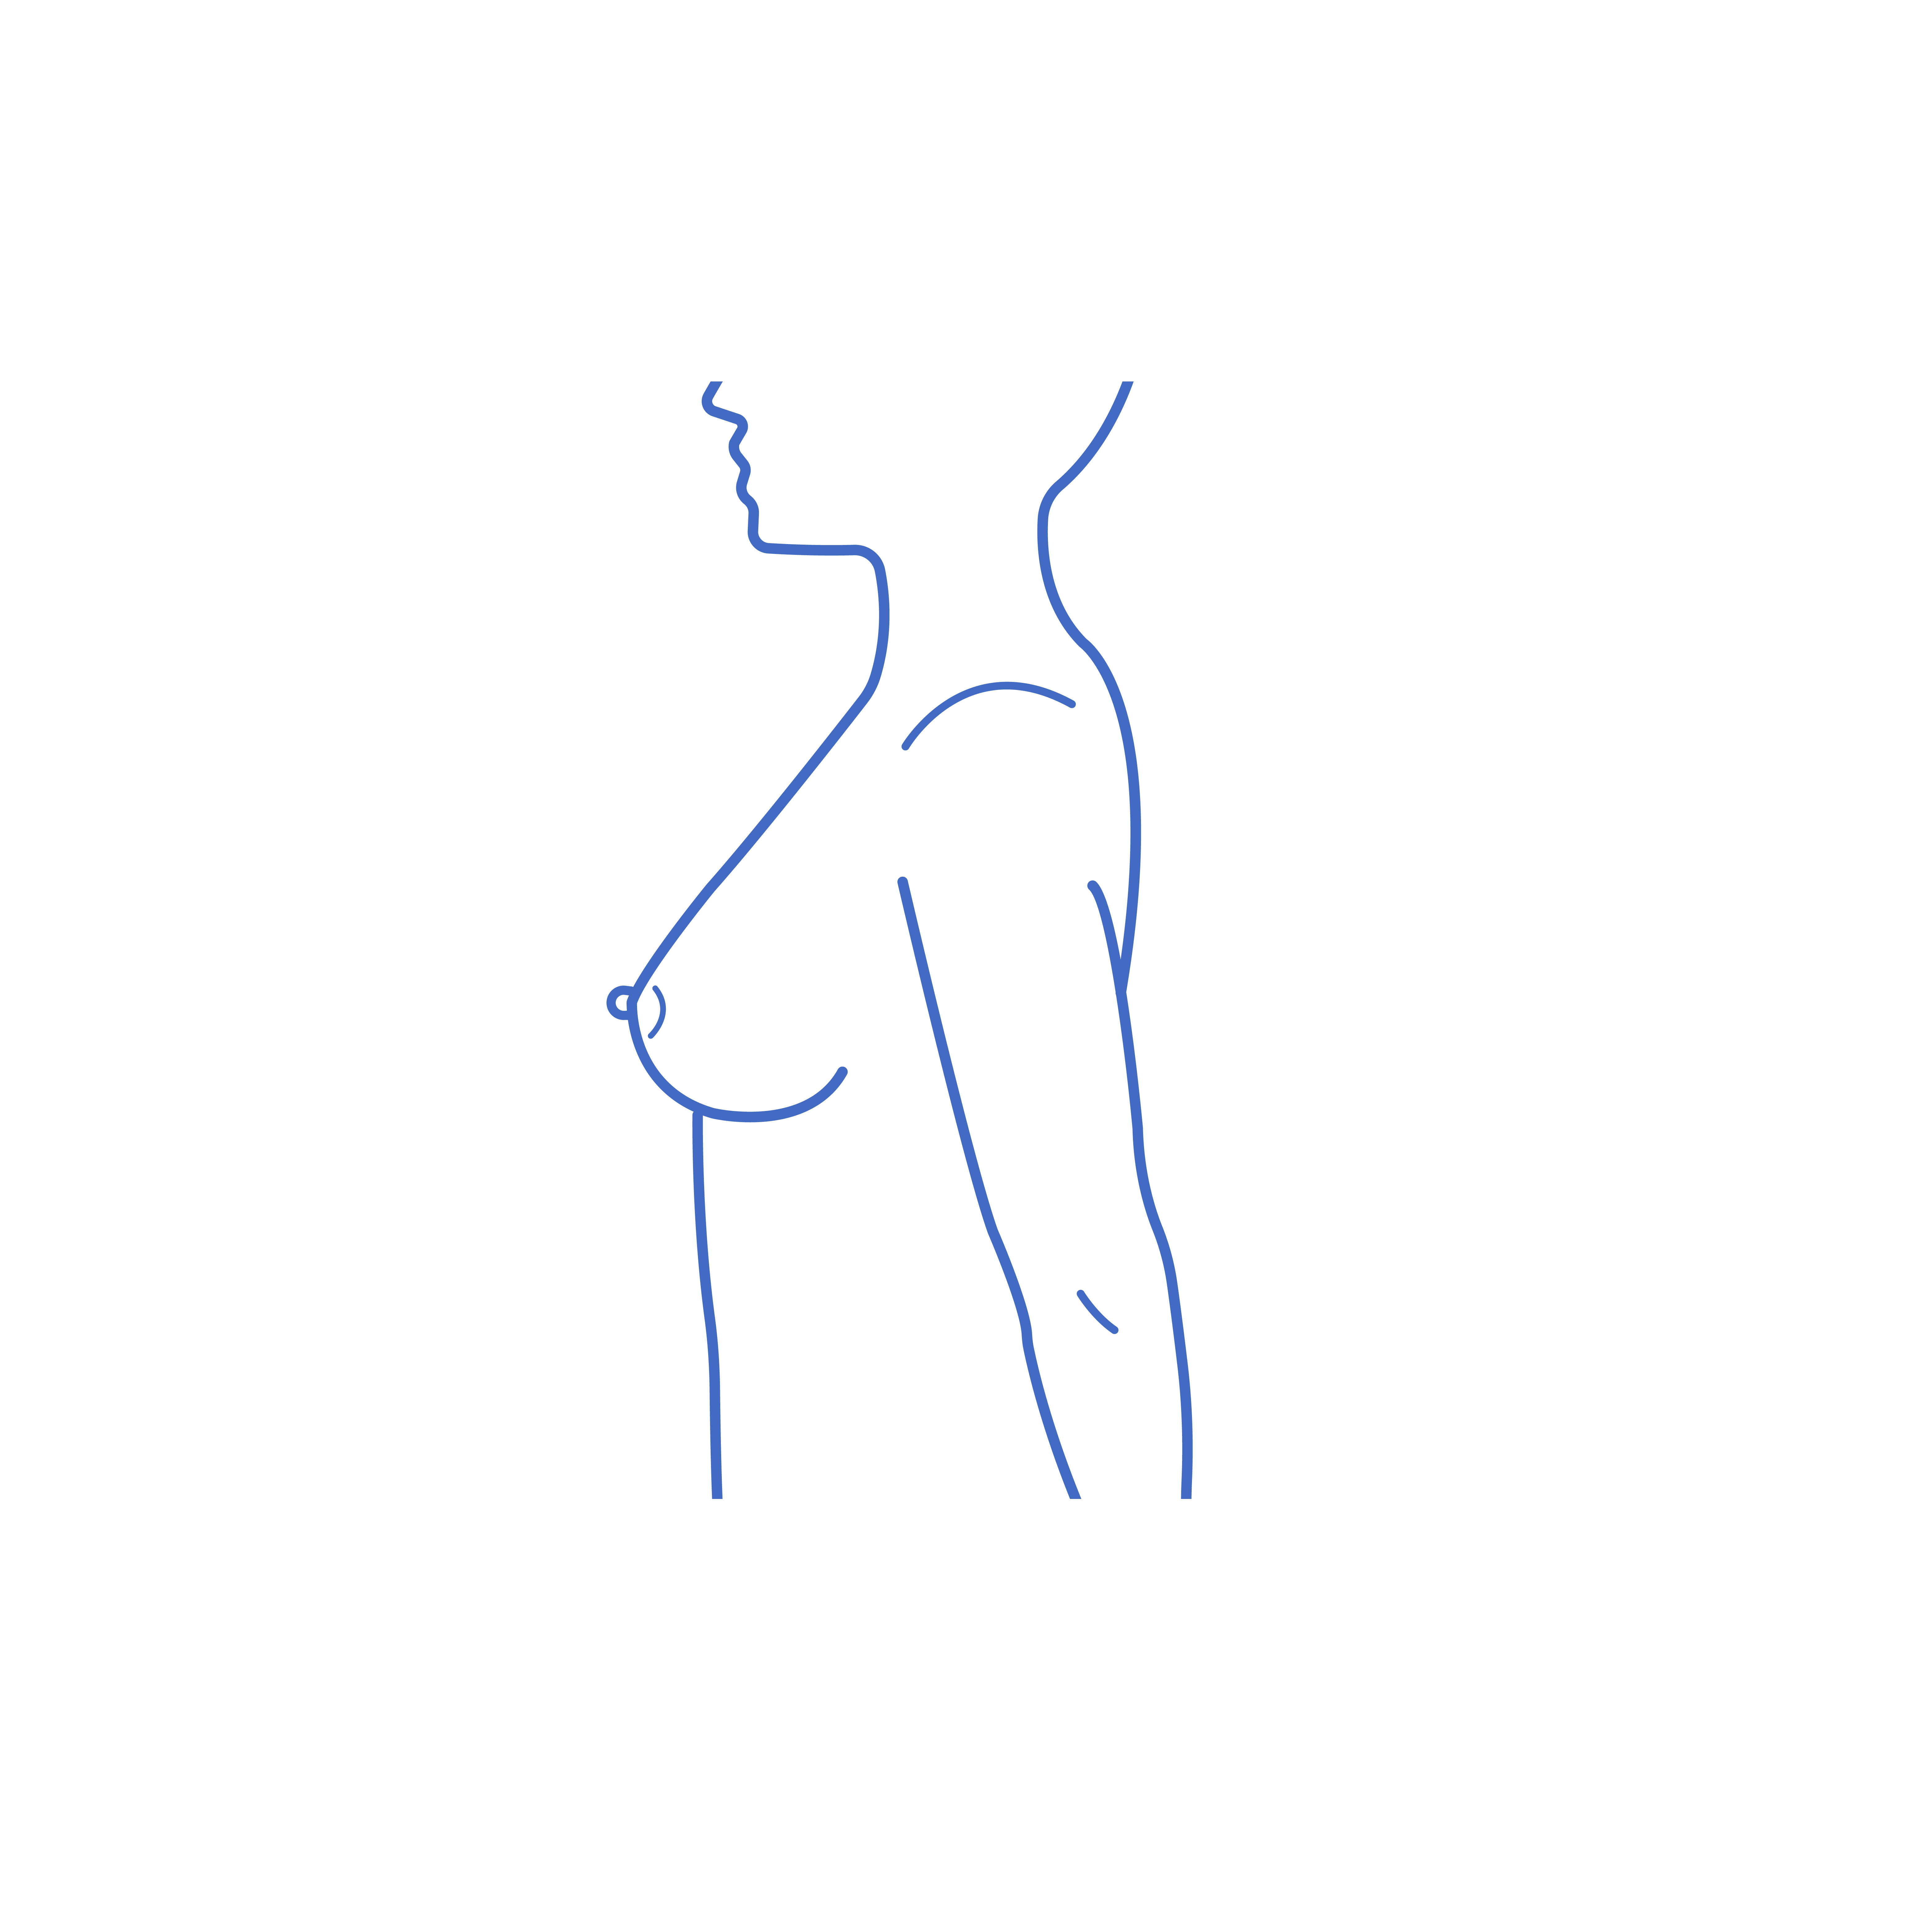
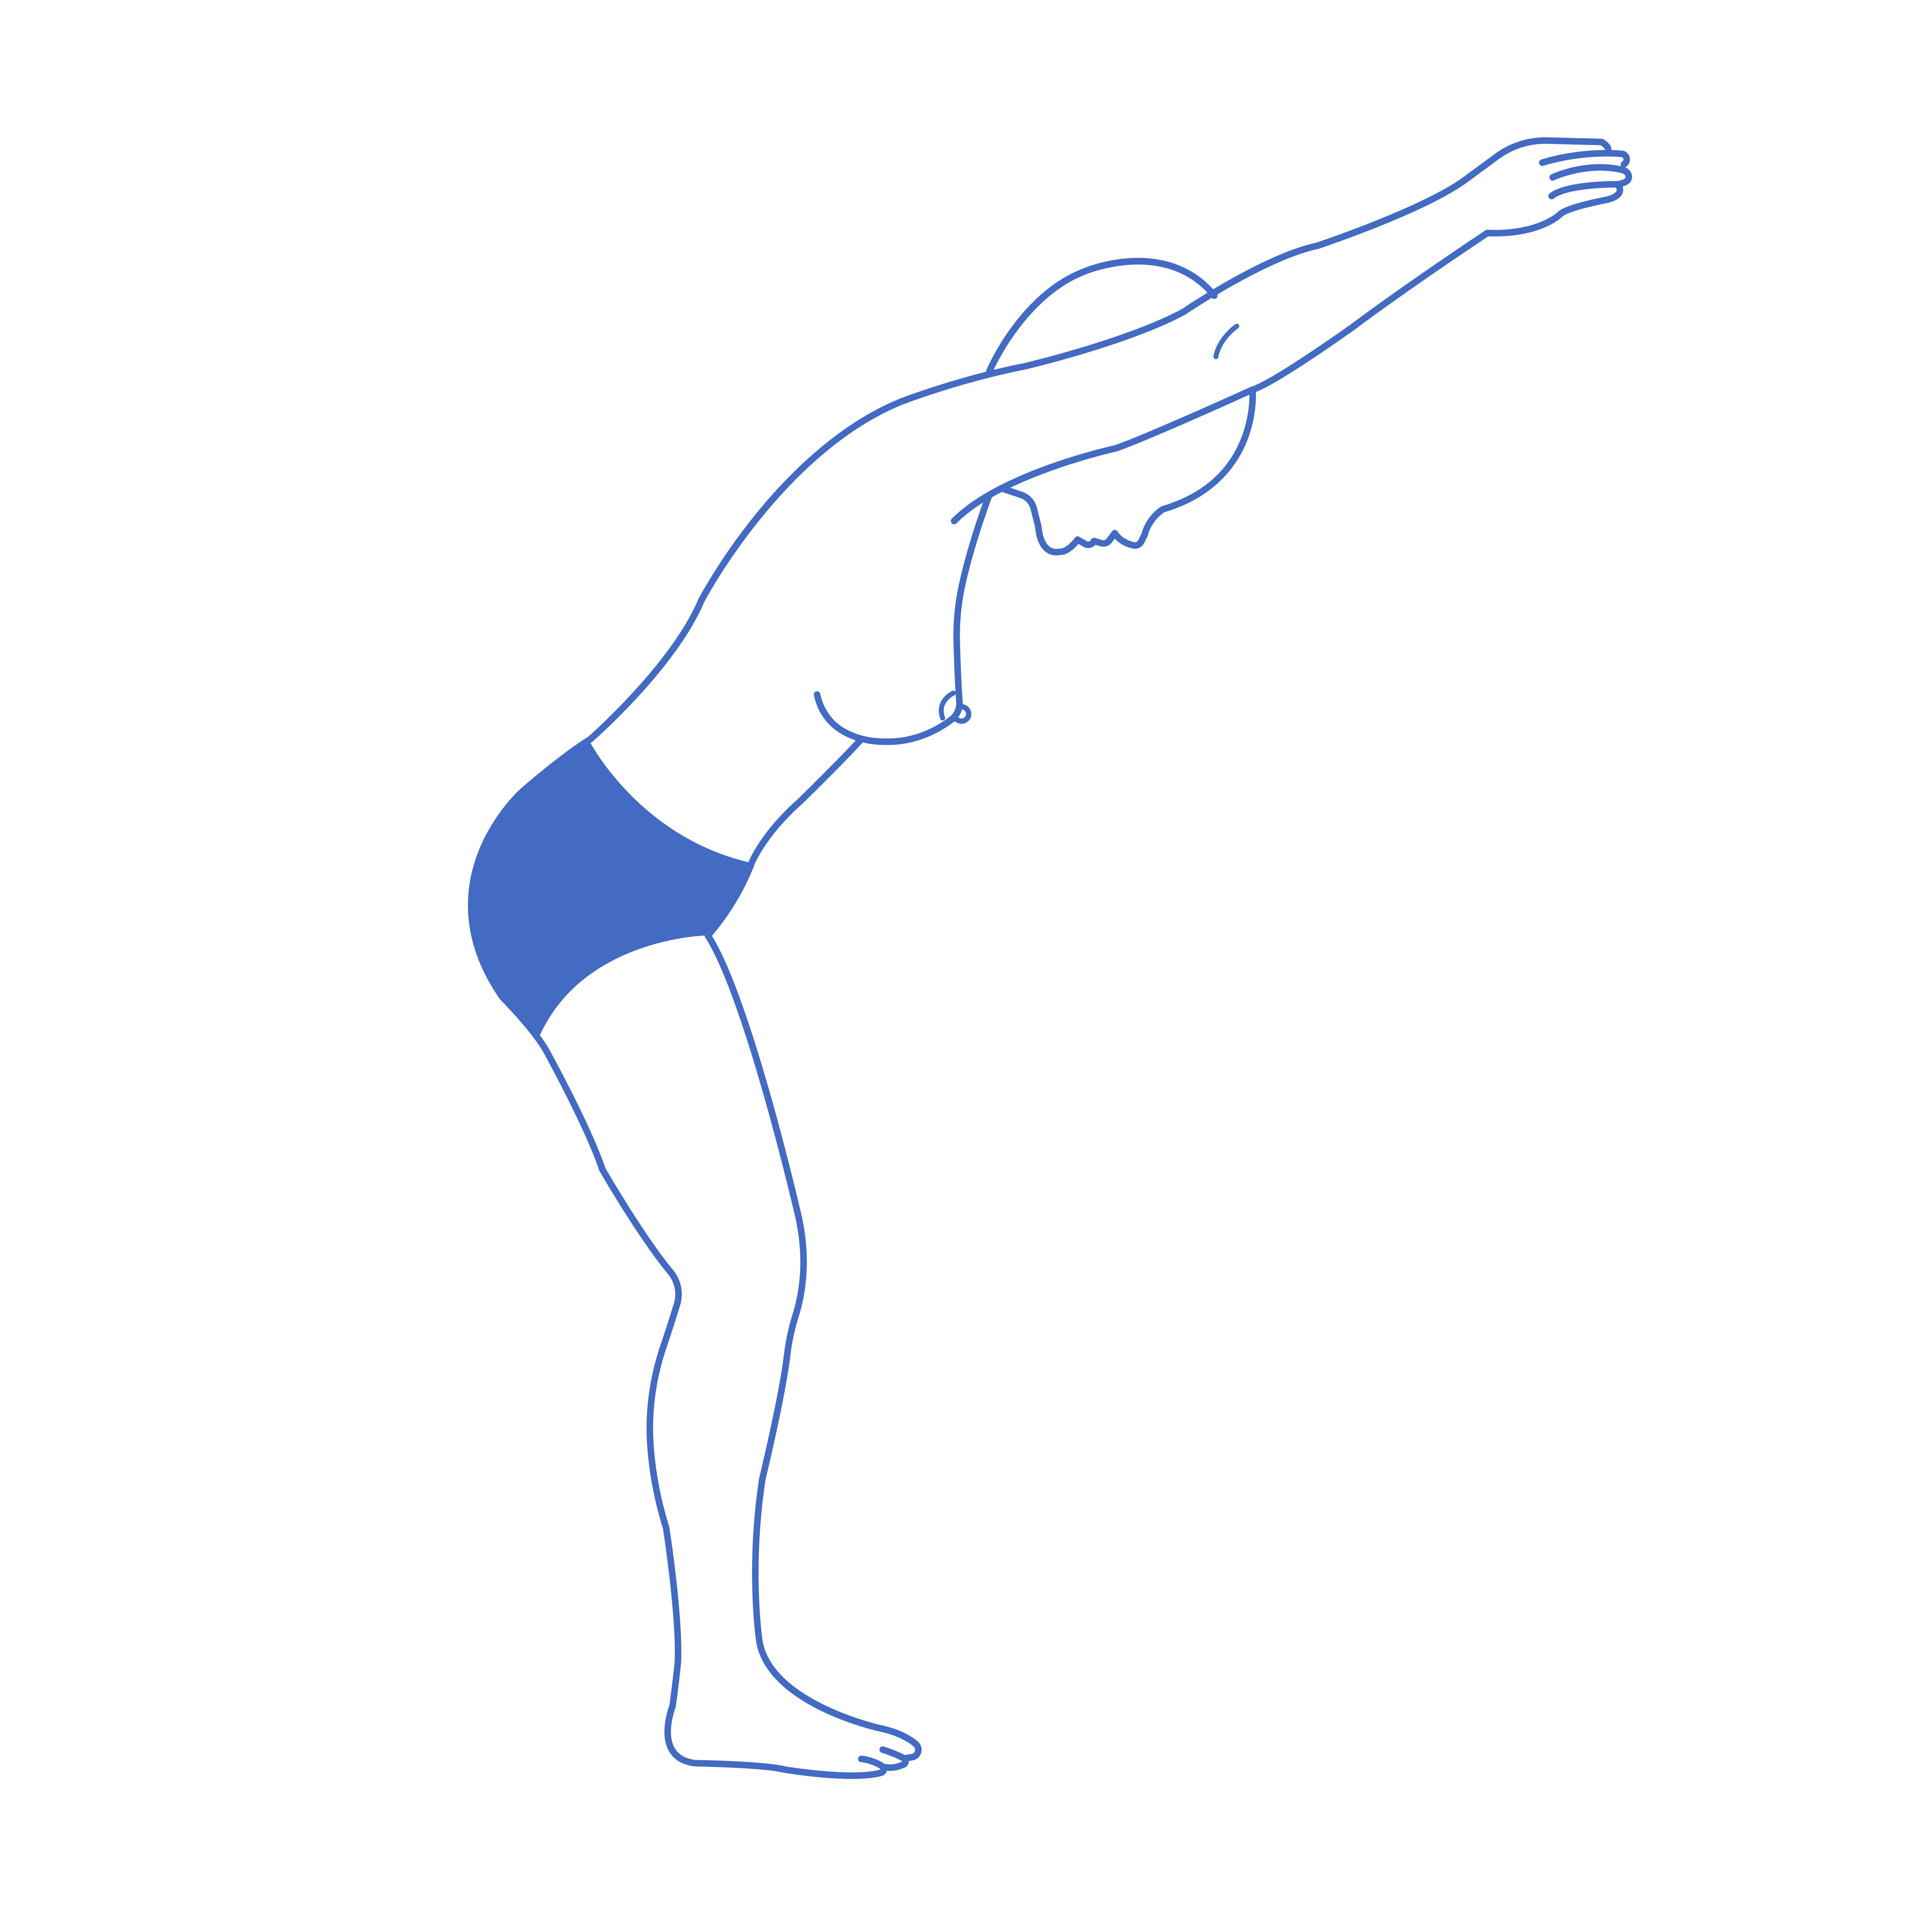
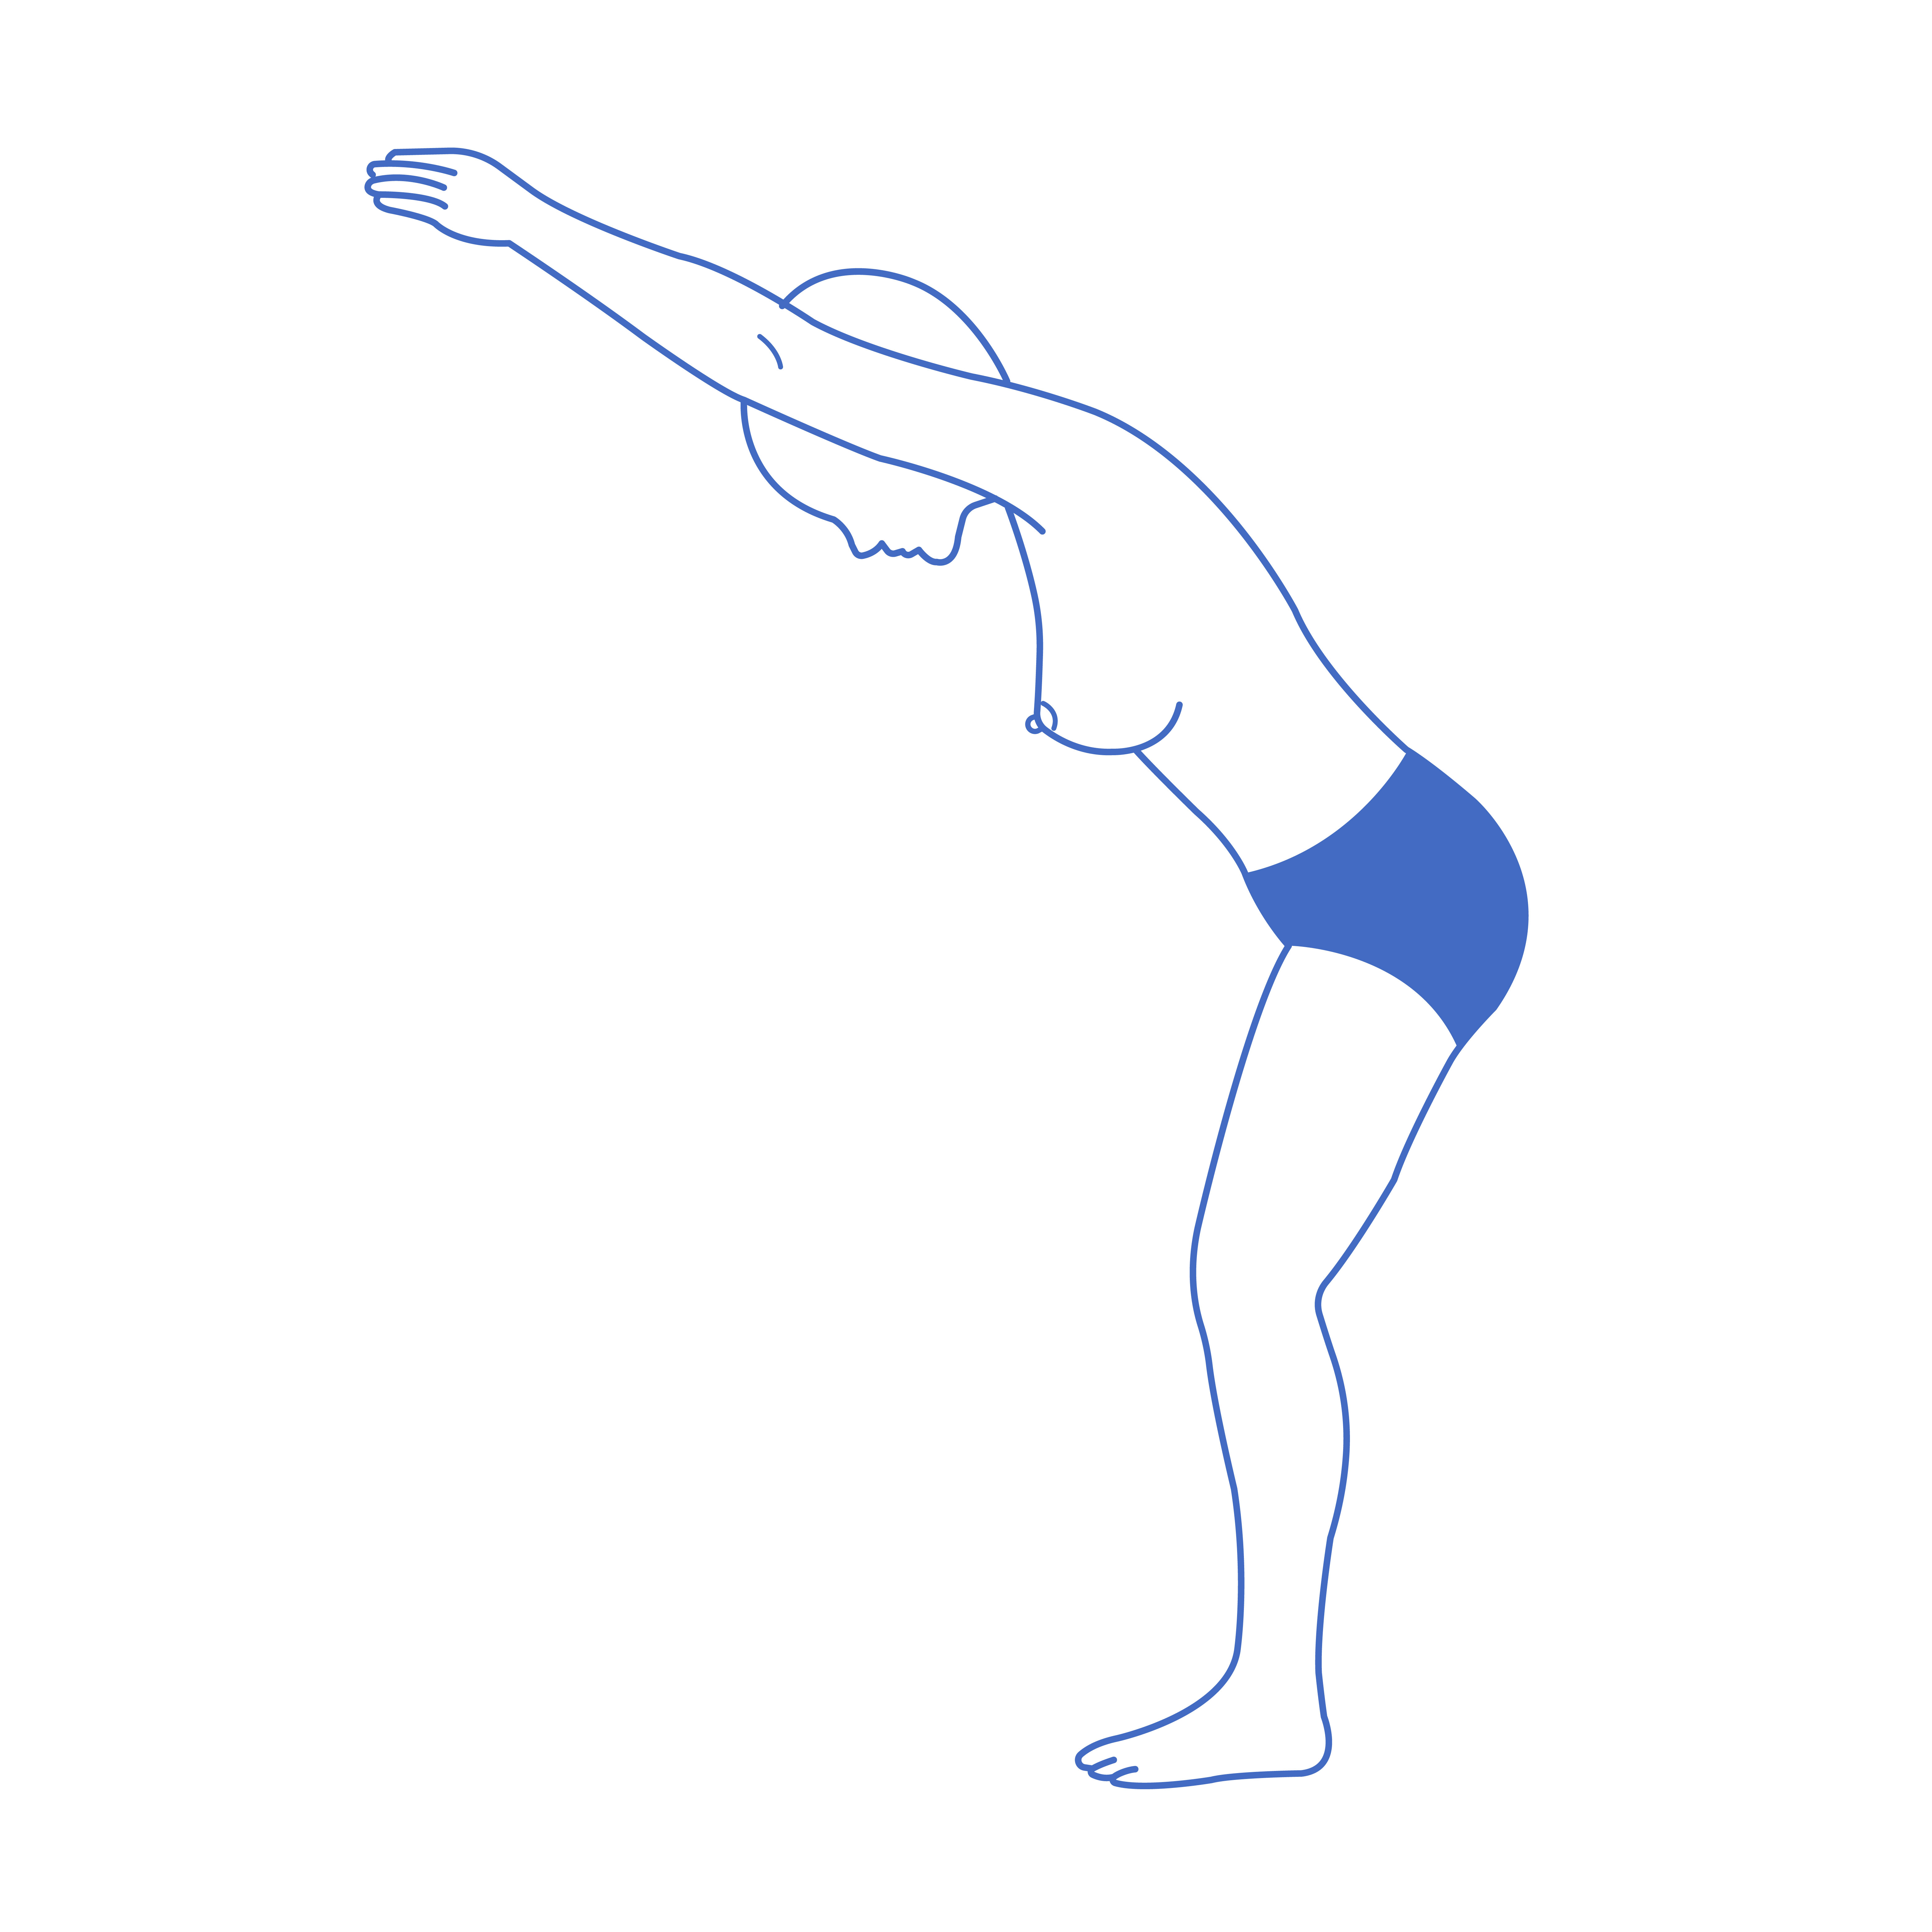
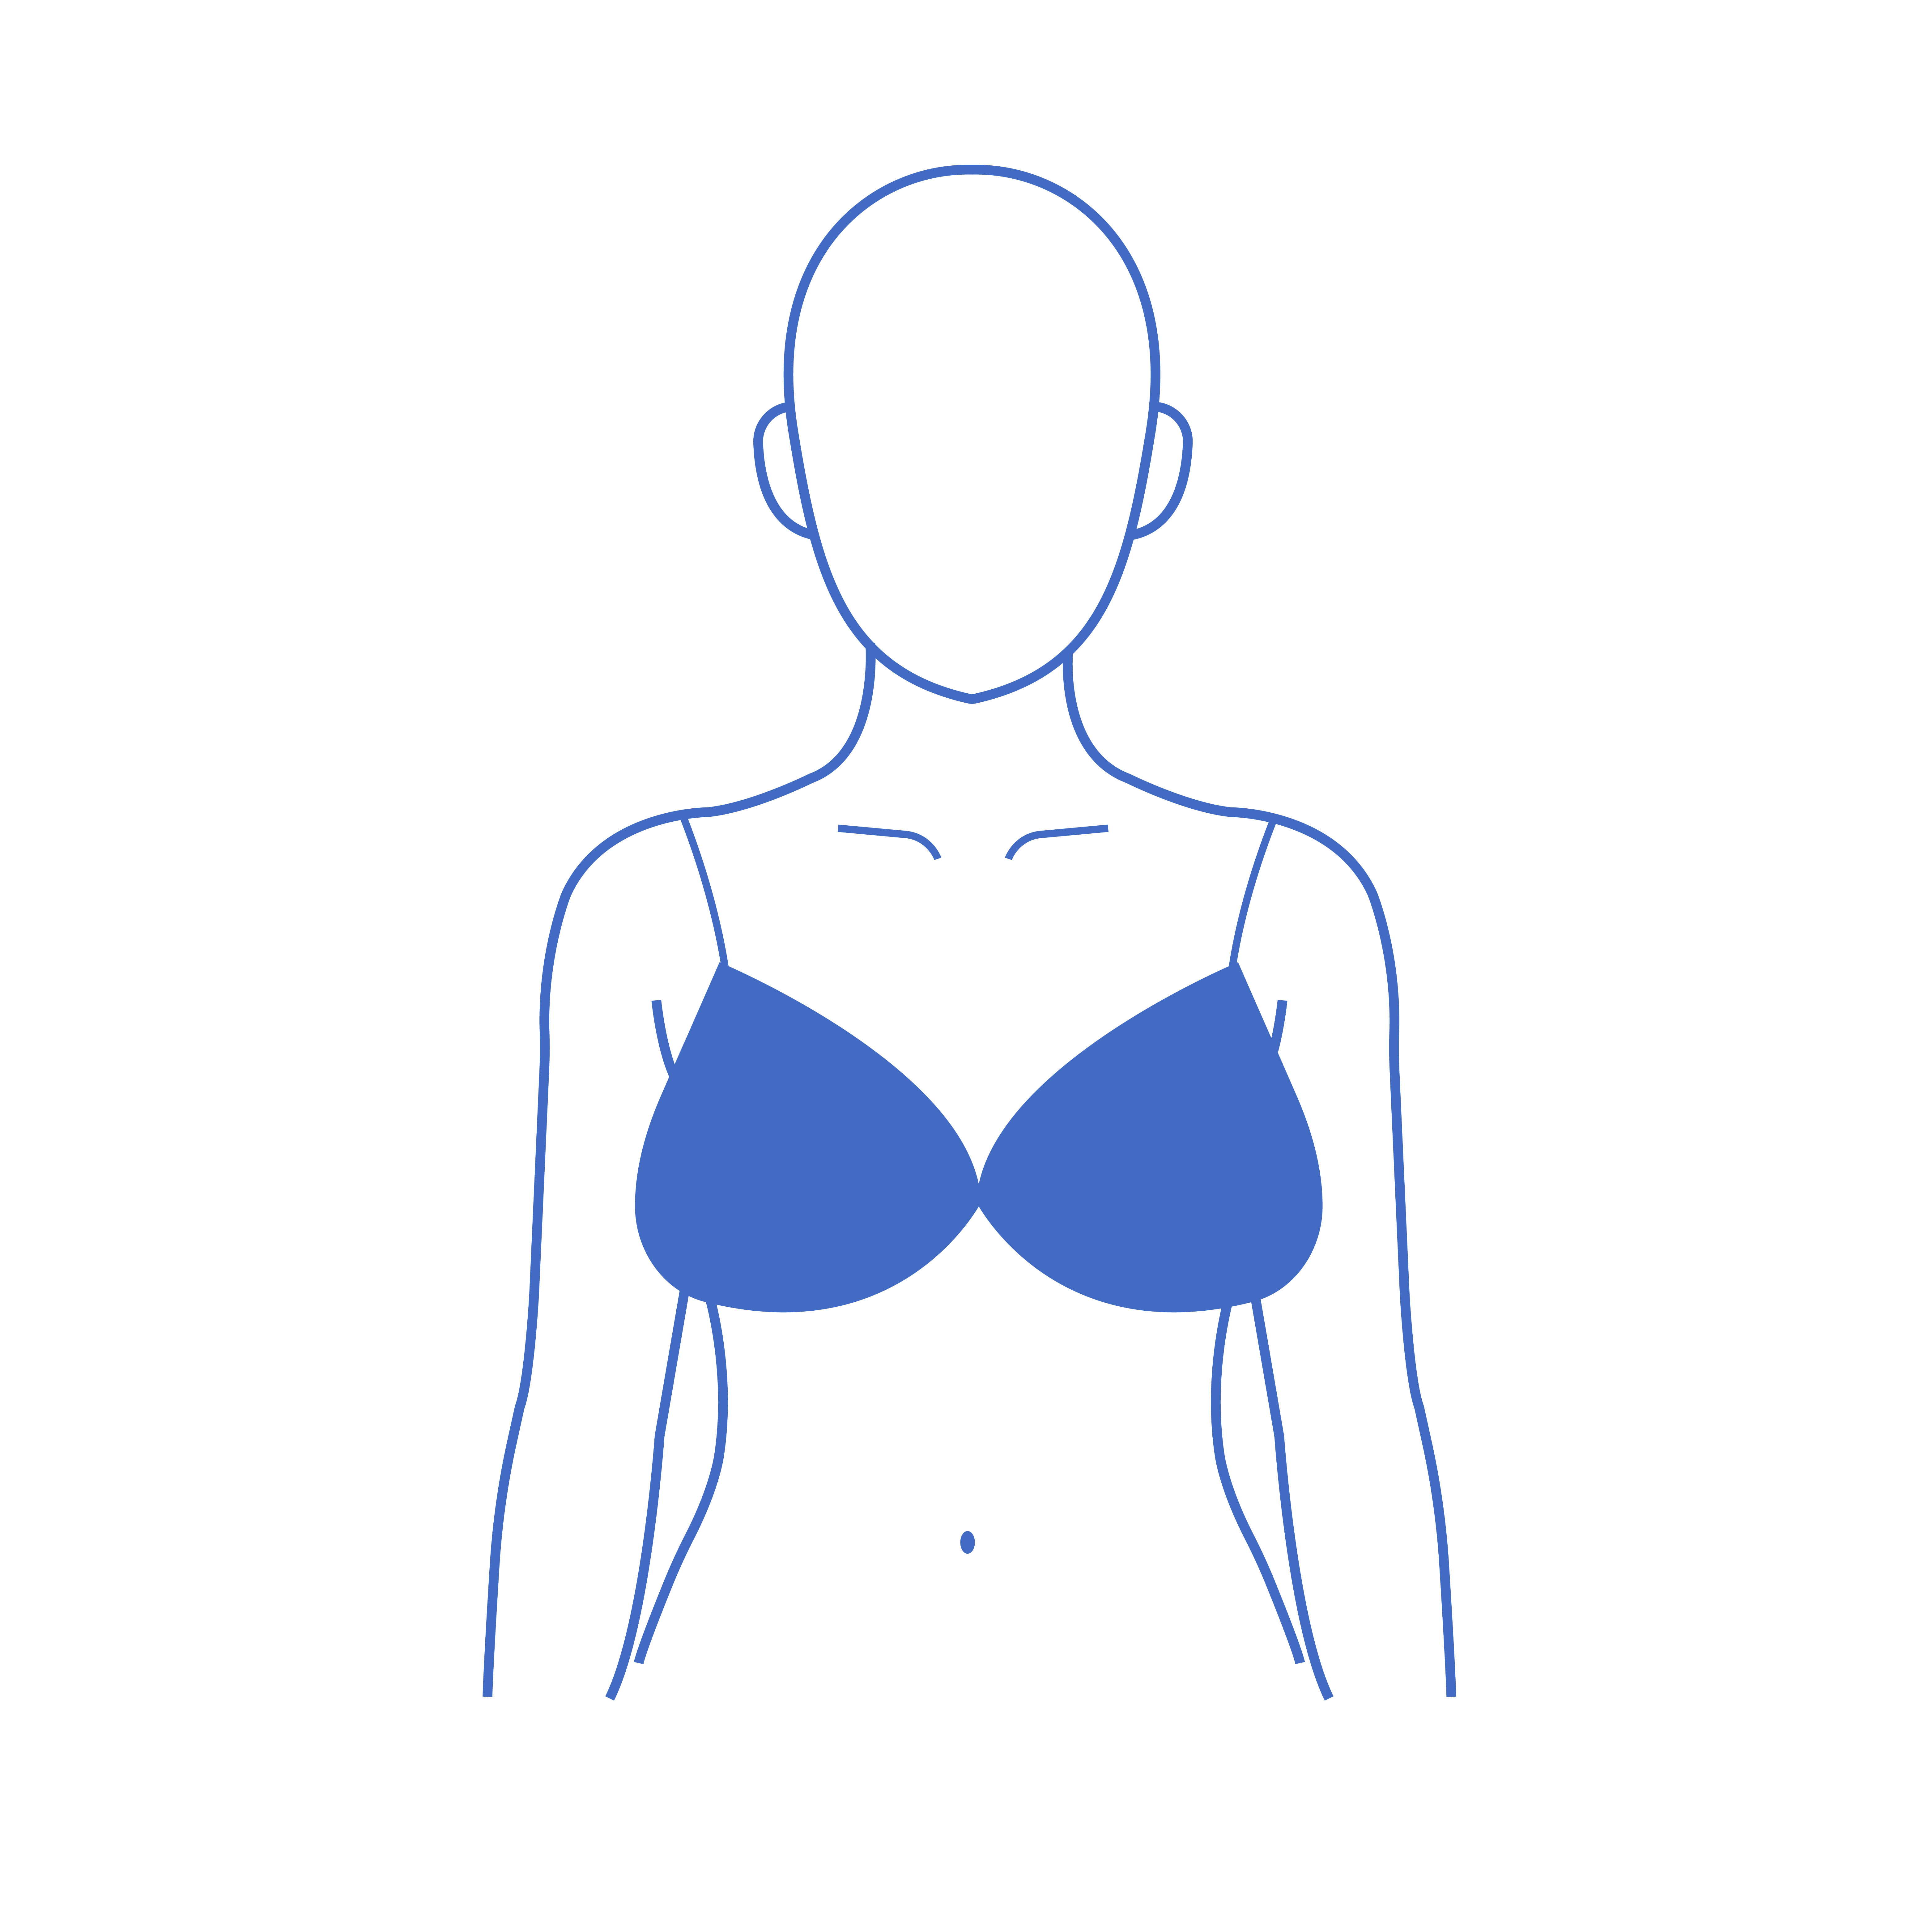
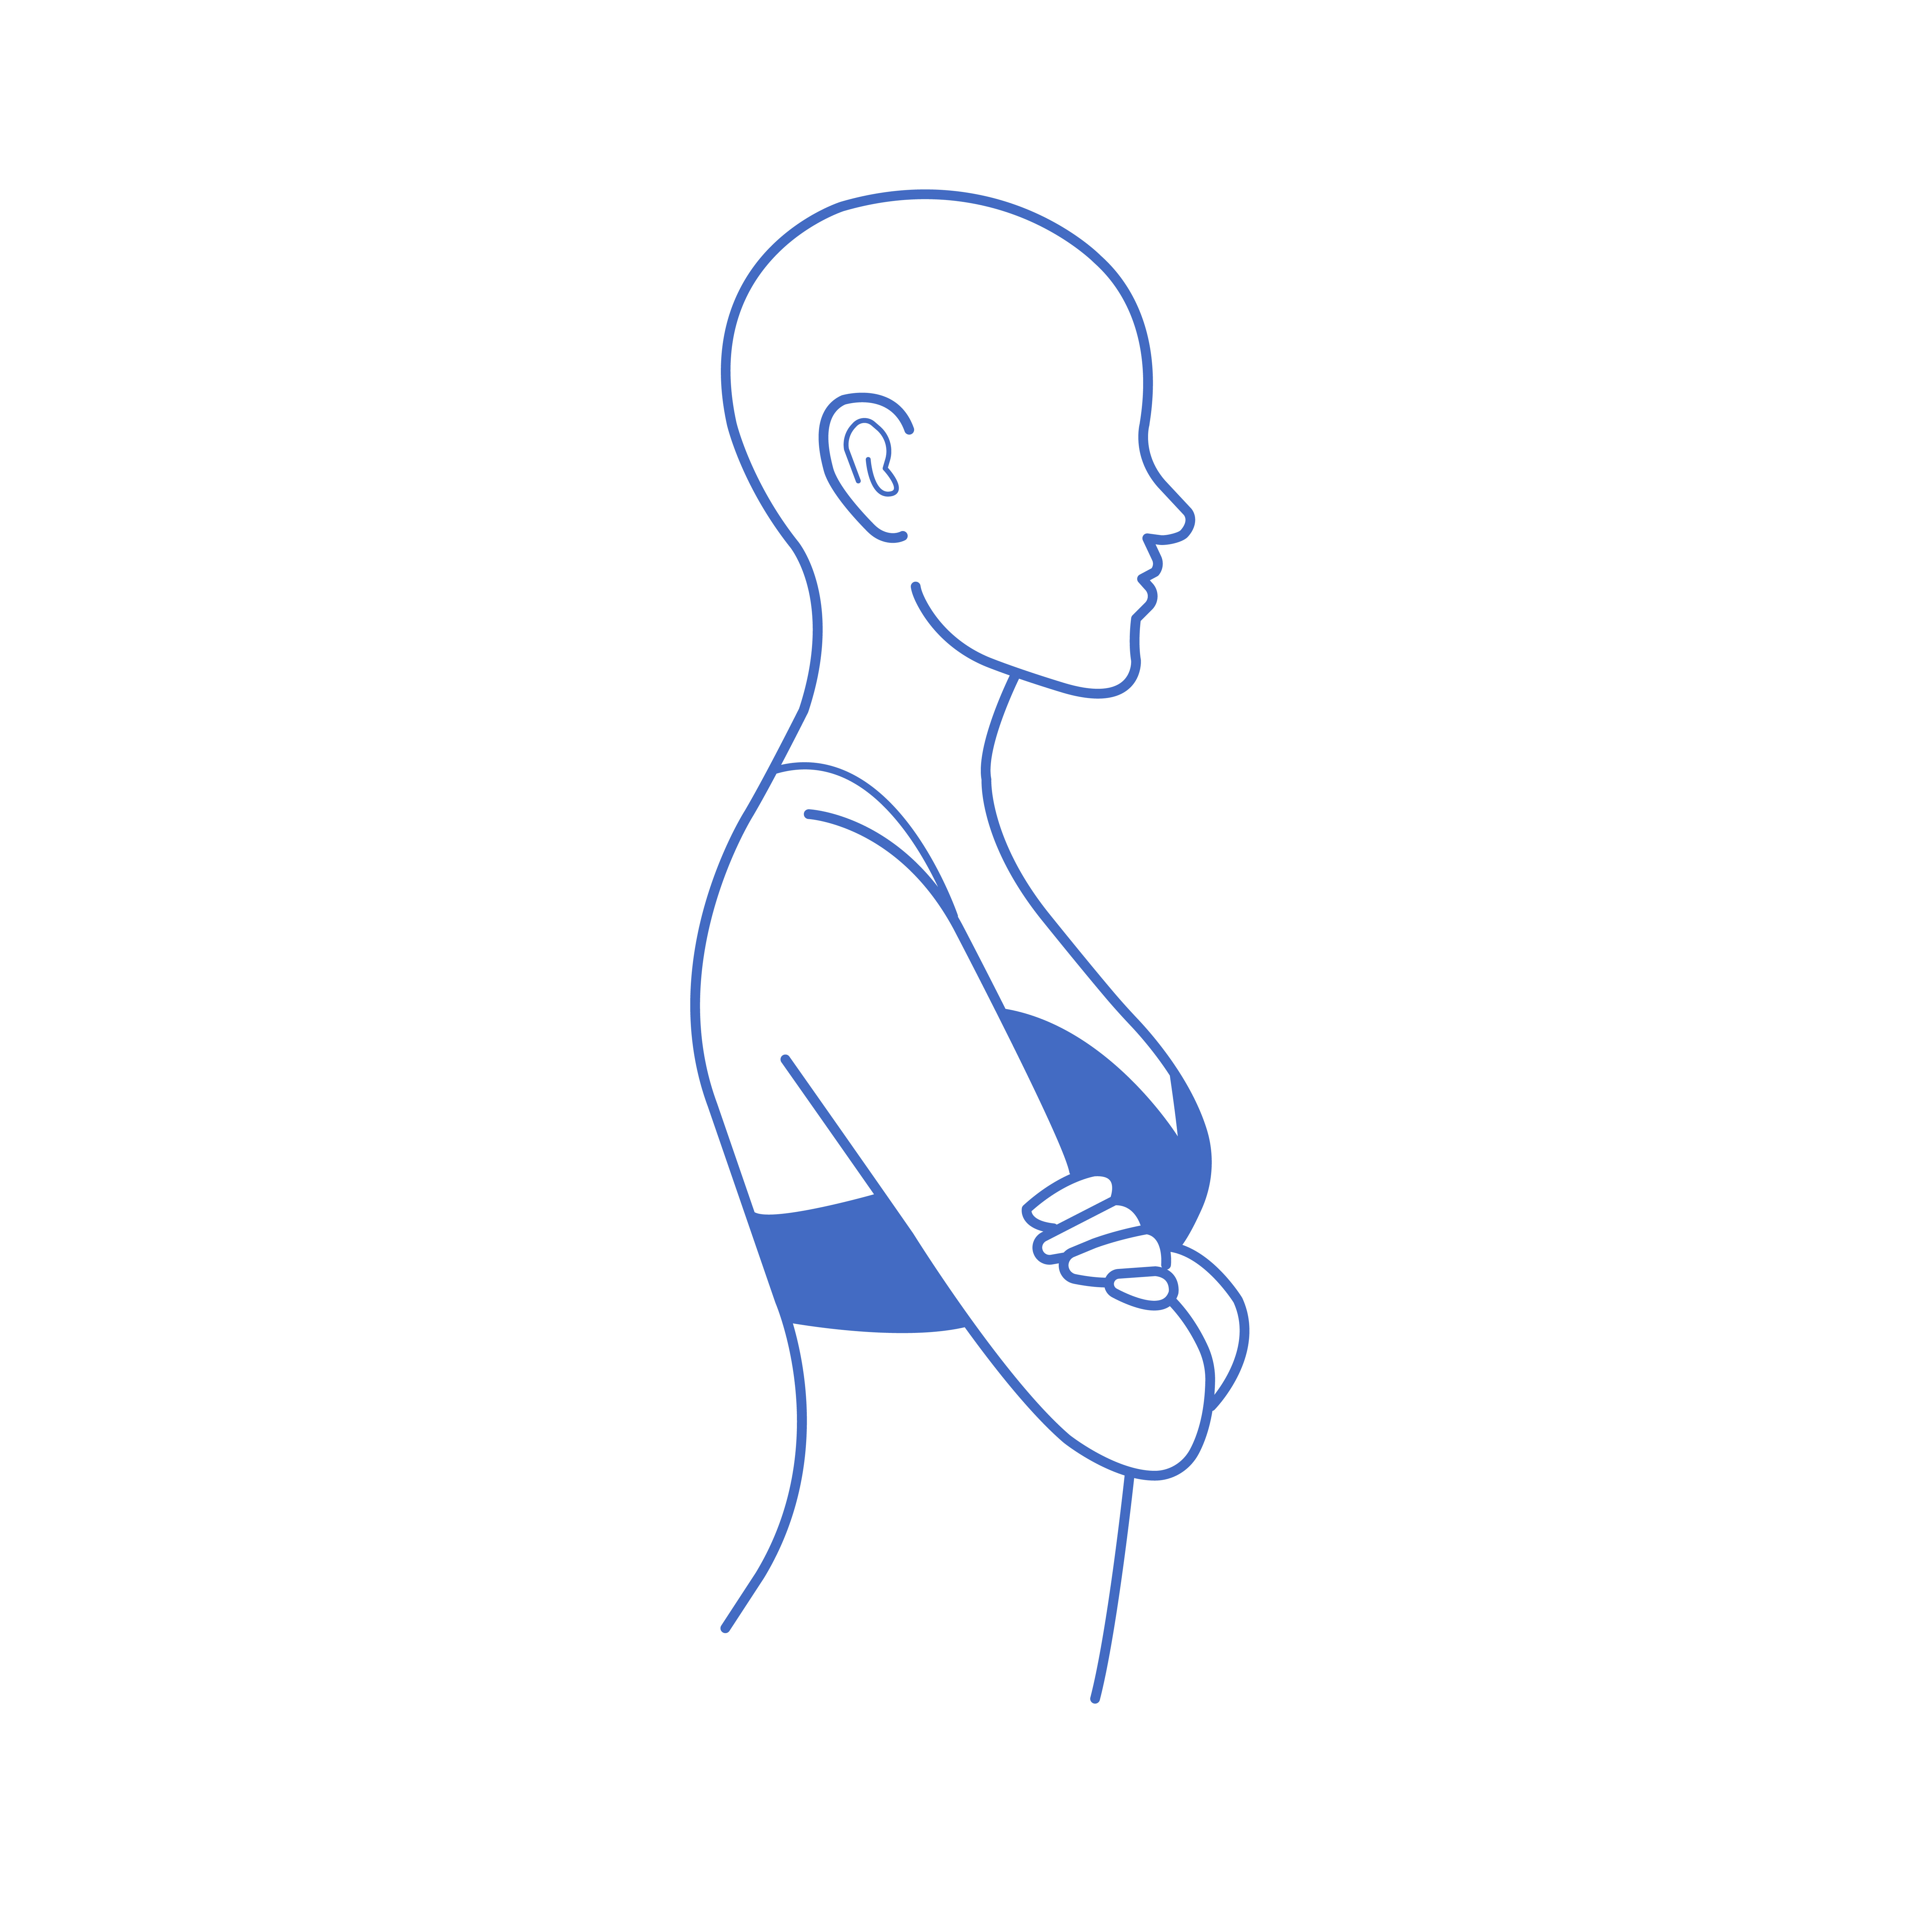
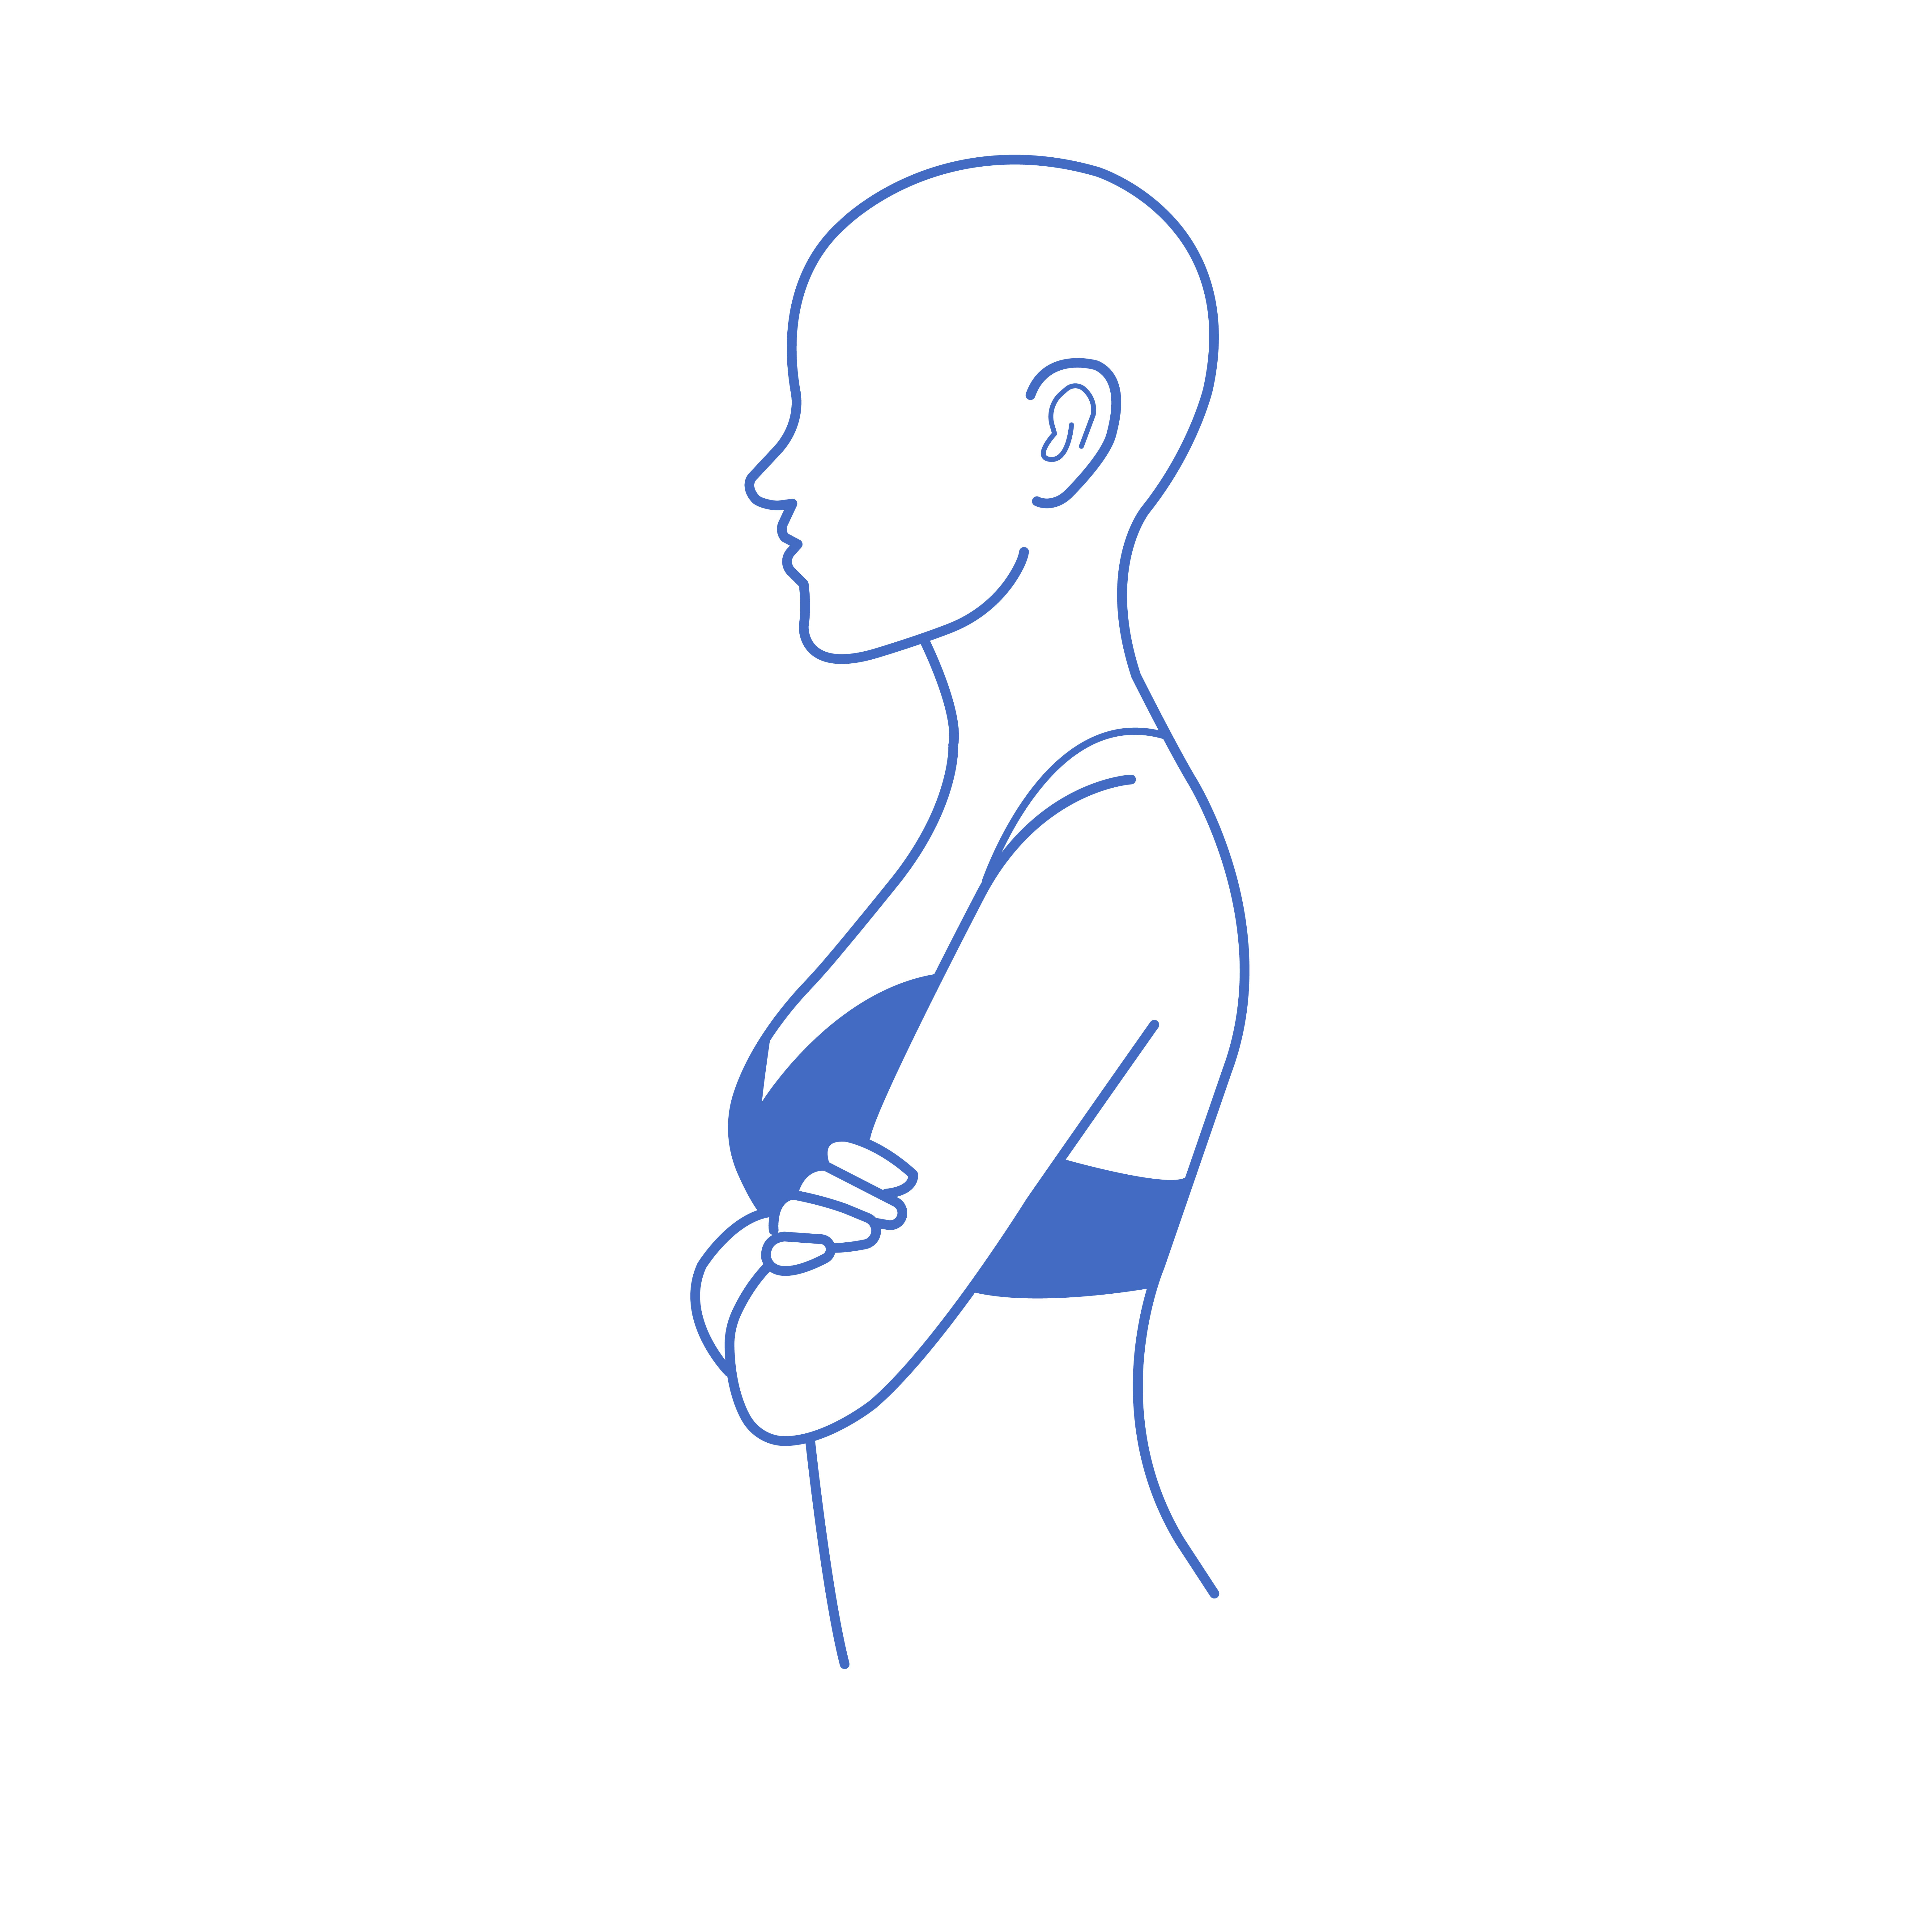
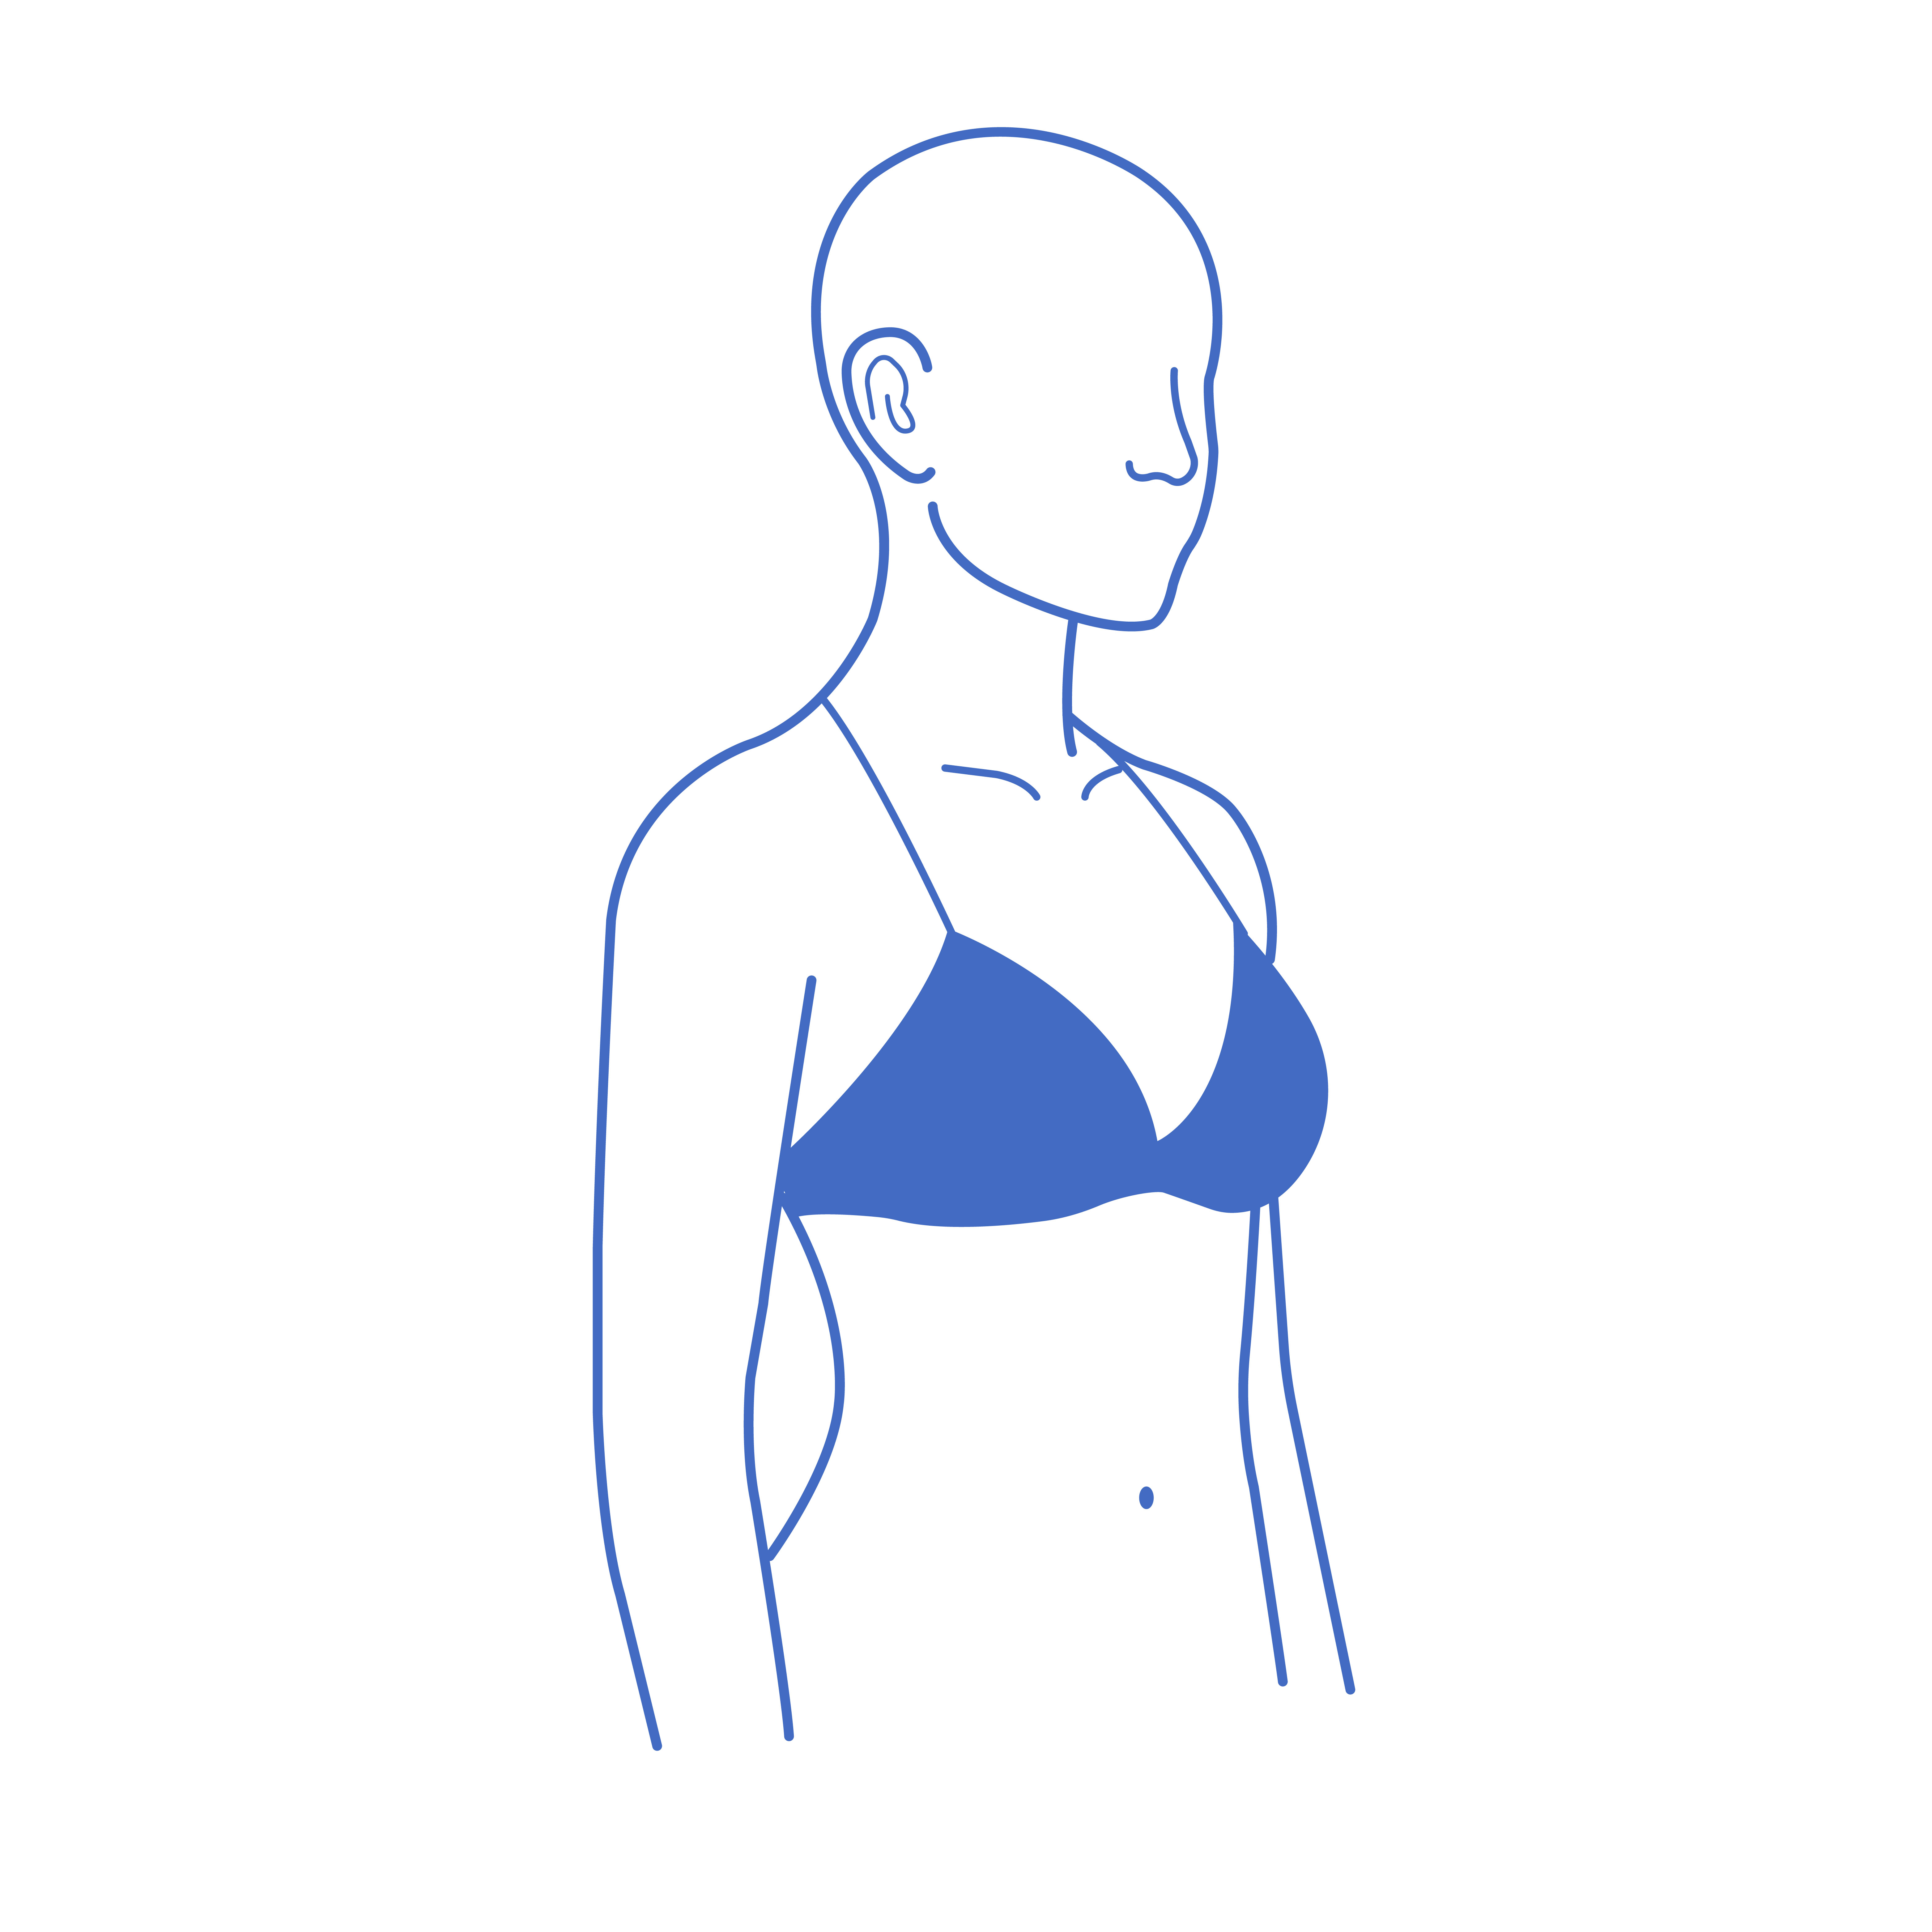
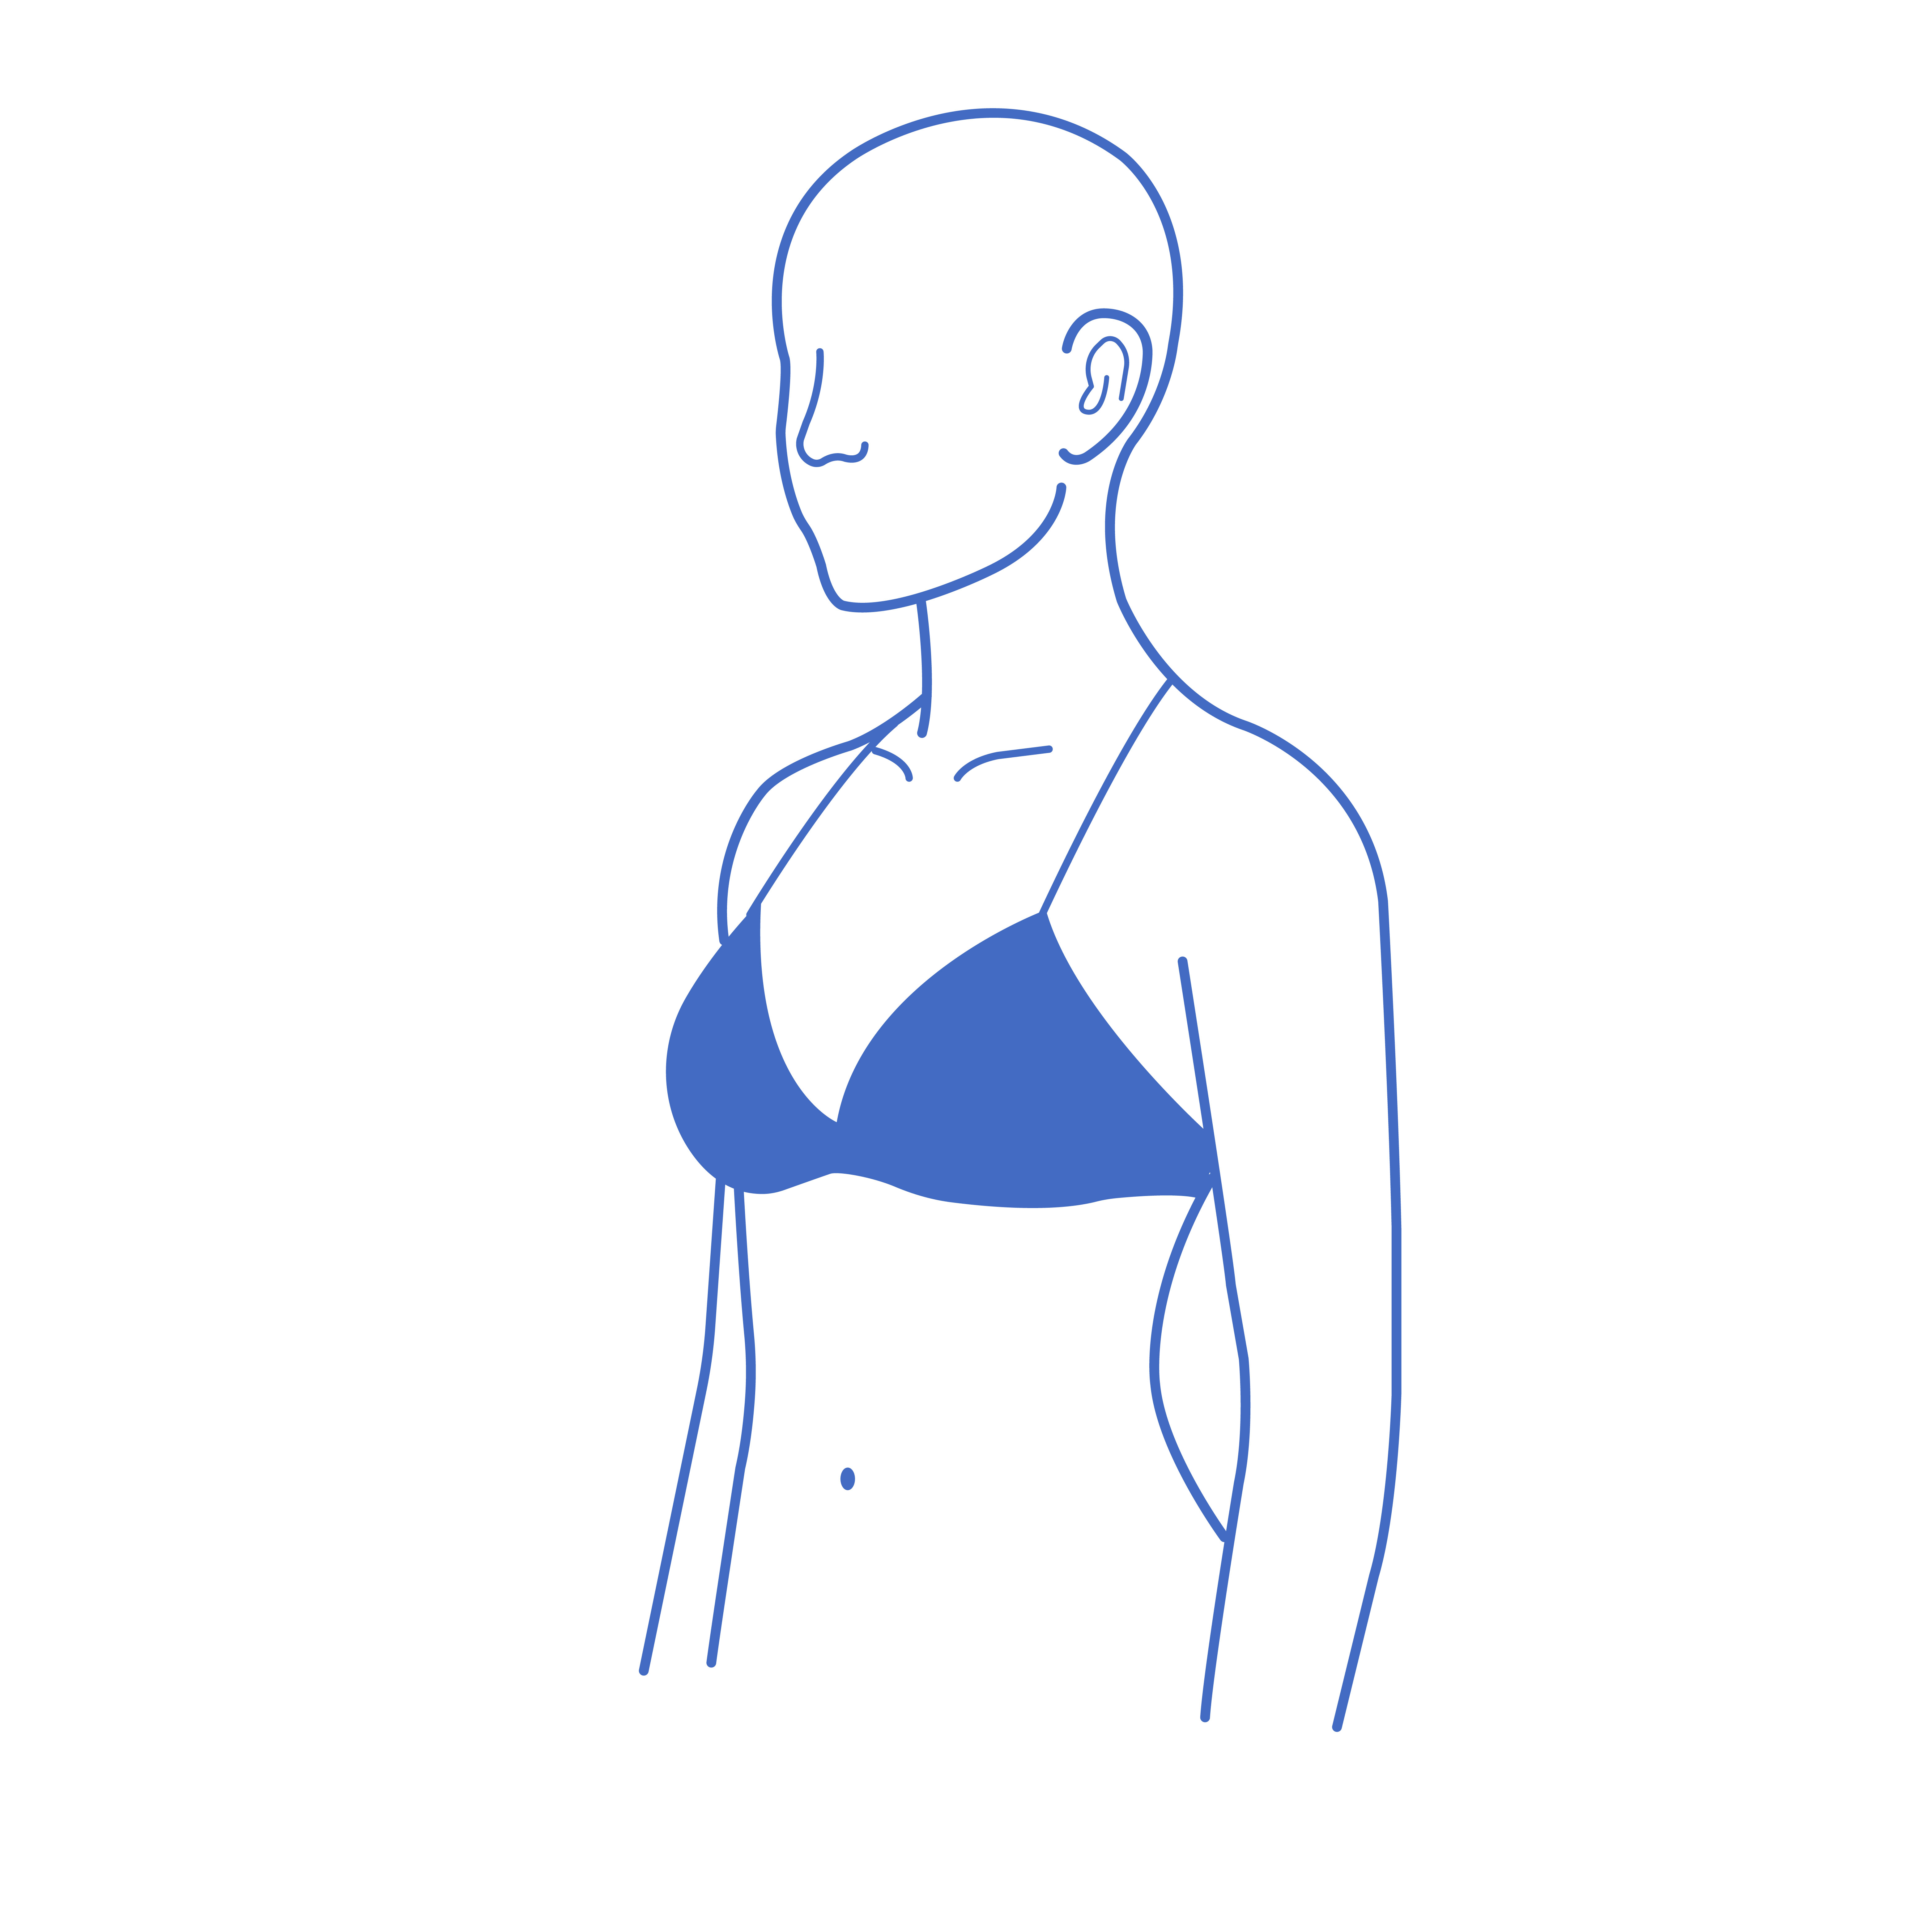
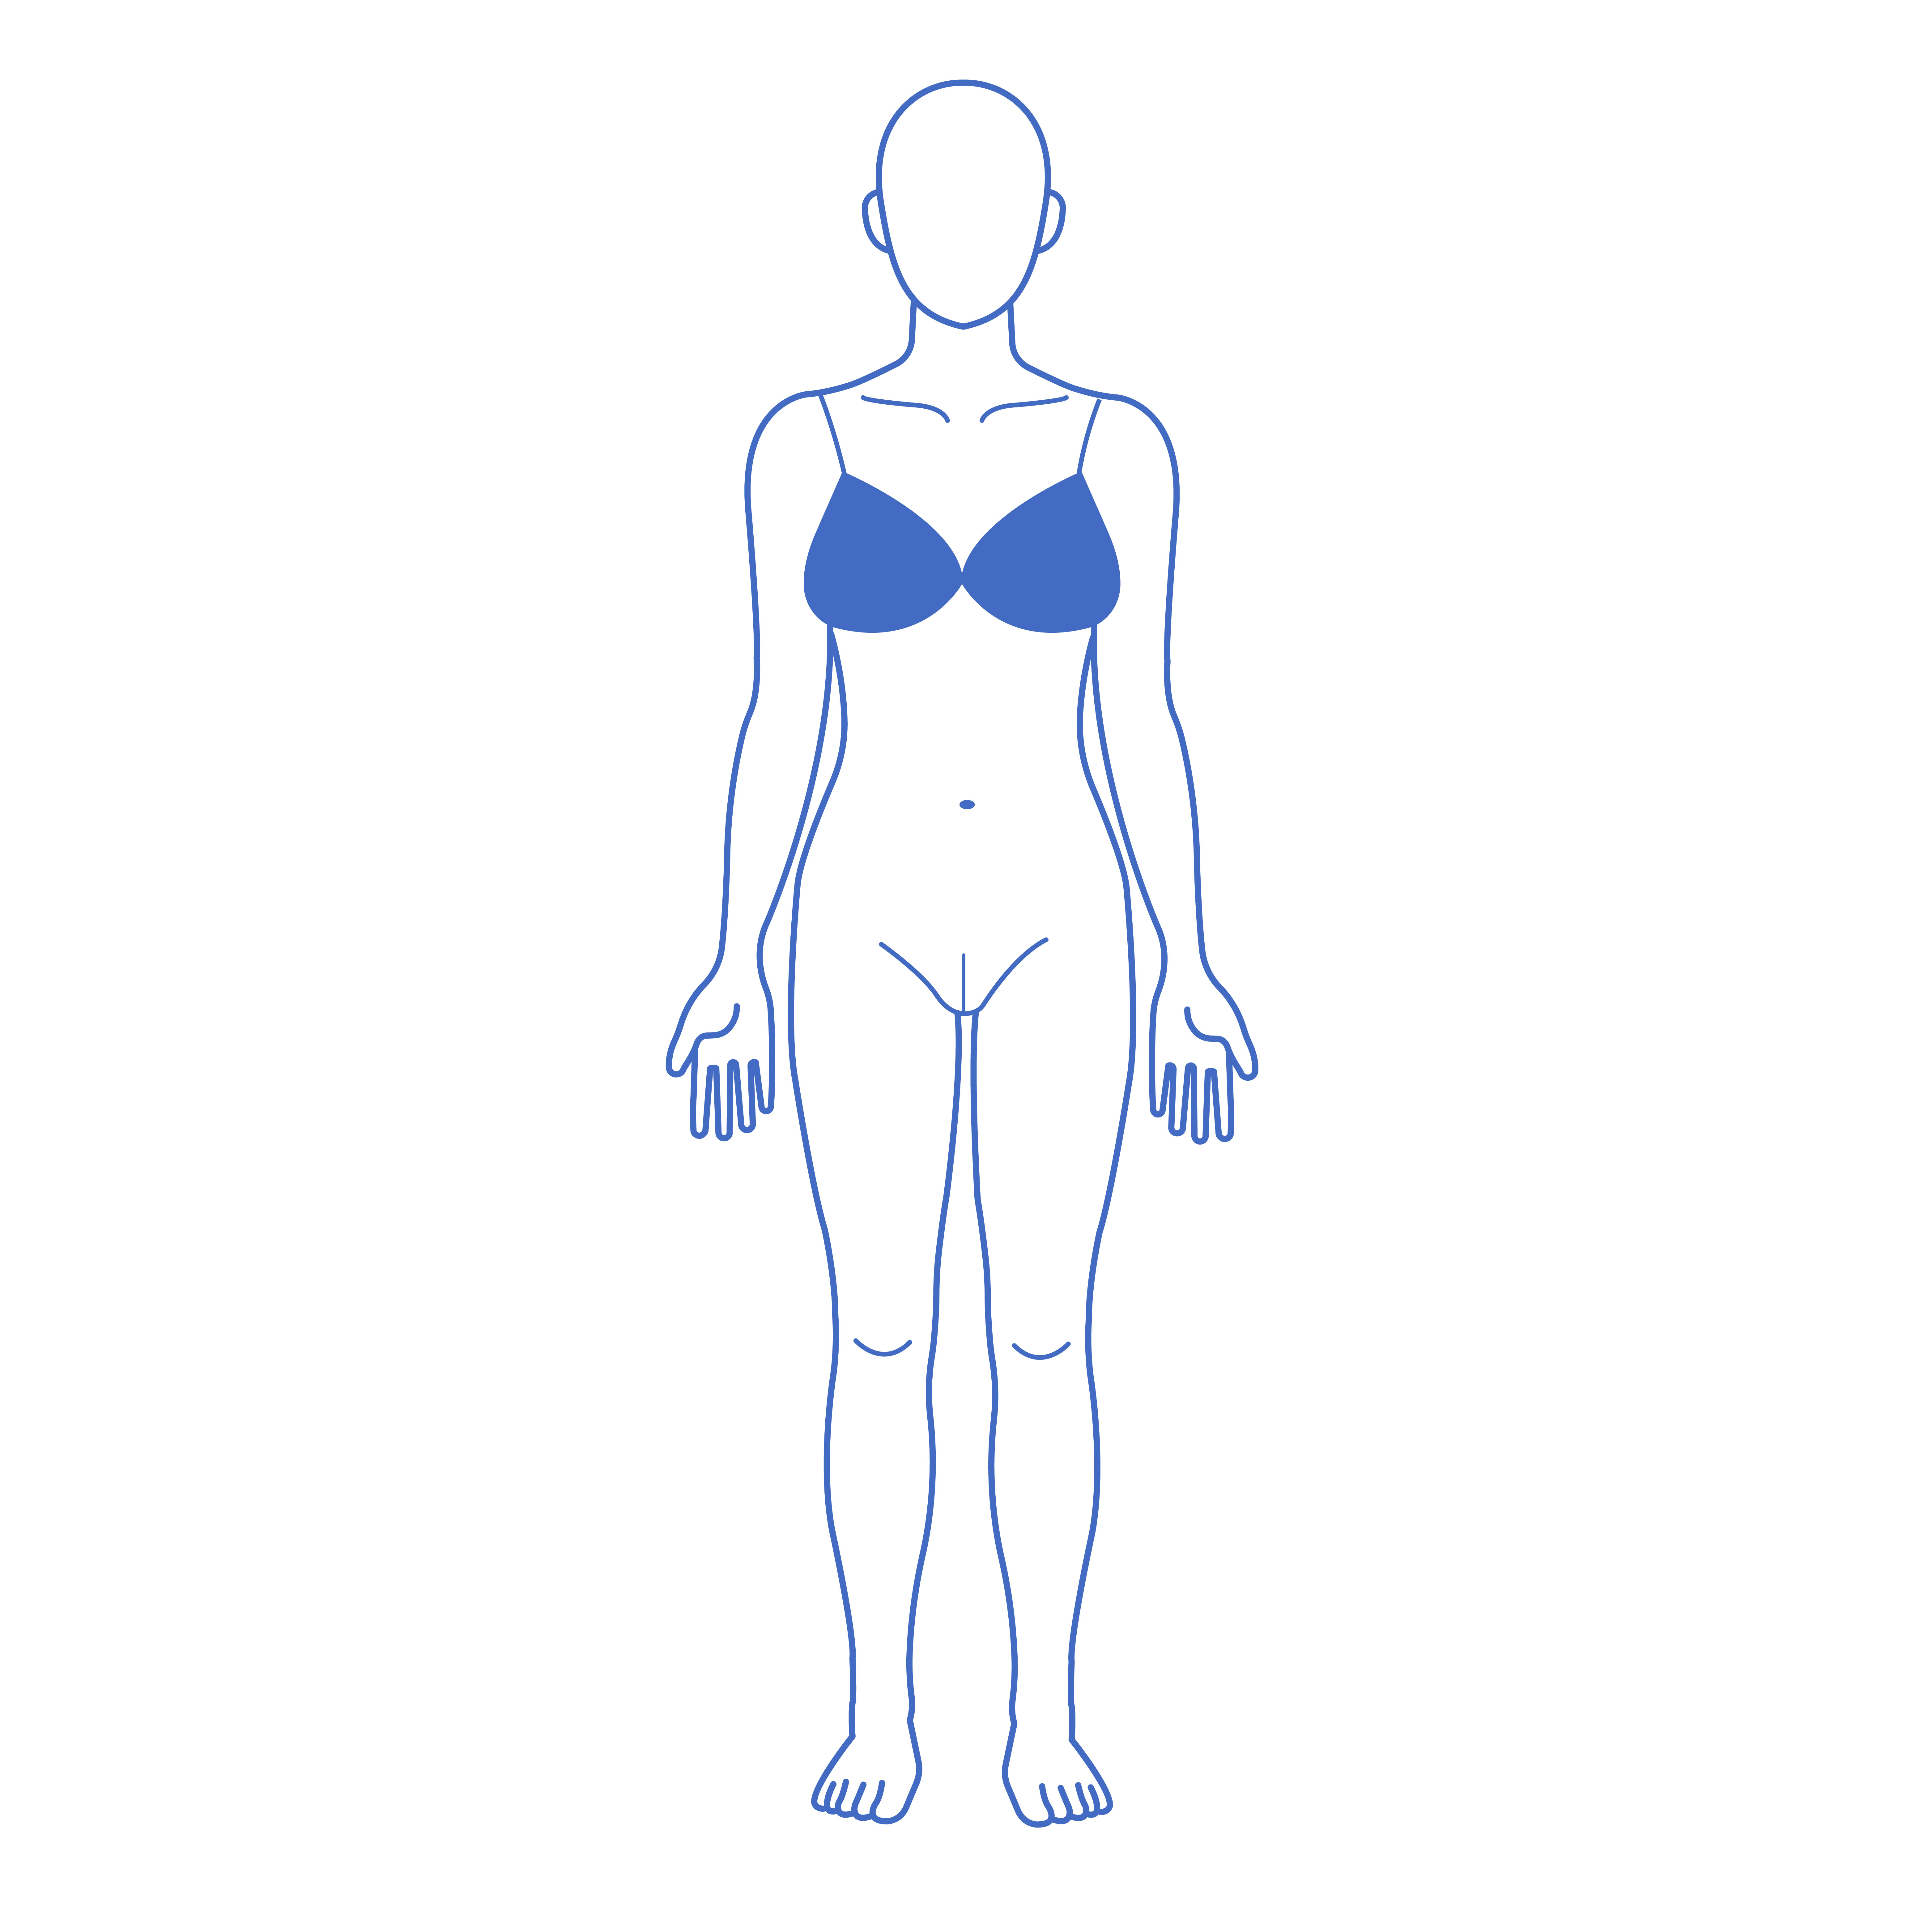
Instructions:
- Please remove all upper garments
- Level of camera lens should be the same level as nipples
- Take all images standing upright, and then repeat leaning forward
Procedures Include:
Breast Augmentation
Breast Lift
Breast Reduction
1
2
3
4
5
6
Instructions:
- Face forward, level to camera
- Take all images standing upright and then repeat looking downwards
Procedures Include:
Face Lift
Brow or Forehead Lift
Rhinoplasty (Nose Surgery)
Ear Pinning (Otoplasty)
Eye Lift (Blepharoplasty)
1
2
3
4
5
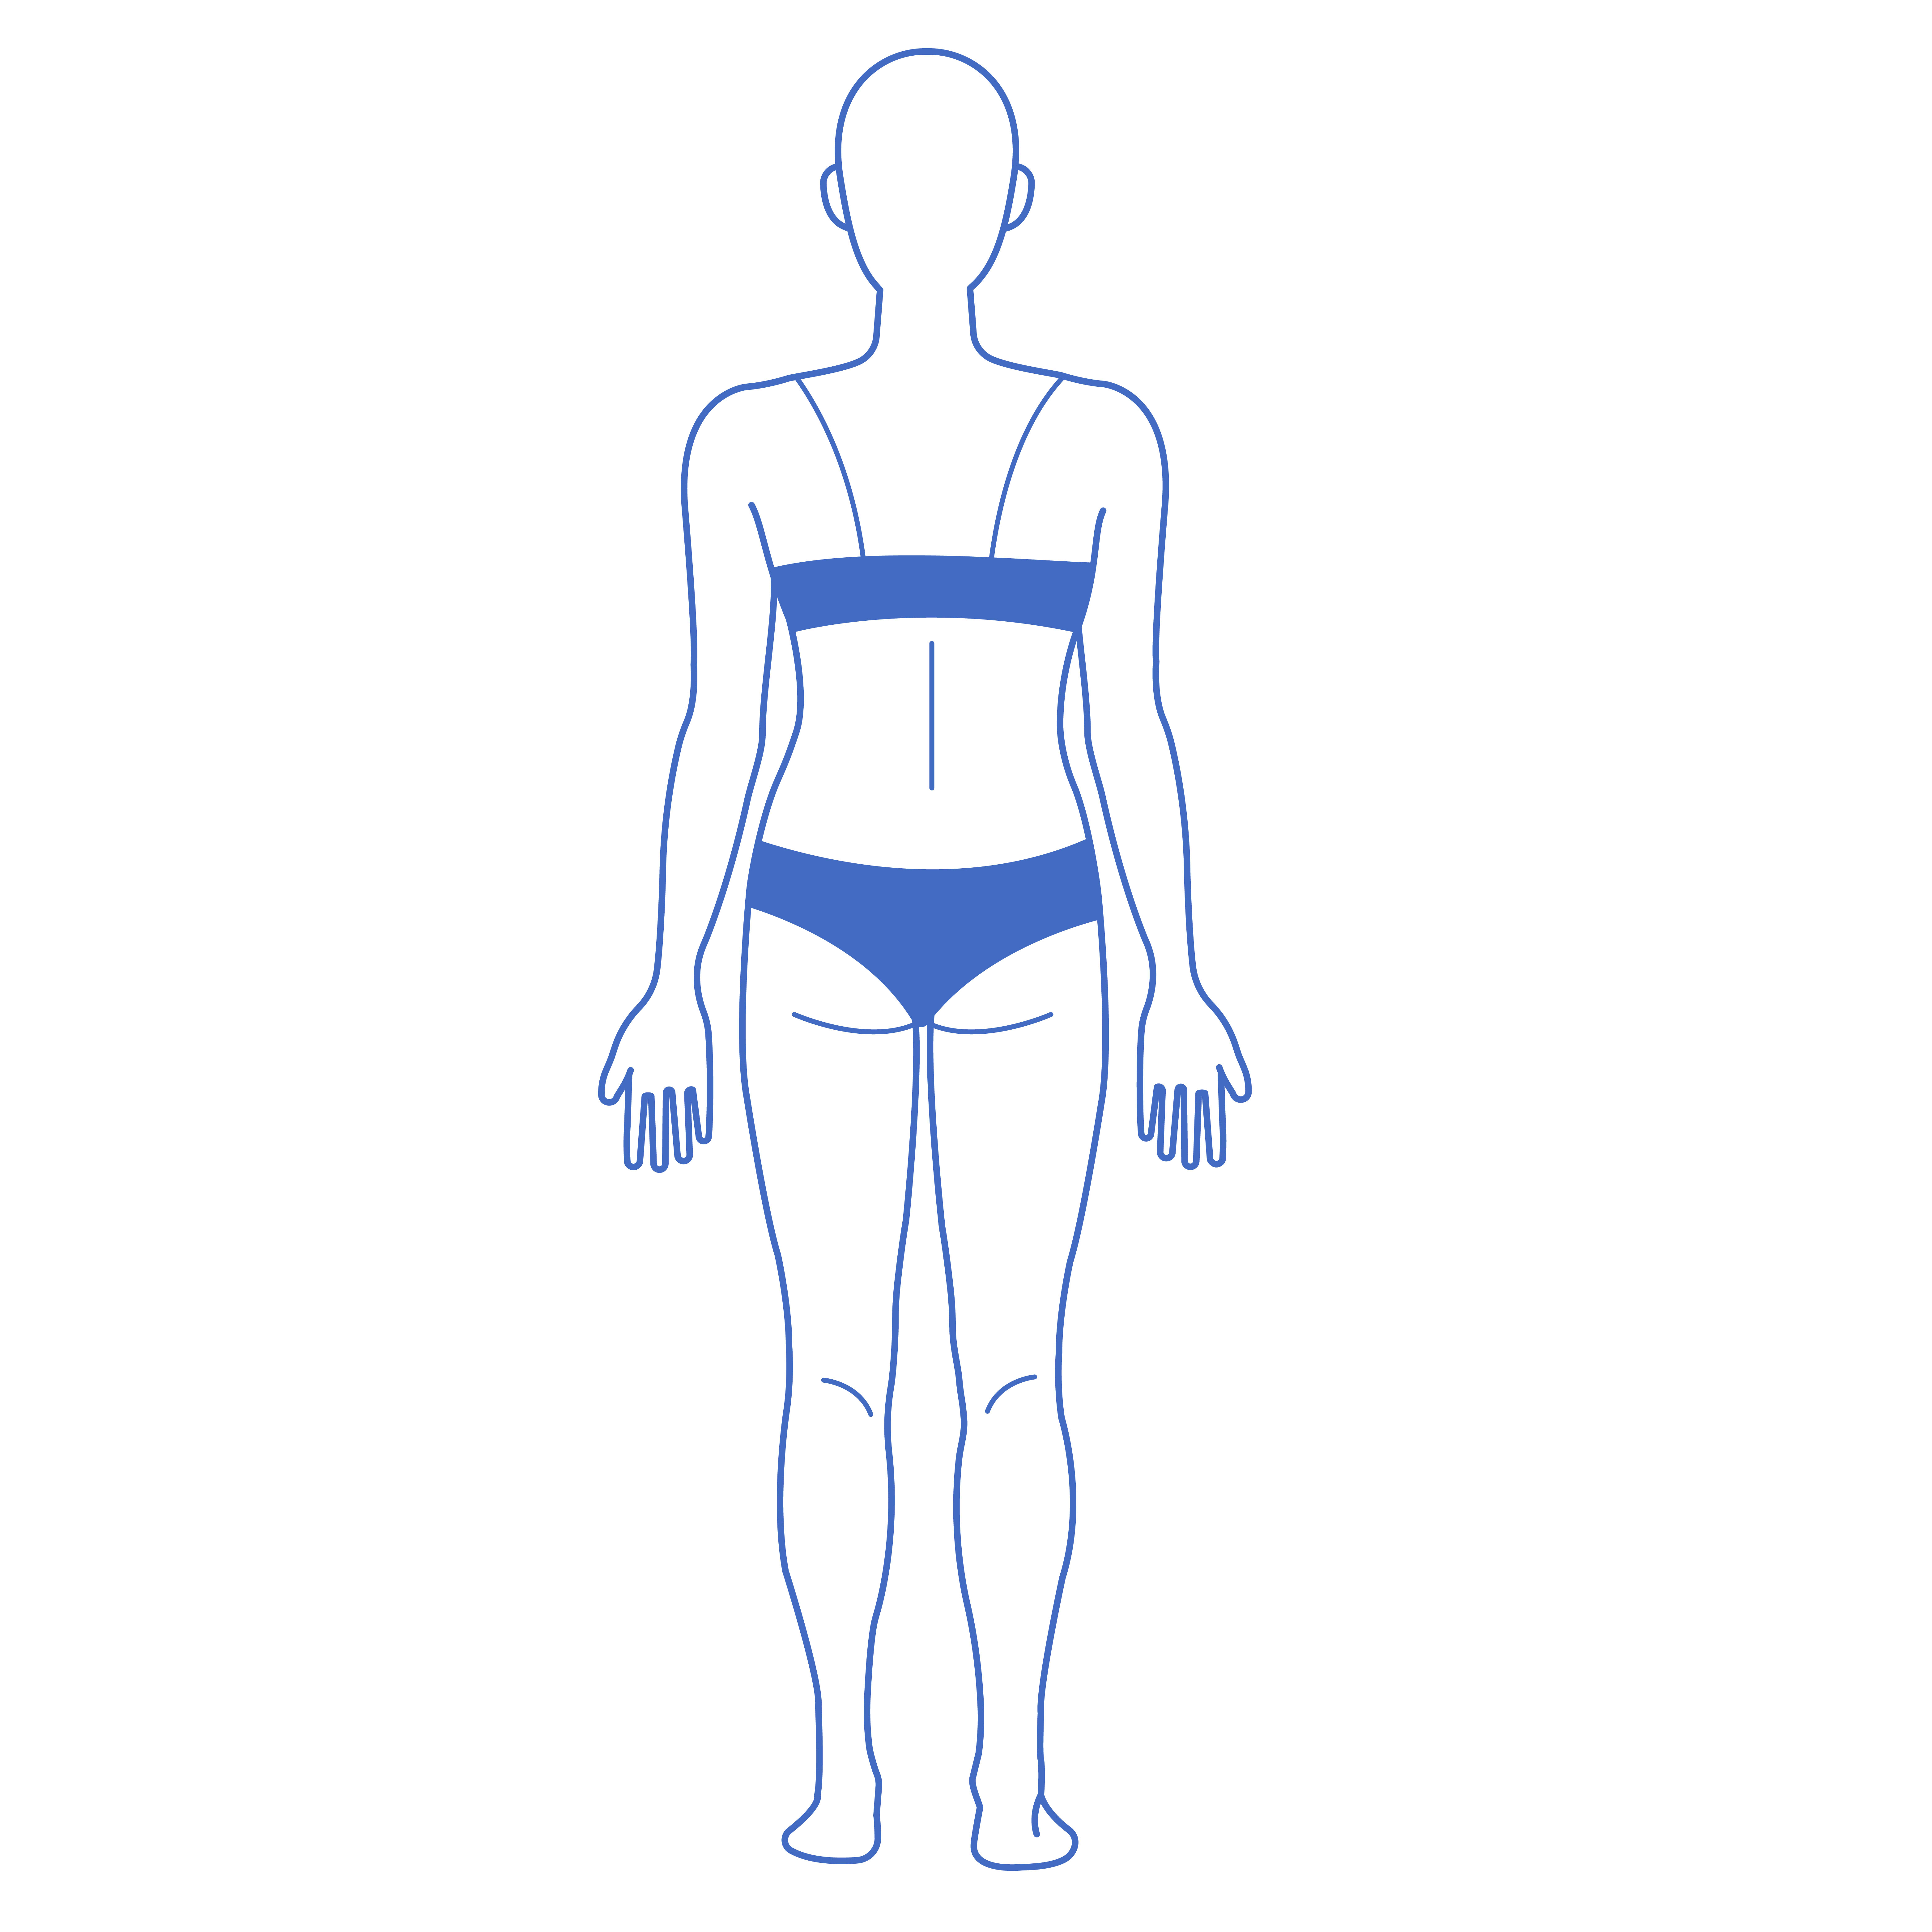
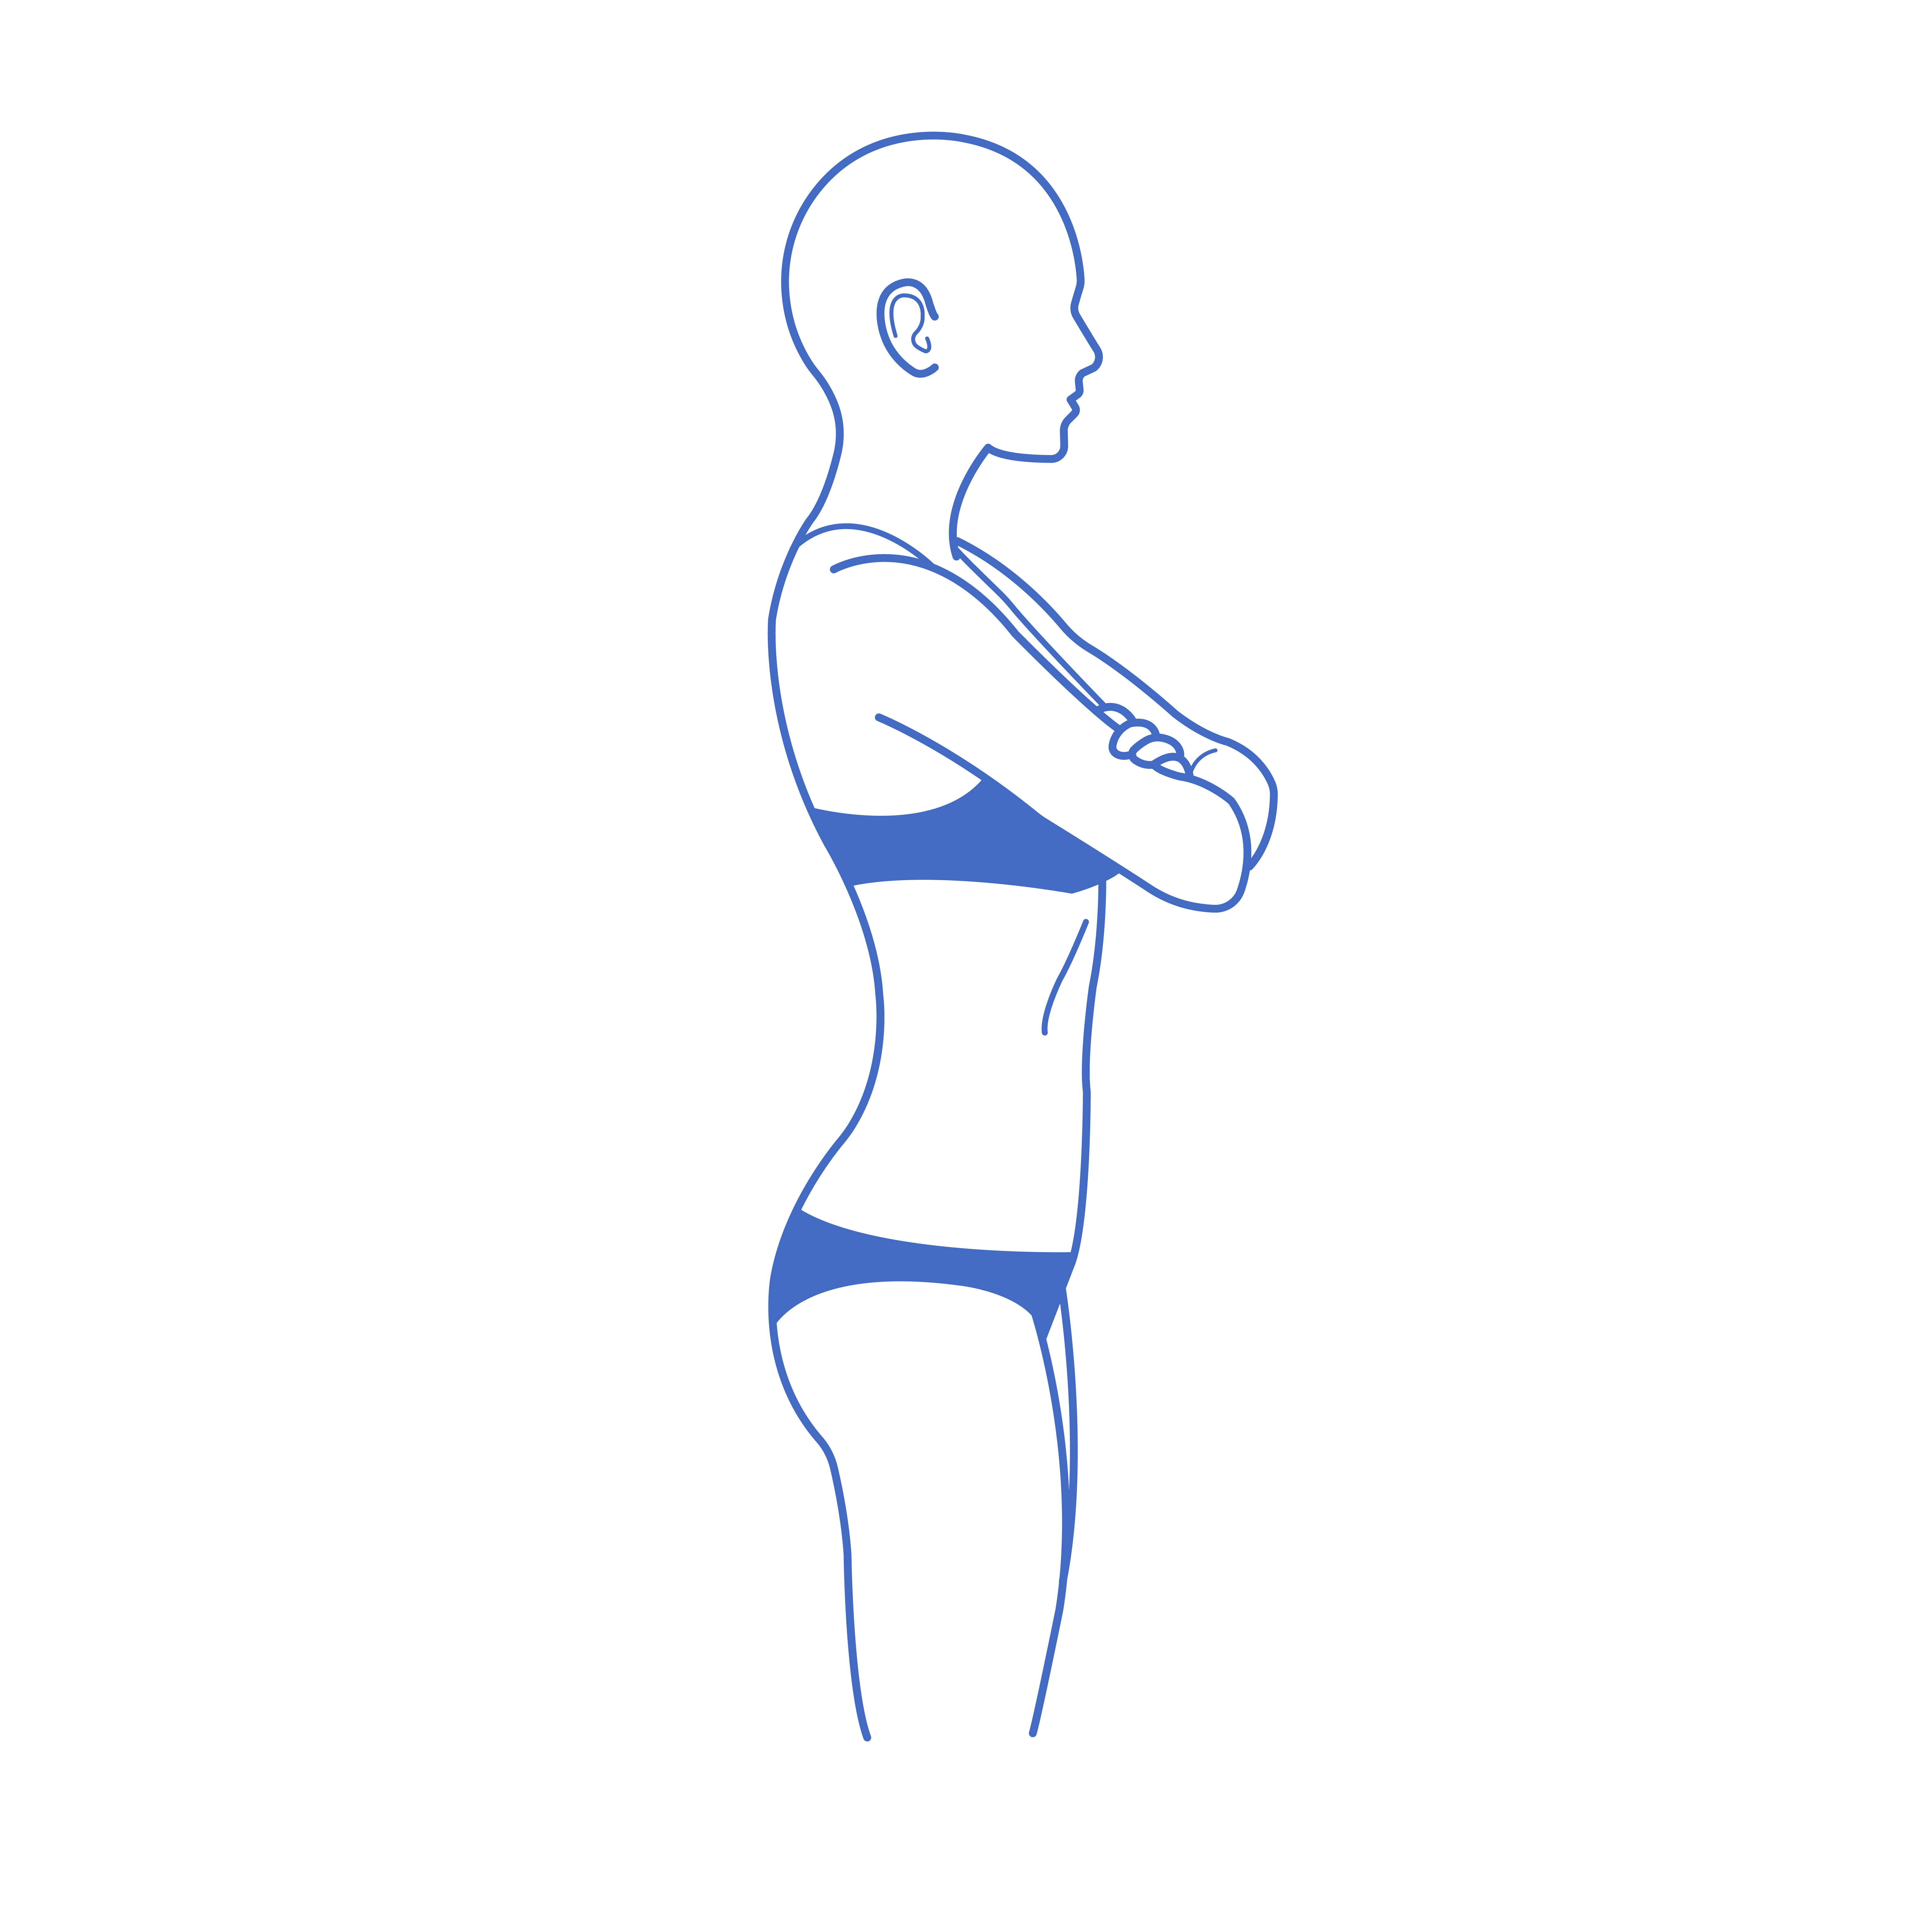
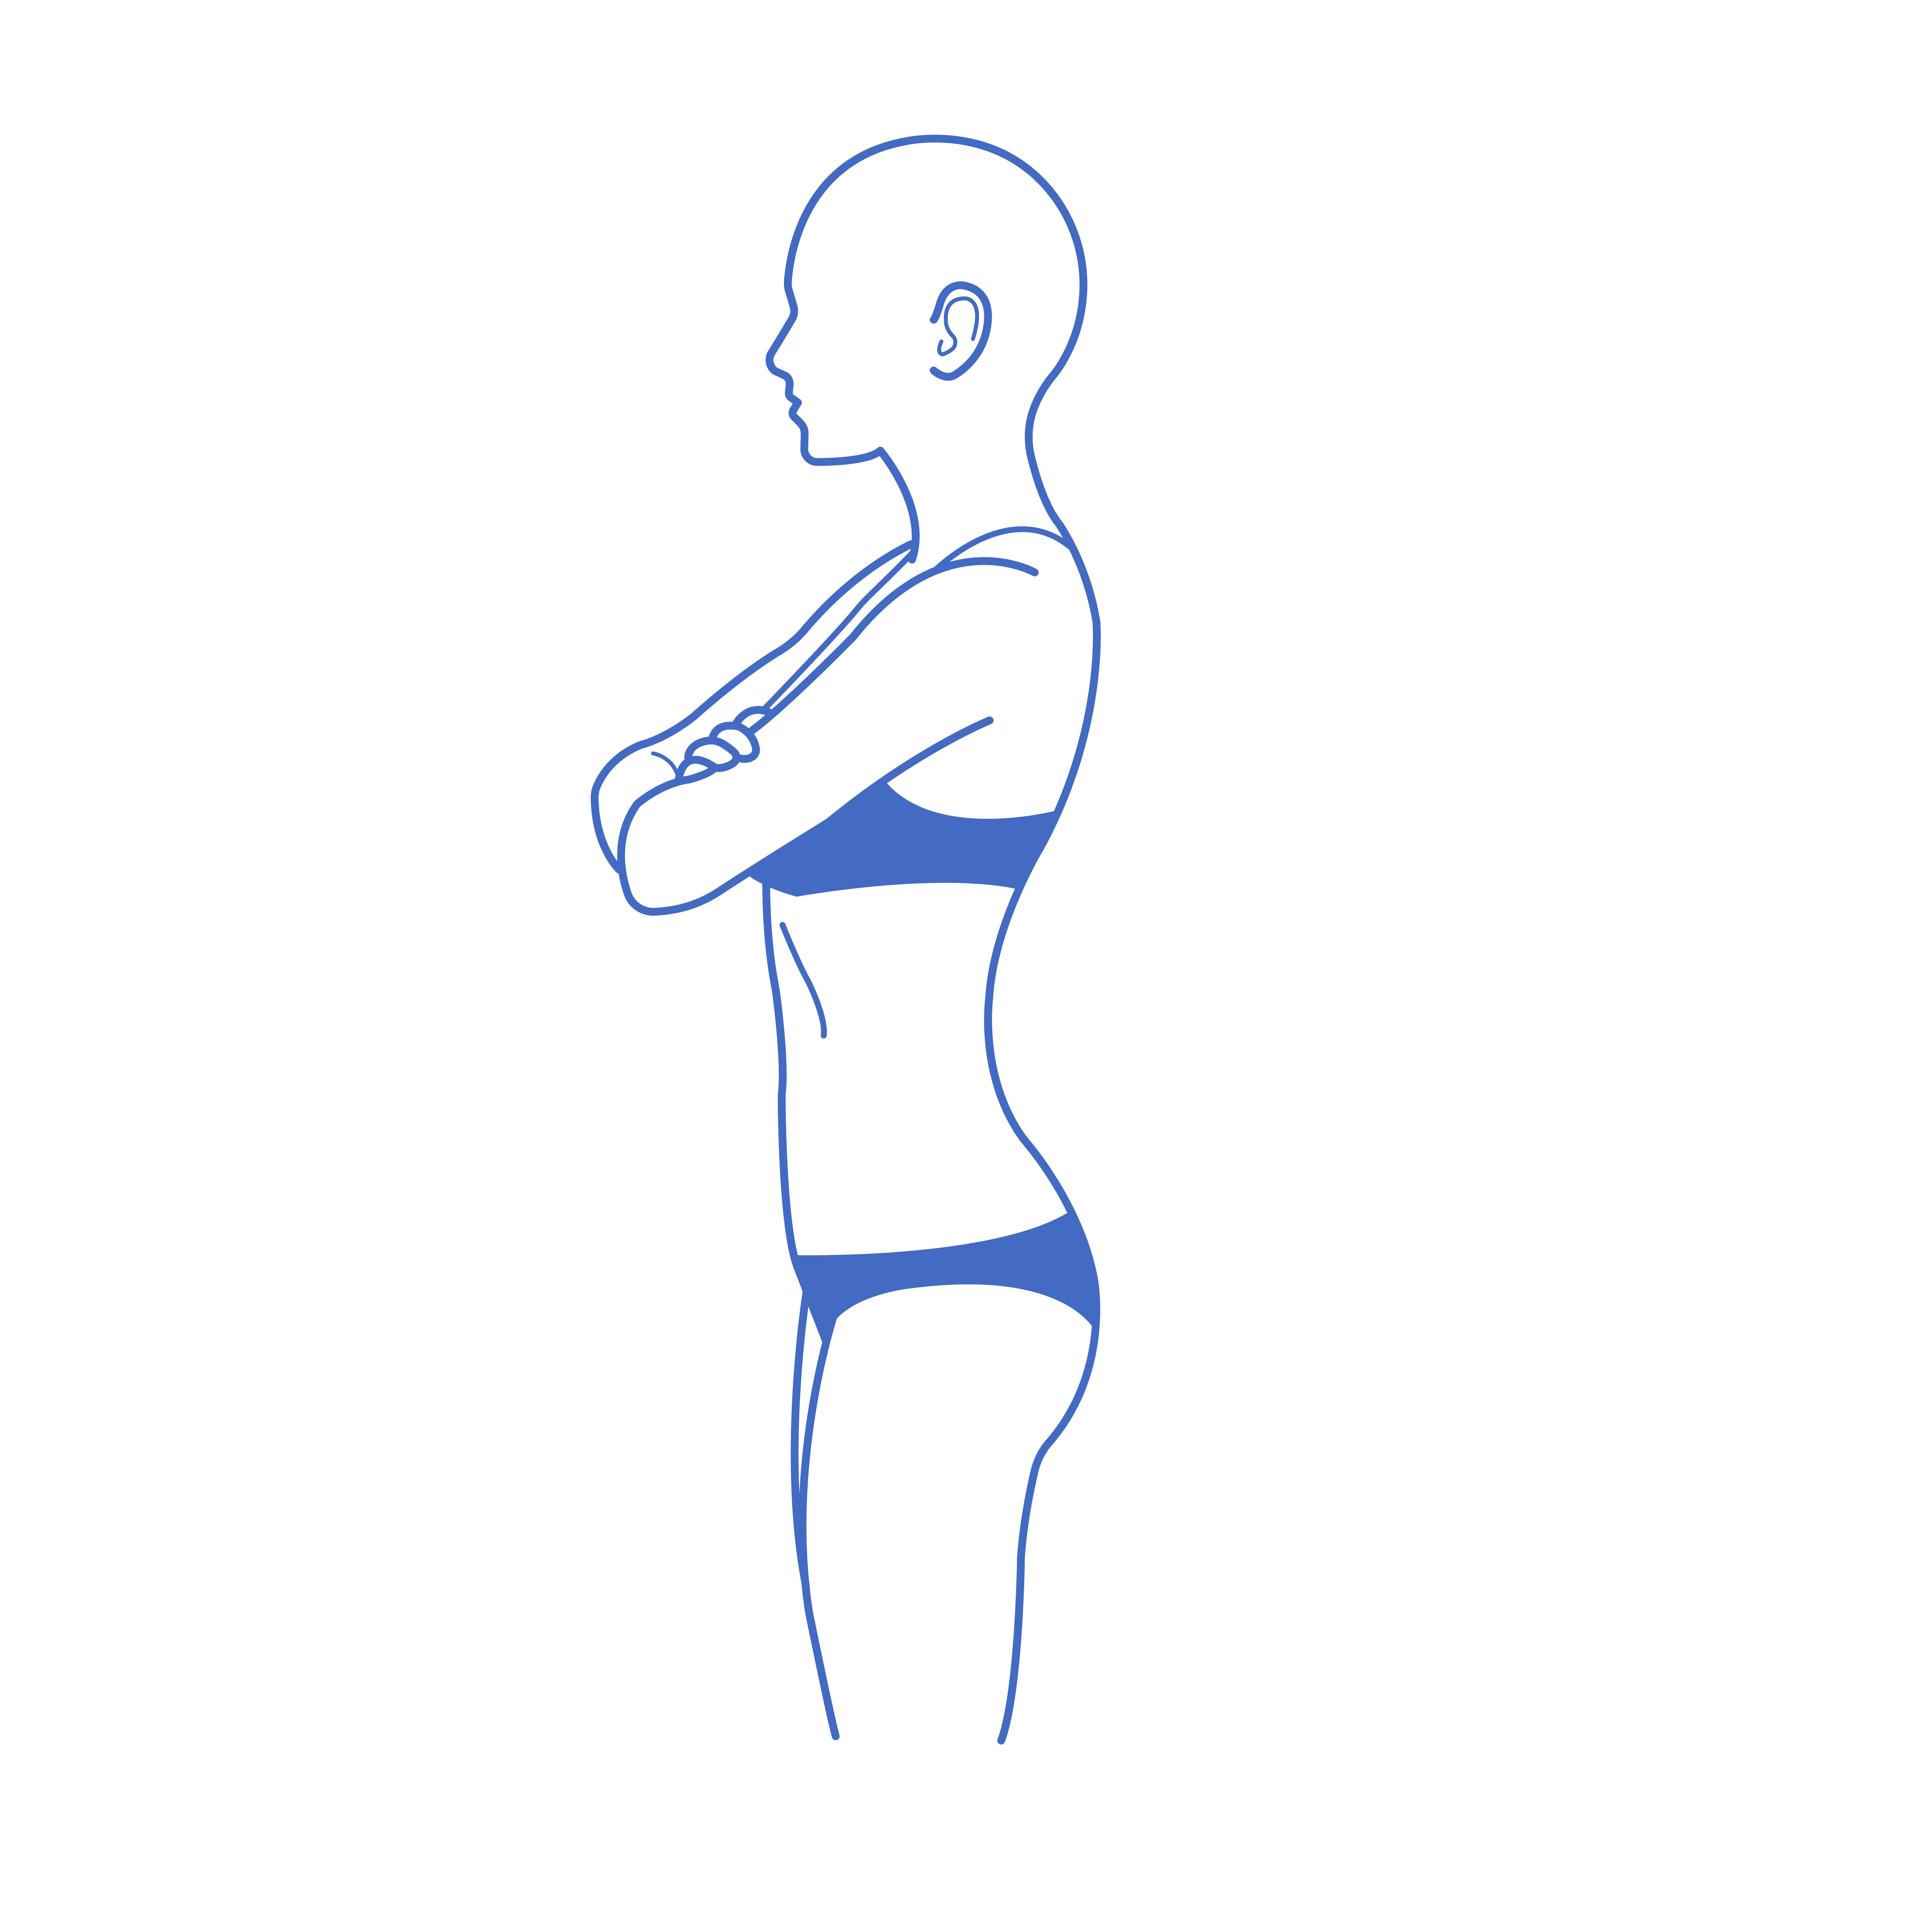
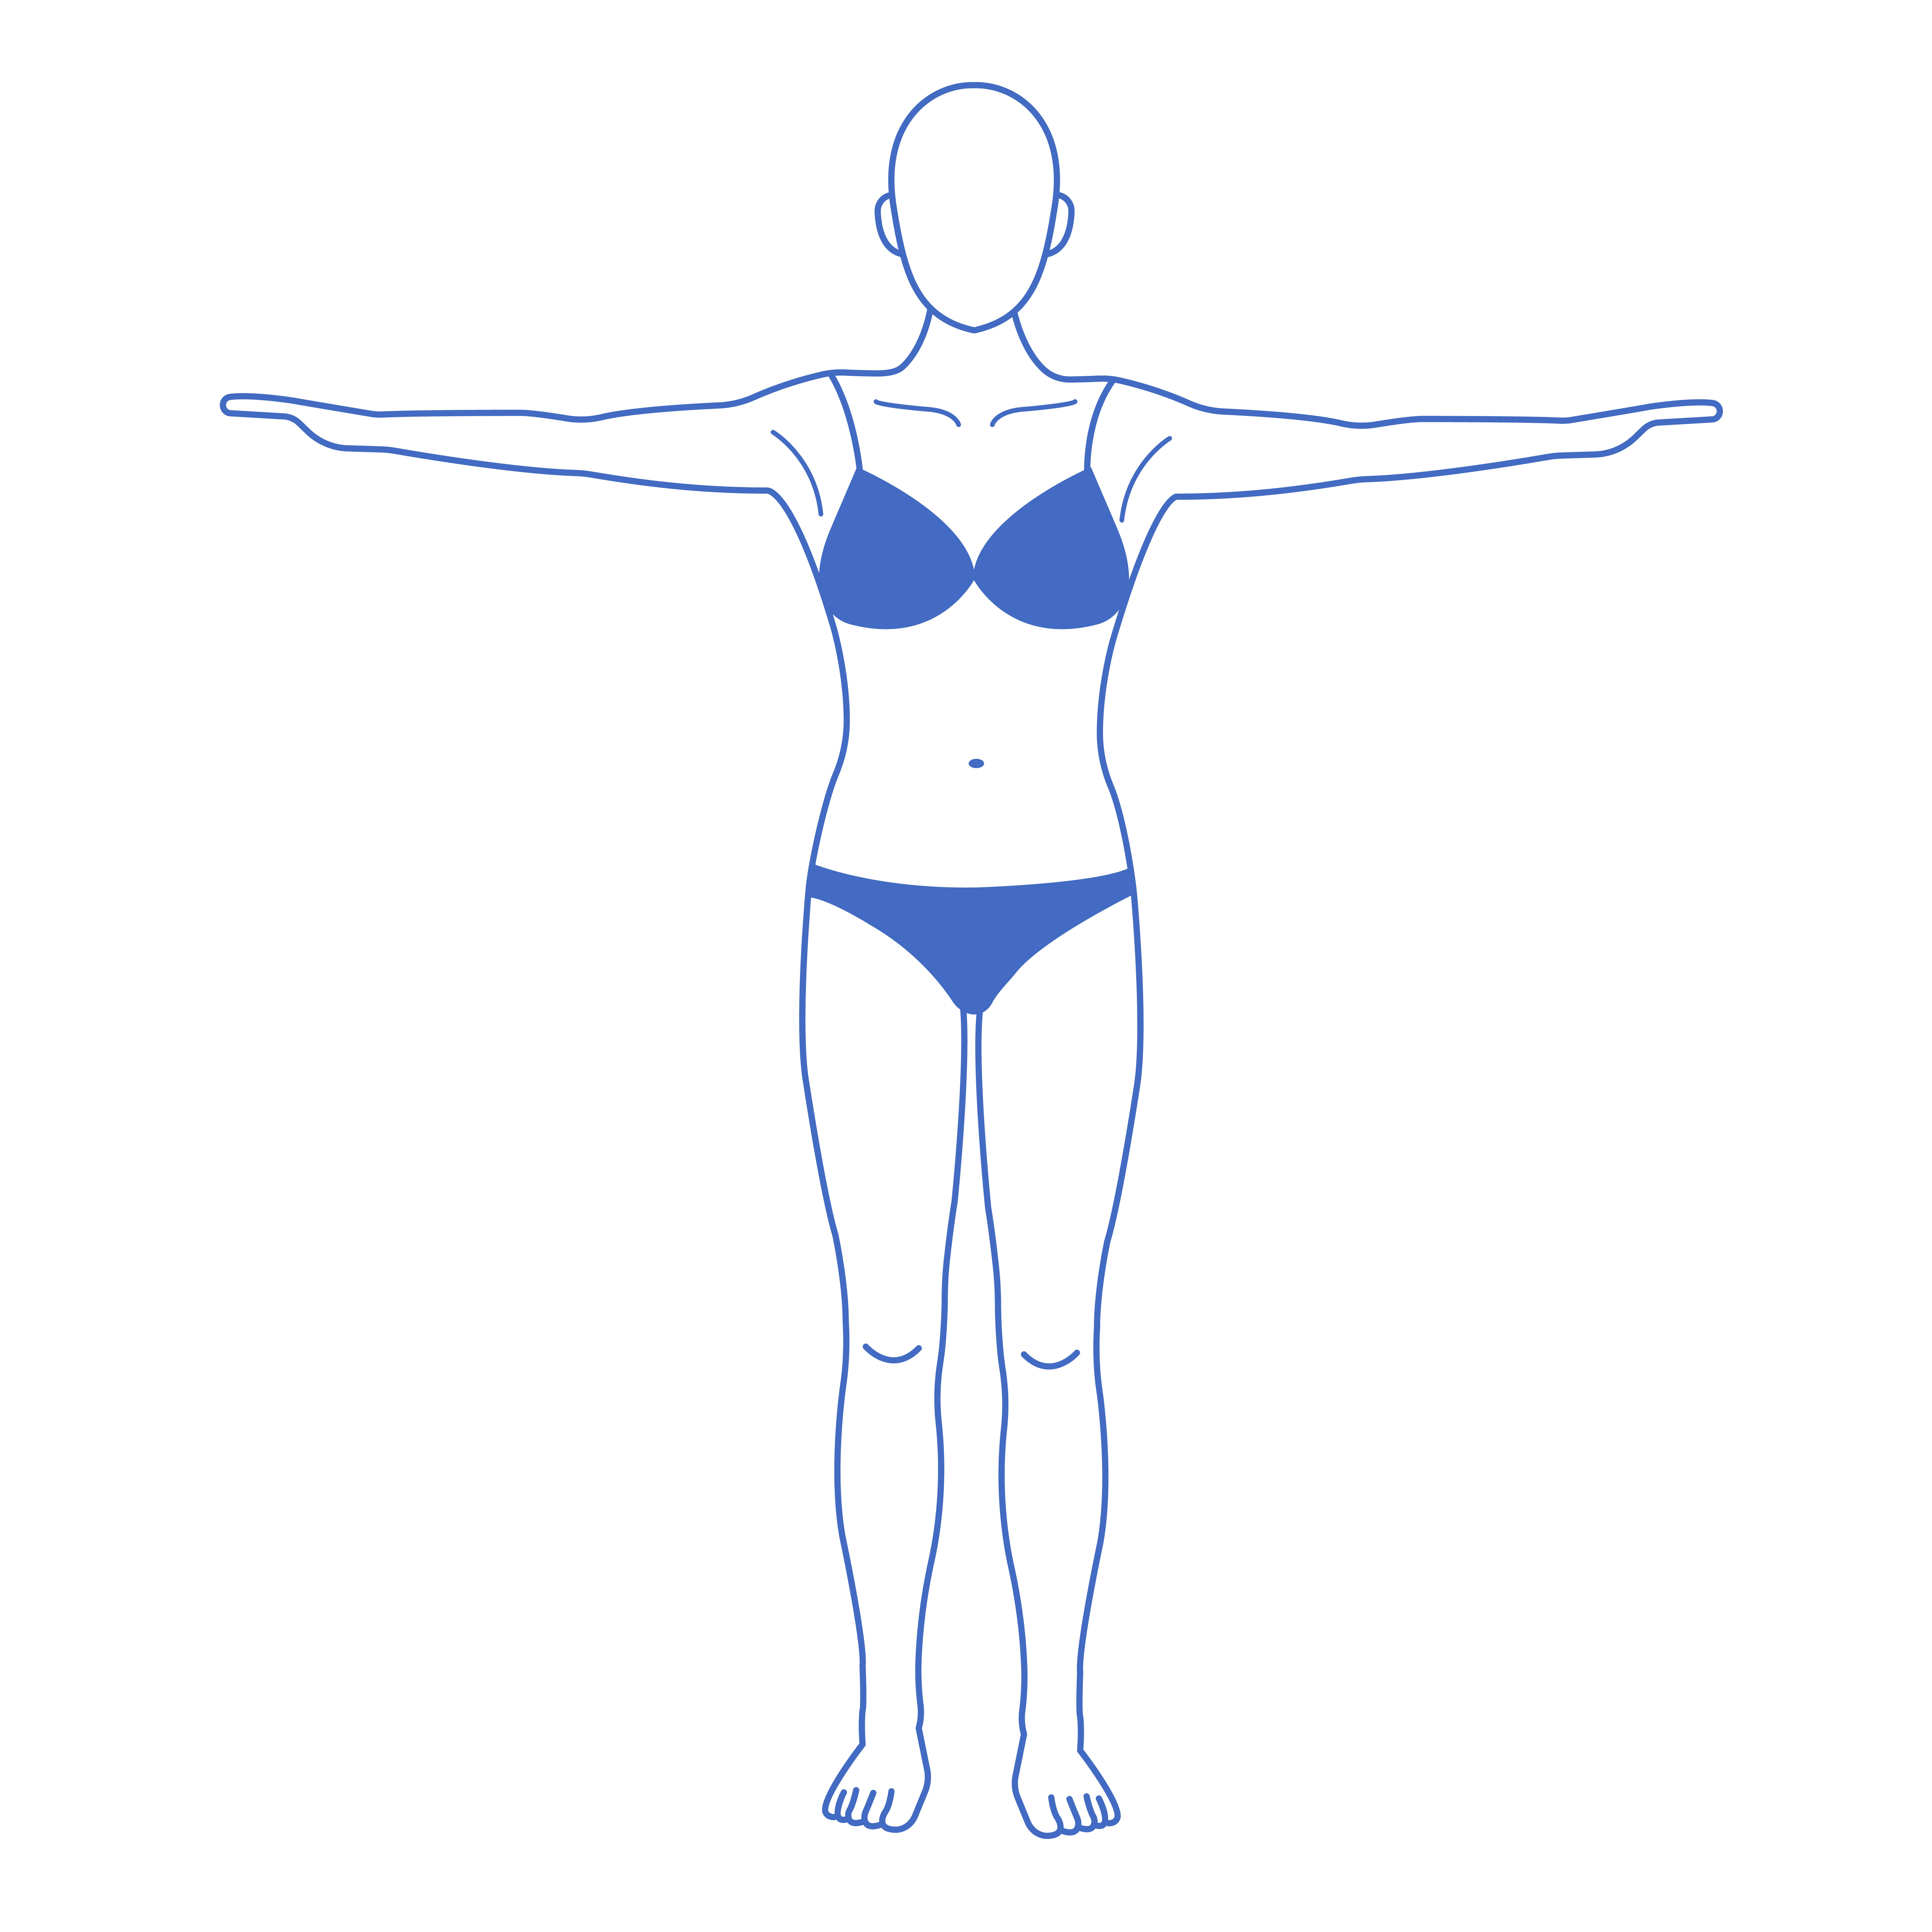
Instructions:
- Front and back view, showing neck to waist with arms out to the side
Procedures Include:
Arm Lift
1
2

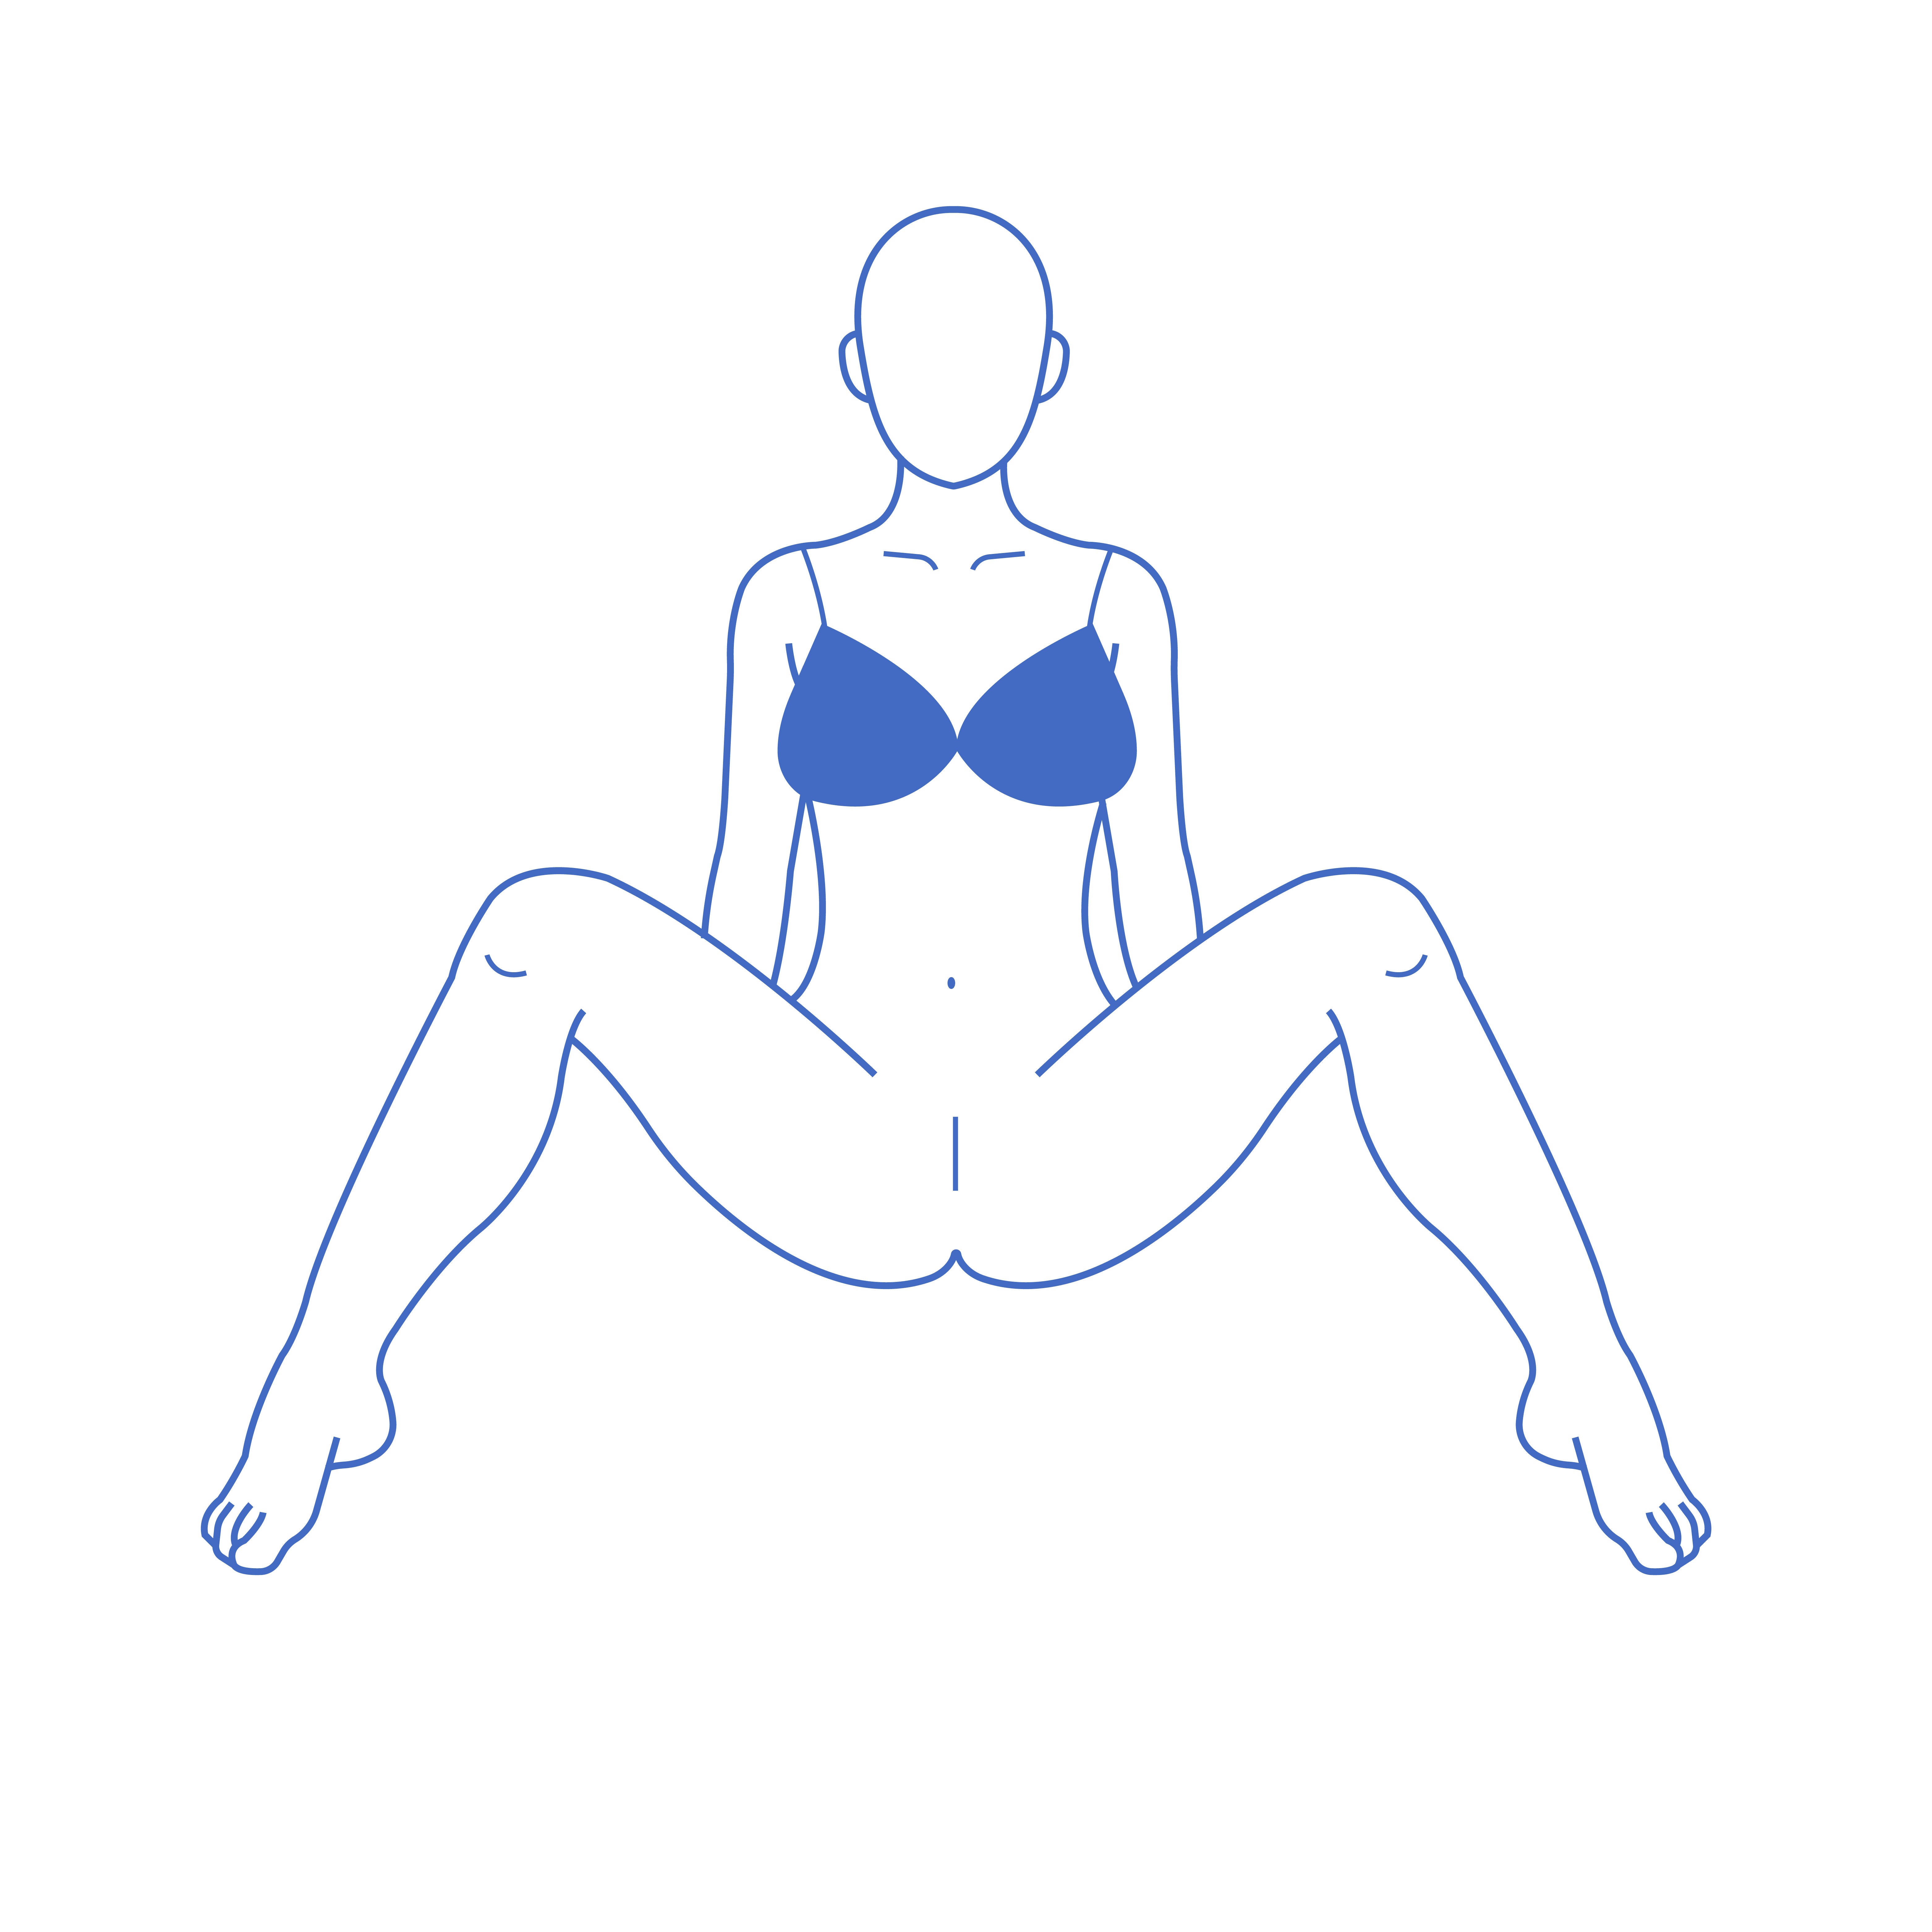
Instructions:
- Pants removed, relaxed legs - slightly apart. Image taken front on
- Seated view - legs spread
Procedures Include:
Designer Vagina
Labiaplasty
1
2
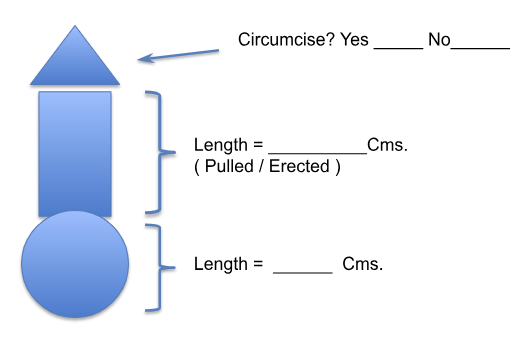
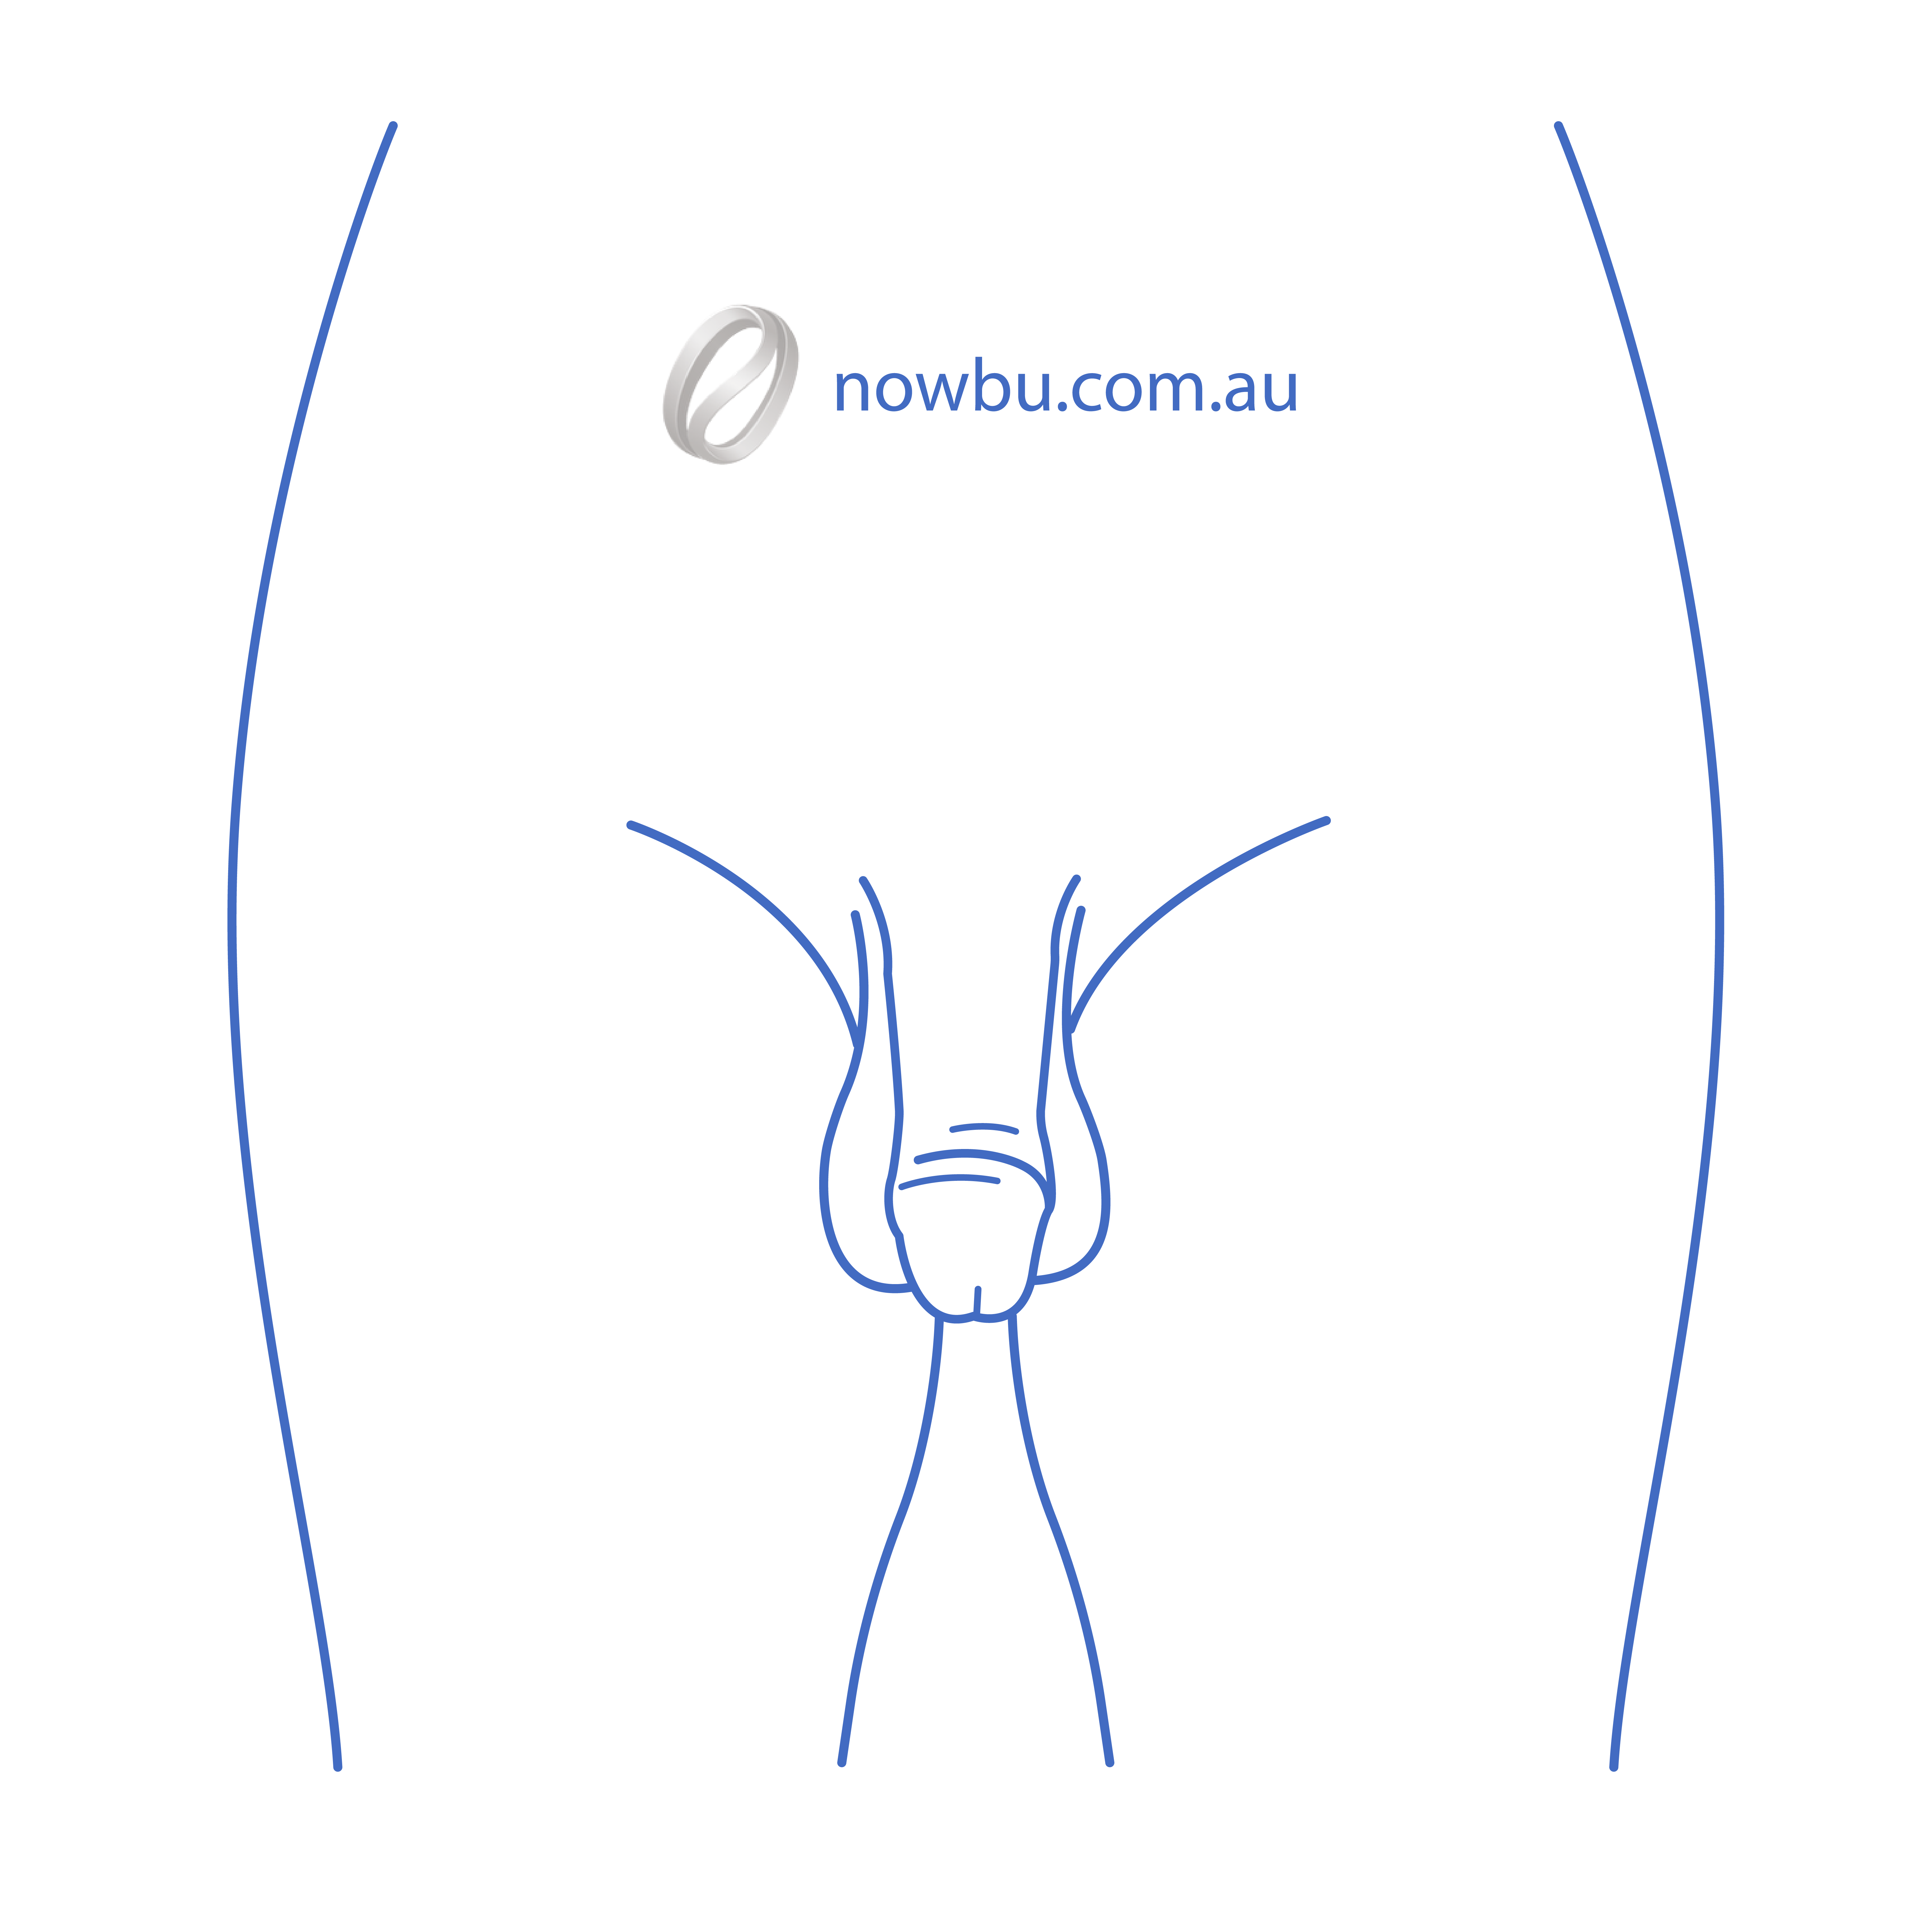
Instructions:
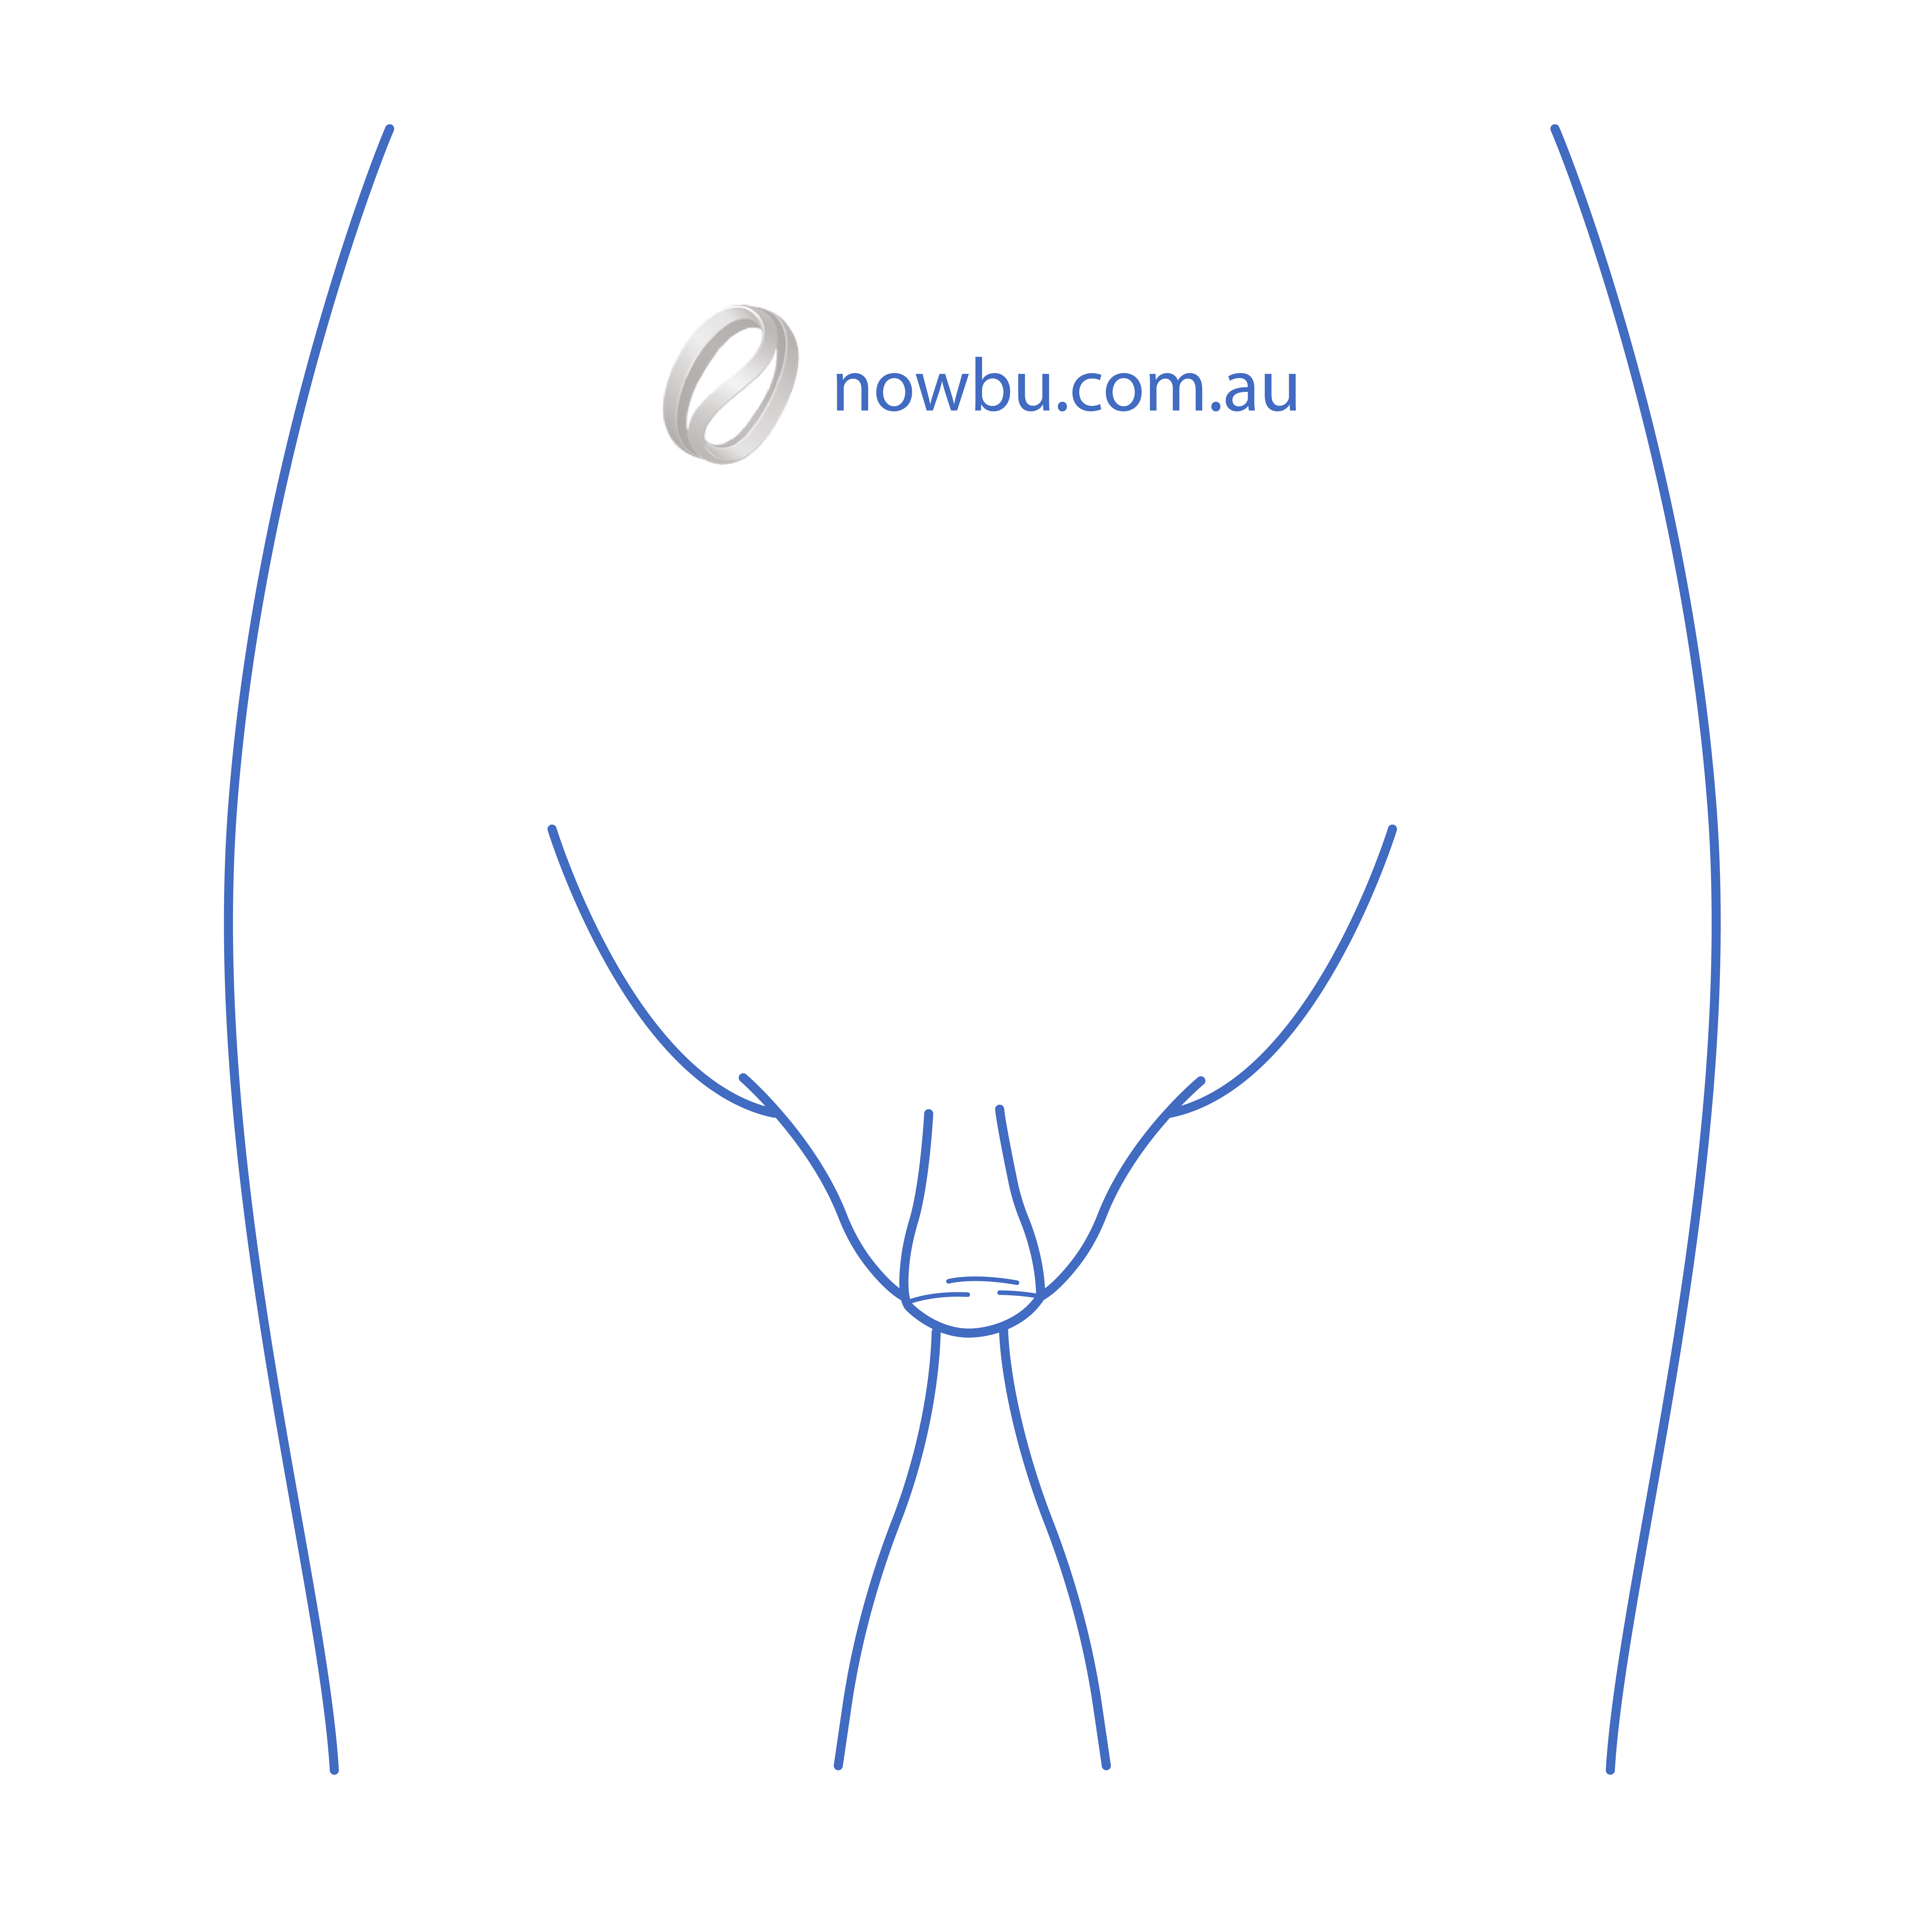
- The front photo focuses on the genital area, showing the genital area, including the scrotum. You can sit or stand. You don't need to harden.
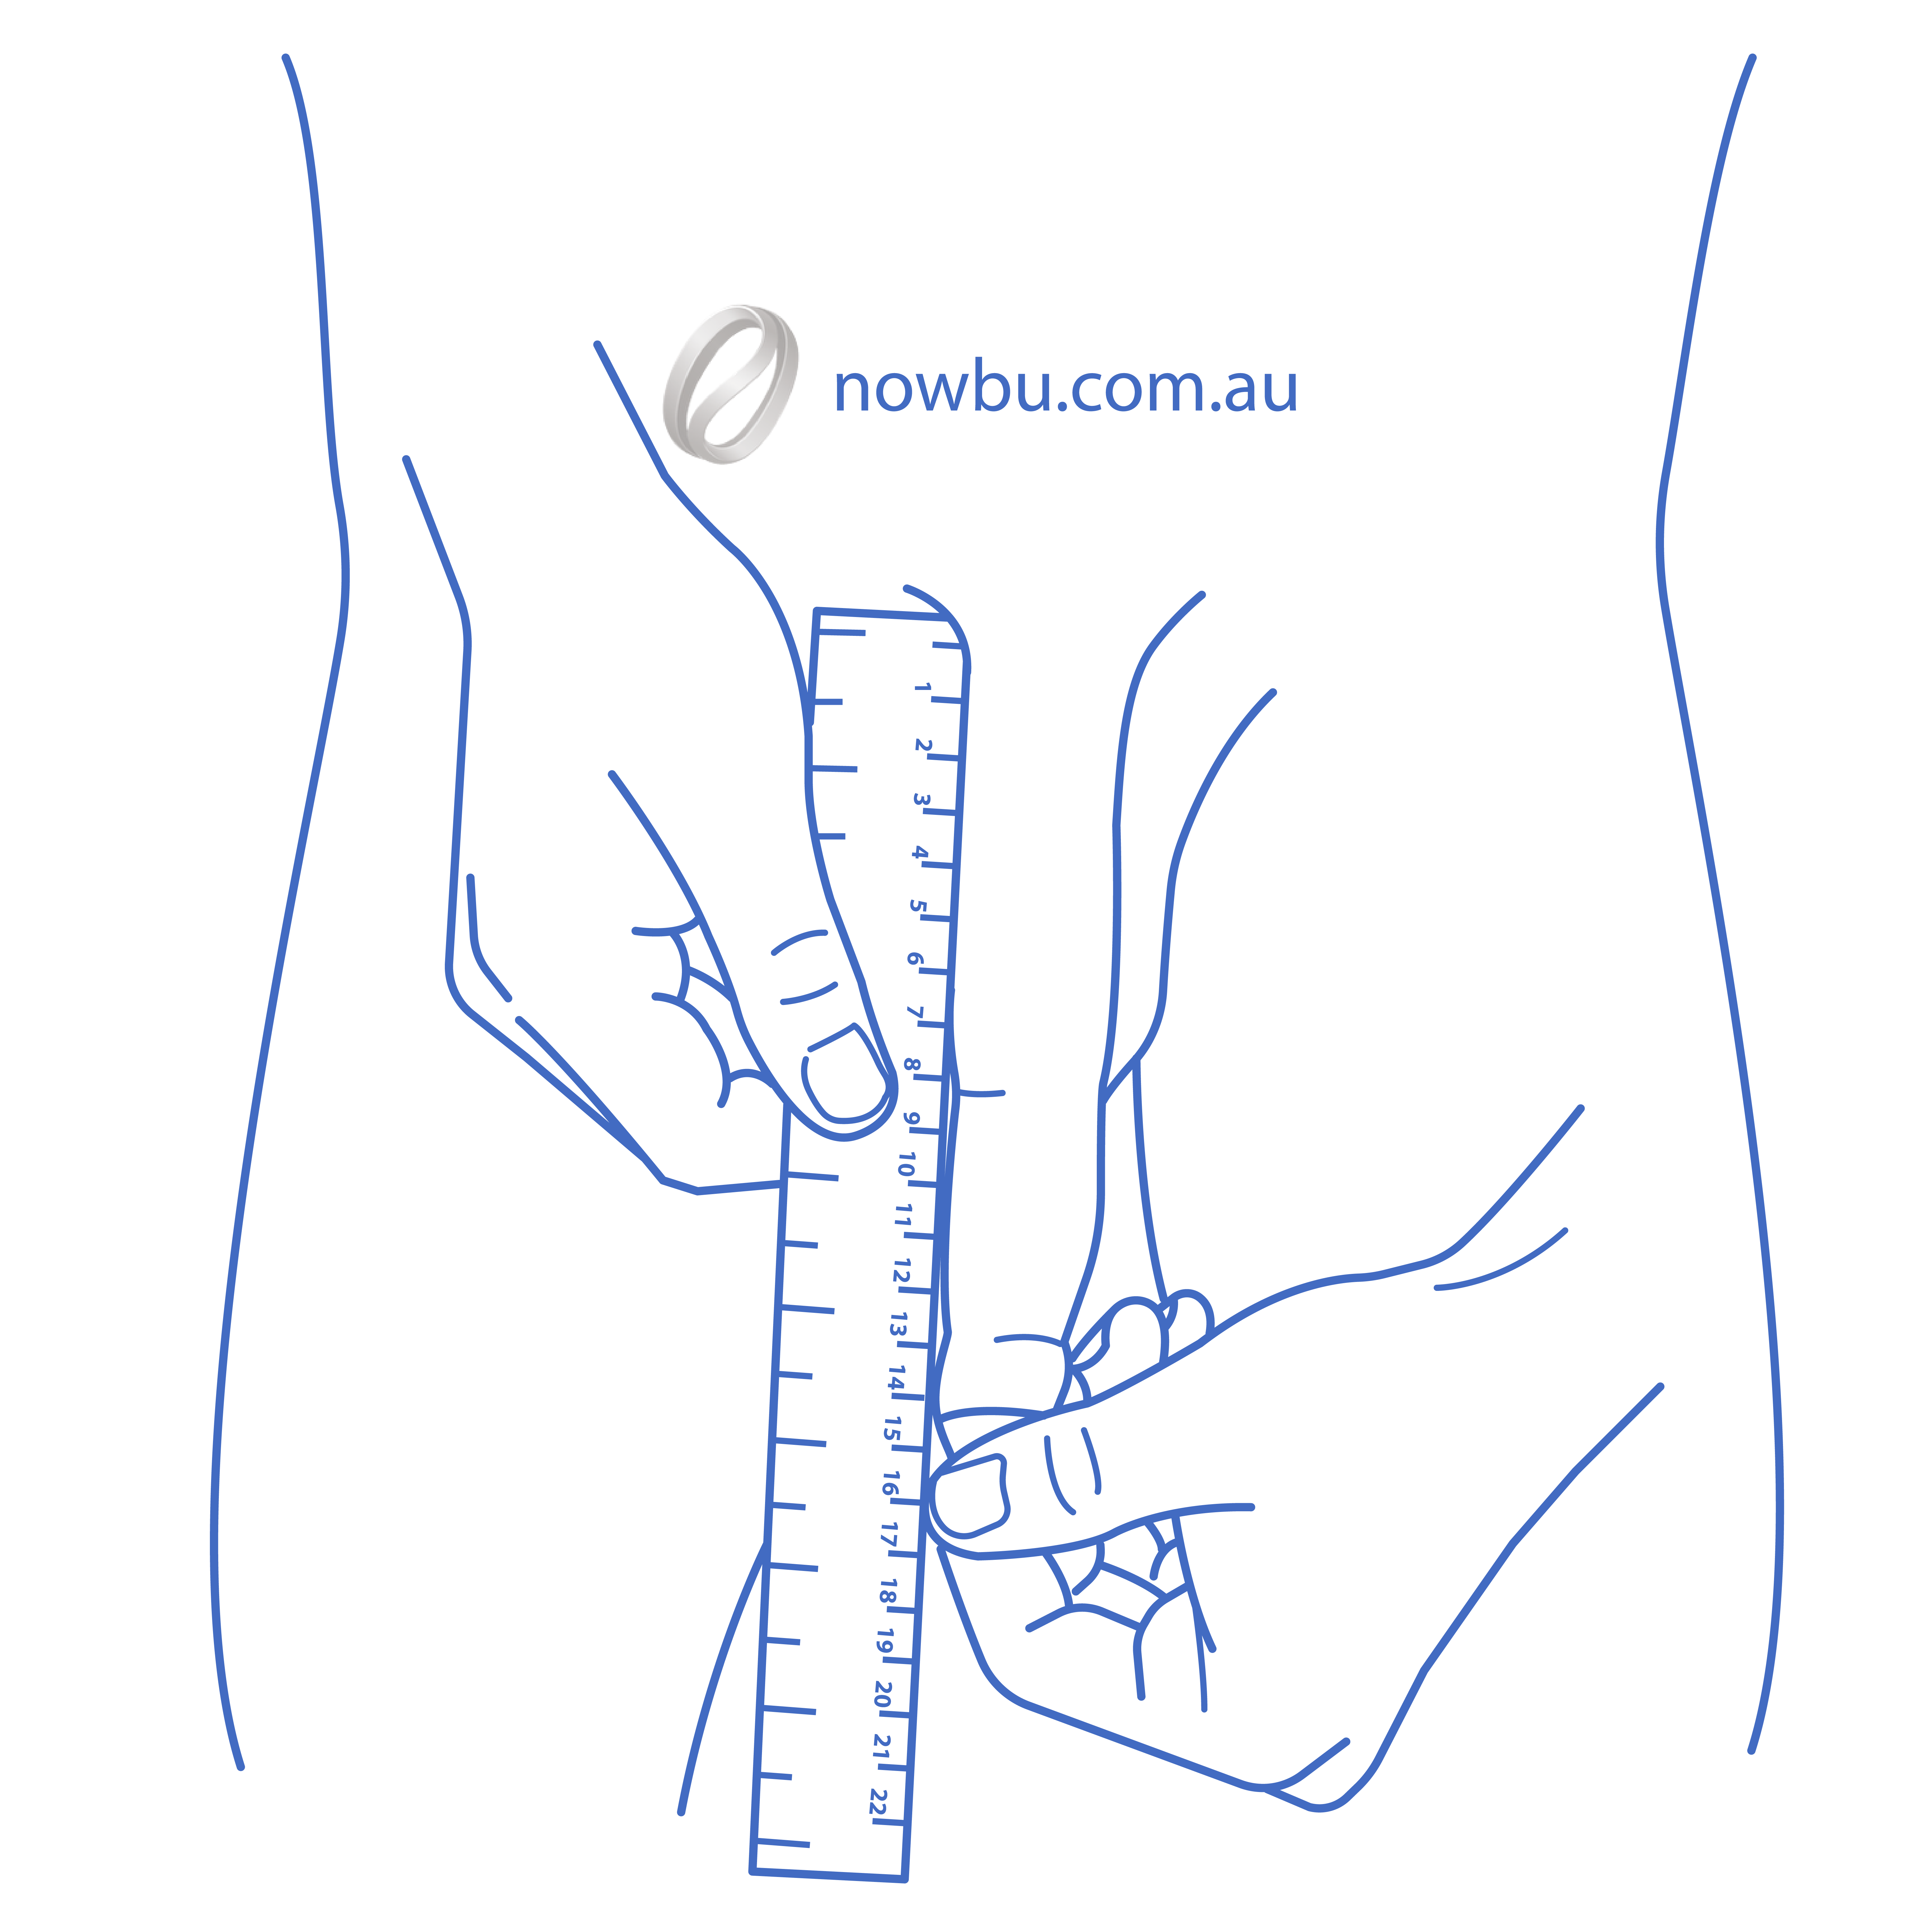
- A frontal photograph with a focus on the genitals taken with a ruler against the genitals and the patient pulling the foreskin with their hand to stretch it out as much as possible. In order to see the length and stretch of the skin around the genitals — they are looking for pulled penile length.
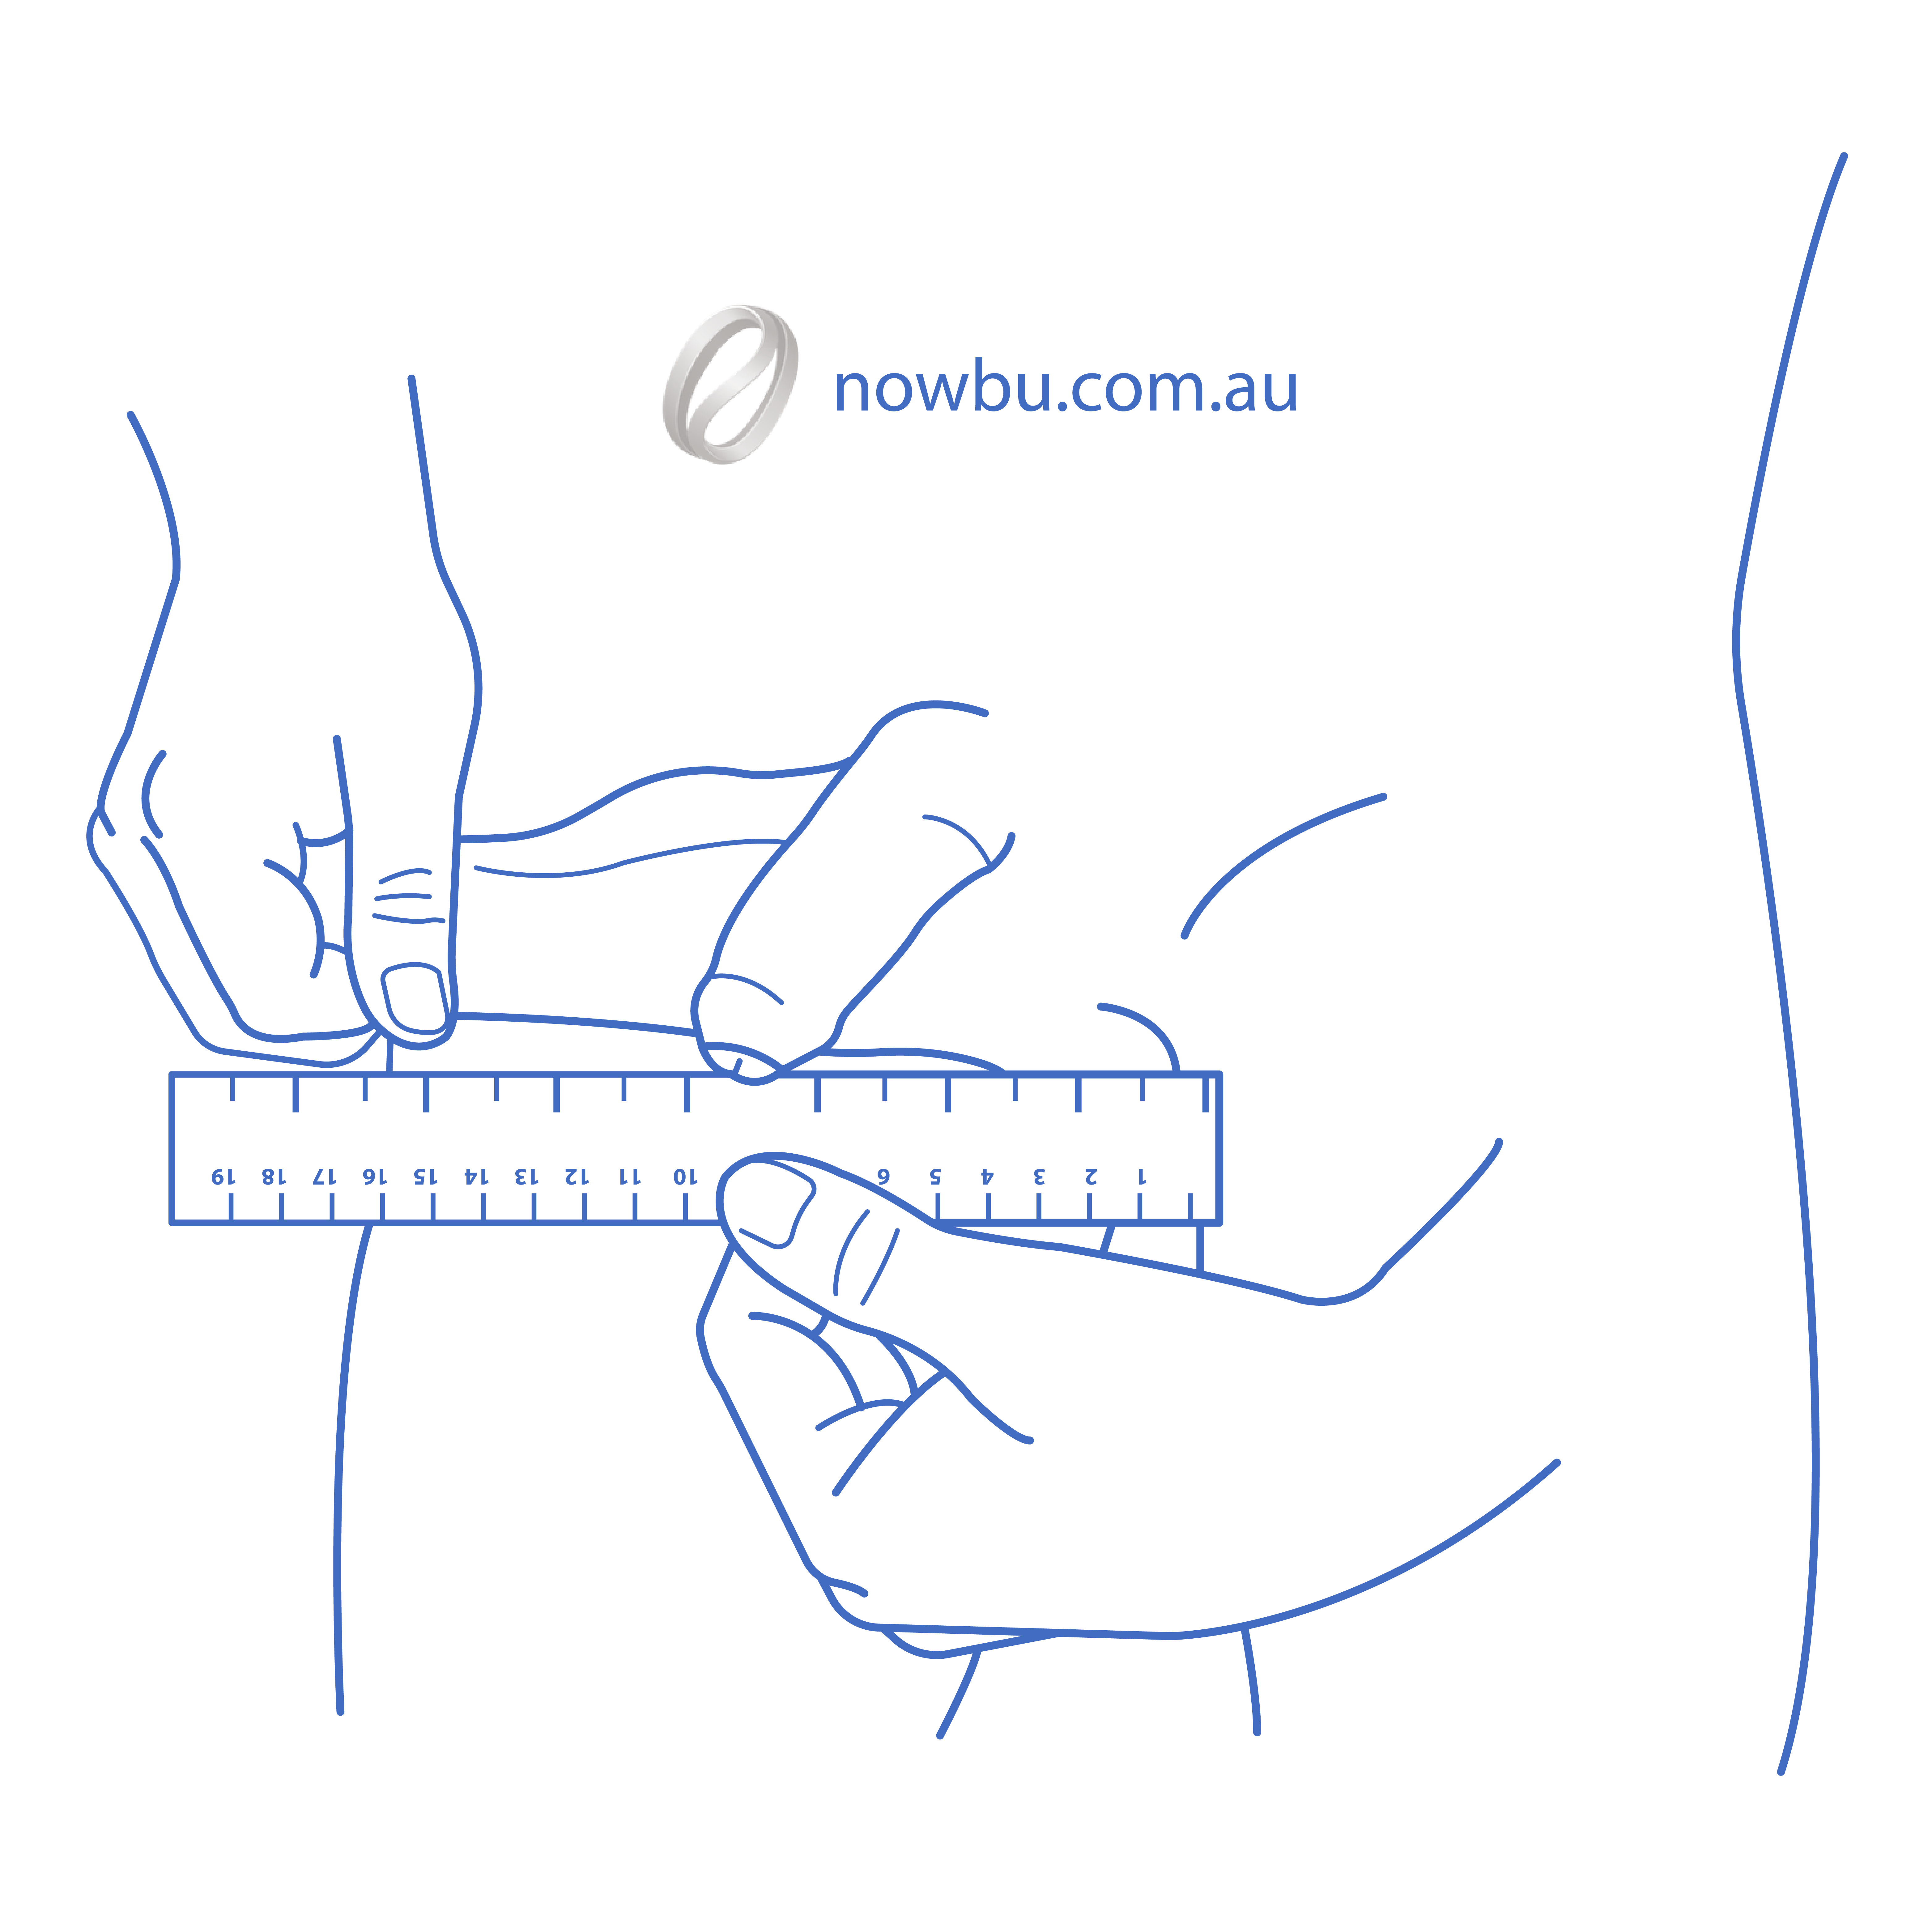
- A photograph focused on the genitals taken with a ruler against the scrotum. Have the patient use their hand to pull the scrotum so that the skin stretches out to the side as much as possible. In order to see the length and stretch of the skin around the testicles. (Do this on both the left and right testicles.)
For SRS Patient (Penis detail):
1
2
3
Required Position (As Per Diagram):
- Sit on the floor or bed.
- Lean slightly back (you may support yourself with your hands).
- Bend your knees and gently open your legs outward.
- Ensure the genital area is clearly visible from the front. The photo should be taken from directly in front of you.
Important Notes:
- The surgeon needs to clearly see the size and projection of the clitoral growth.
- If you are on testosterone, please inform us how long you have been on hormone therapy.
- If possible, gently lift surrounding tissue slightly so the surgeon can accurately assess growth.
- If the image is unclear, we may kindly request a repeat photo.
1
Guide
How to Take Your Medical Photos
Clear, consistent photos are essential for your surgeon to assess your needs and plan your procedure. Please follow these steps carefully to ensure your images are useful.
- Use good lighting: Natural light in front of a plain wall works best.
- Wear fitted underwear or a bikini so the surgical area is visible.
- Keep the same distance (about 1.5–2 meters) and angle for each shot.
- Hold the camera at chest or waist height depending on the area.
- Do not use filters or edits – surgeons need a natural view.
- Front view – arms relaxed by your side.
- Left side view – arms down.
- Right side view – arms down.
- Back view – arms relaxed.
- Front view – arms down.
- 45° left angle – arms down.
- 45° right angle – arms down.
- Side views (left & right) – arms down.
- Front view – neutral expression.
- Left side profile – neutral expression.
- Right side profile – neutral expression.
- 45° left & right – neutral expression.
- Front hairline – close-up.
- Top of head – crown visible.
- Left side – temple and side view.
- Right side – temple and side view.
- Back of head – donor area.
- Take 2–3 photos per angle in case one is blurry.
- Ask a friend or use a tripod for steady shots.
- Save your photos in a folder with your name + date (e.g., AnnaSmith_Aug2025).
- Send unedited photos directly to us – JPEG/PNG format preferred.
Think of your photos as a medical record, not a fashion shoot. Clear, honest images help your surgeon give the best advice.
Need Help with Photos?
If you're having trouble taking the required photos or have questions about the process, our support team is here to help.
Contact Support